
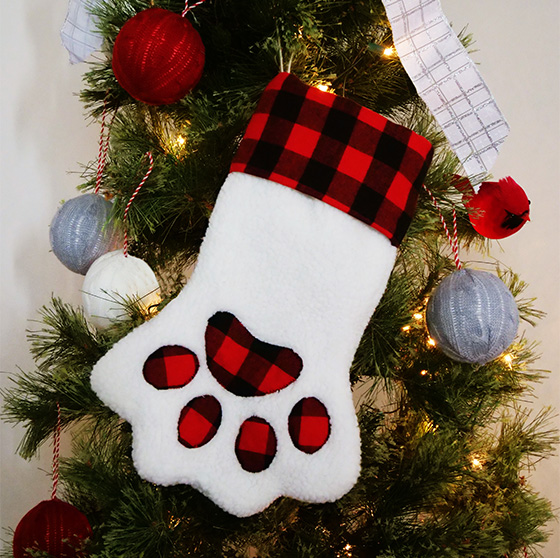
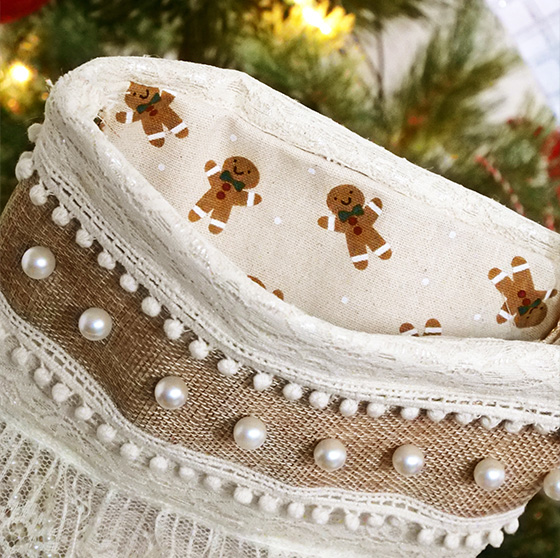
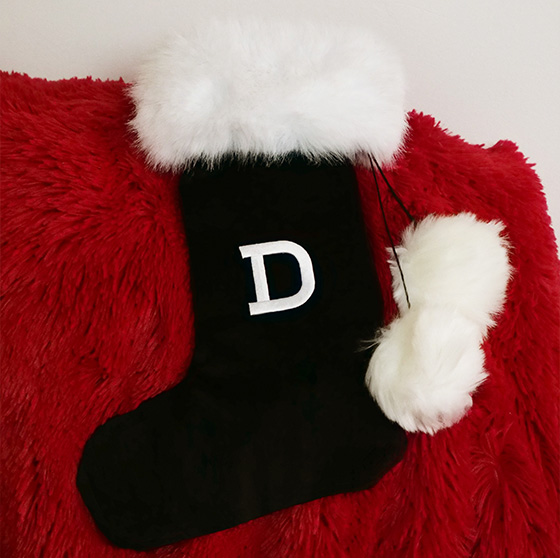
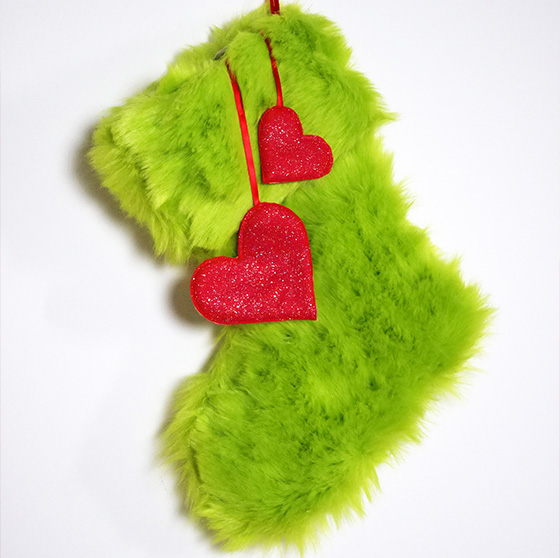
Create fun, festive stockings for the whole family! Accessorize your makes with a cute holiday print fabric and your favourite colour of trim, or personalize your stocking with a monogram using appliqués. The possibilities are endless, but your final project is bound to be fantastic!.
Per Stocking
Medium weight non-stretch (a little stretch is fine) fabrics such as:
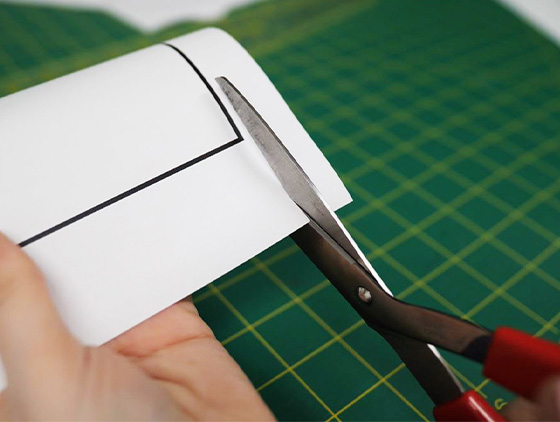
Download the Christmas Stocking Pattern from our website and tape the pages together in order. Next, cut out the pieces with paper scissors. The steps will be the same for the standard stocking as for the pet stocking, except when adding the paw applique to the pet stocking.
Note: Alter the cuff pattern by cutting on the dotted alteration line. This is helpful when using faux fur trim which has a smaller length to the pattern piece. Make sure to cut the cuff lining the same size as the cuff main fabric by using the same altered pattern.
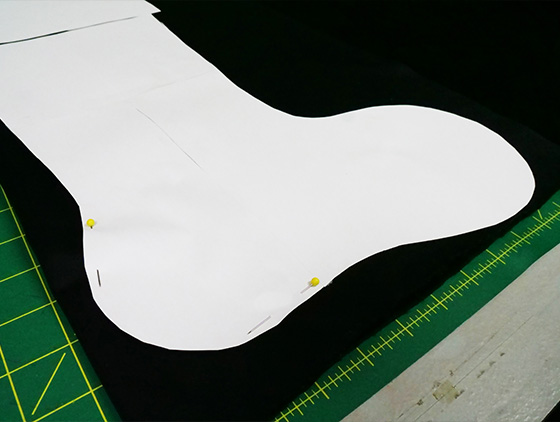
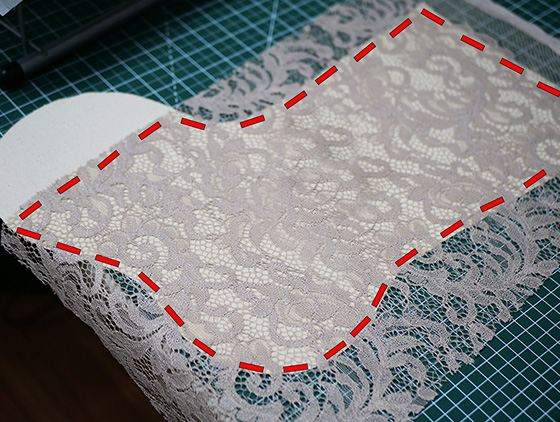
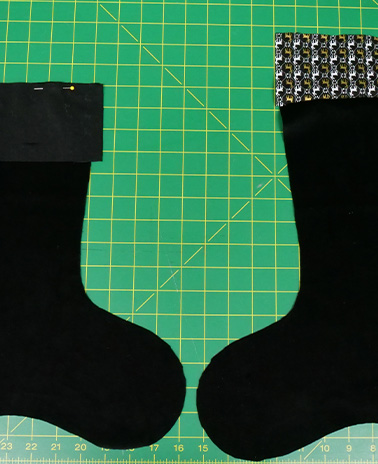
Pin and cut out the pattern pieces on the fabric and the lining with fabric scissors.
Note:
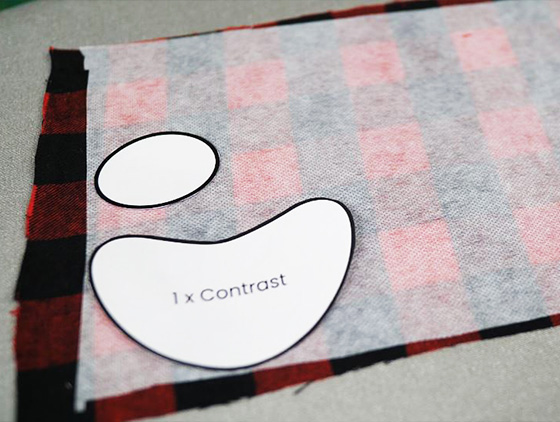
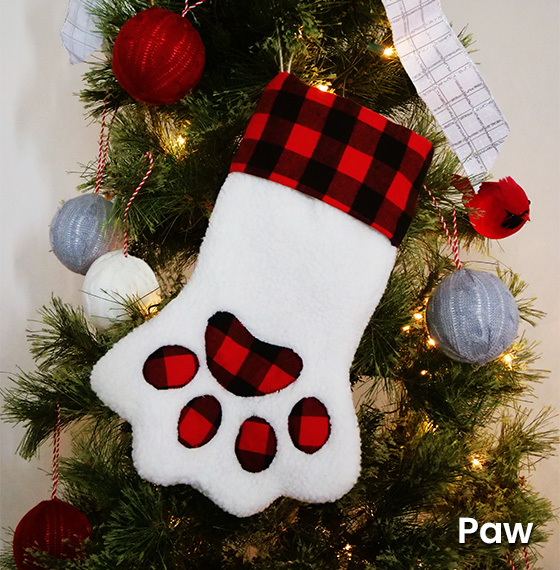
For the pet stocking only, iron fusible interfacing onto the wrong side of a contrasting fabric that will be used for your applique. Cut out the applique pattern pieces.
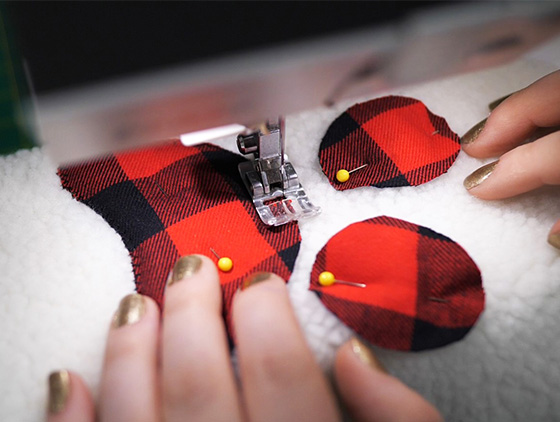
Place the appliques interfacing side onto the the right side of one main stocking and pin in place. The main stocking pattern has dotted lined guide to help with placement.
Zig-Zag stitch the edges of the applique to stabilize.
Note: There are two different types of interfacing that can be used. Double-sided paper back interfacing and one-sided fusible interfacing. Either interfacings when fused will help prevent the applique from fraying.
One-sided fusible interfacing: Hold the applique in place with a pin when sewing. This interfacing is recomended because it is versitile to be used on all fabrics.
Double-sided fusible interfacing: Peel the paper backing and iron the applique onto the stocking in place. This interfacing can only be used on materials that will allow heat. For example, it’s not recomended for use on velvet. This interfacing is optional, but not recomended. This interfacing is good for keeping the applique in place while sewing.

Pin the long side of the cuff lining to the top of the main stocking fabric, right sides together, and sew 1/2" (1.3cm) across the layers. Do this for both pieces of the cuff lining and the main stocking fabric.
Pin the long side of the cuff fabric and the top of the stocking lining right sides together. Do this for both pieces of the cuff fabric and the stocking lining.
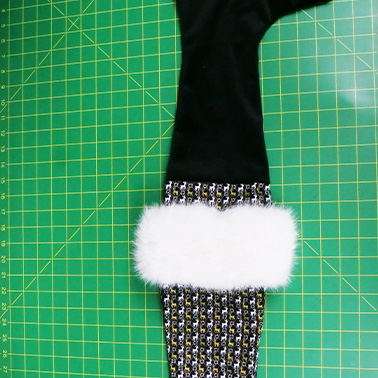
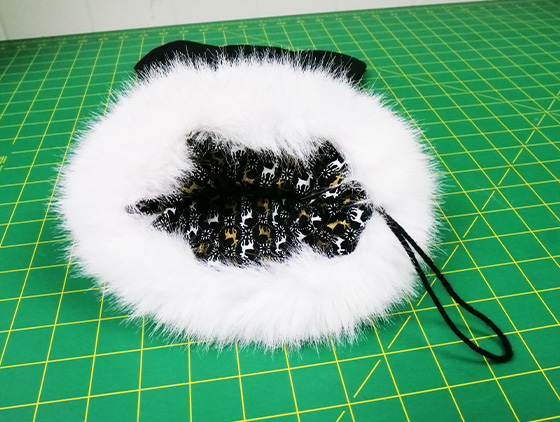
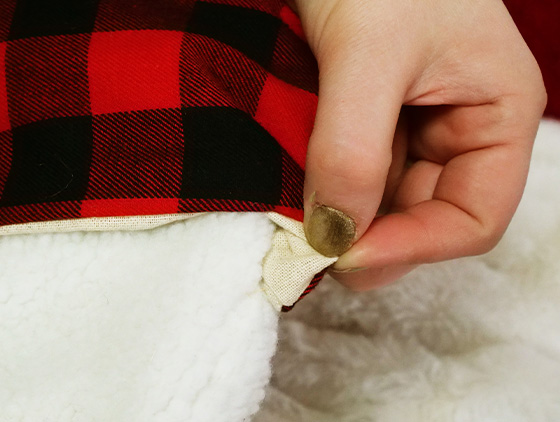
With one stocking piece, take the 10" (25.5cm) trim and fold it in half. Place the two raw ends of trim between the pinned fabric of the cuff and the stocking lining, with all raw edges aligned. The trim should be placed 1.5" (3.8cm) from the edge of the fabric.
Sew across the pinned area of both pieces.
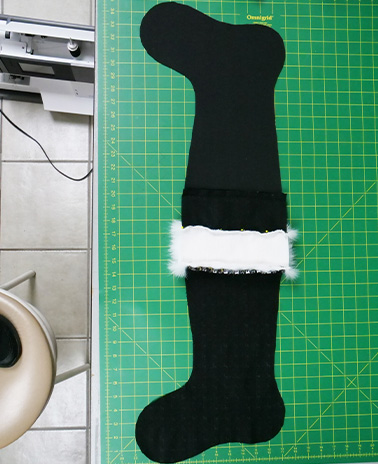
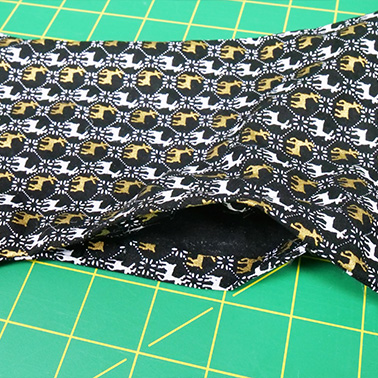
Sew the lining cuff to the fabric cuff, right sides together. Make sure that when folded the stocking toes are facing the same direction.

With right sides together, sew around the two stocking fabrics and cuffs with a 5/8” (1.6cm) seam allowance and back stitch.
Make sure to leave a 4" (10cm) opening on the lining main piece and back stitch as this opening is where you will turn the fabric inside out.
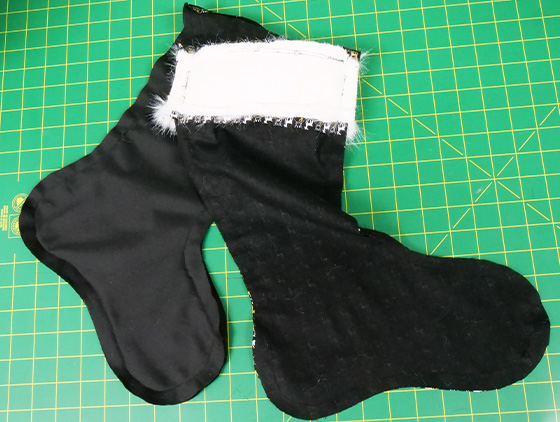
After sewing, snip on the seam allowance towards the seam on any curves. This will help keep the fabric flat when the stocking is turned flat.
Turn the fabric right side out through the 4" (10cm) opening in the lining.
Finger press all seams to make sure the shape is consistent.
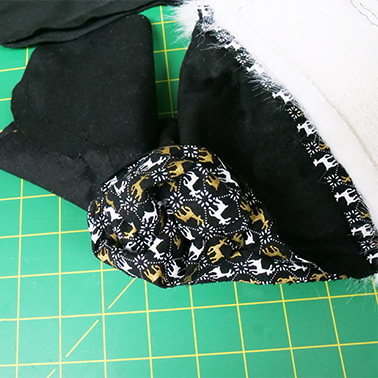
Straight stitch and back stitch closed the opening in the lining.
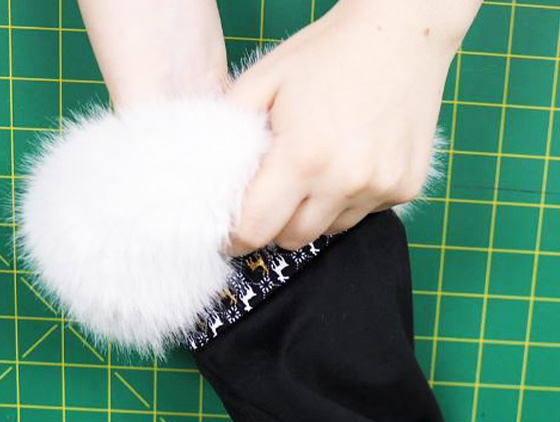
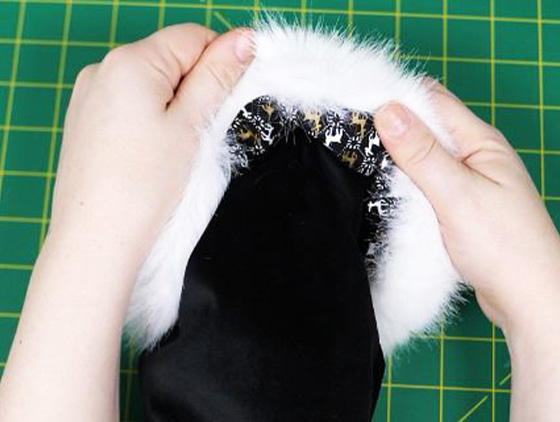
Push the lining inside of the main fabric.
Fold the cuff over so that only the main fabric of the stocking and cuff are showing.
Tip: The stocking can be tacked in place if you feel it’s necessary. The best place to tack is the seams connecting the cuffs to stocking. This is a good way to stabilize the cuff lining to stay parallel to the main cuff. Another great place to tack is the edge of the cuff to the stocking. Tacking in between the seam allowances helps to hide the thread.
Product selections, offers & prices may vary from in-store shopping.
*Click to proceed


PROUDLY CANADIAN
2026 © Fabricland - All Rights Reserved
