Step 1: Cut and Prep all fabric
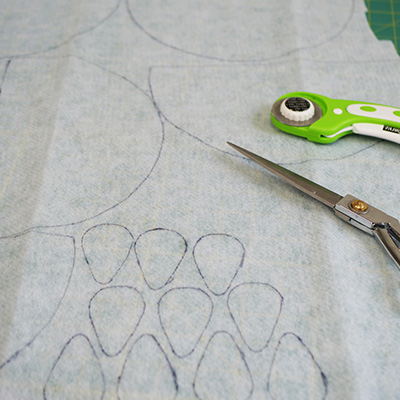
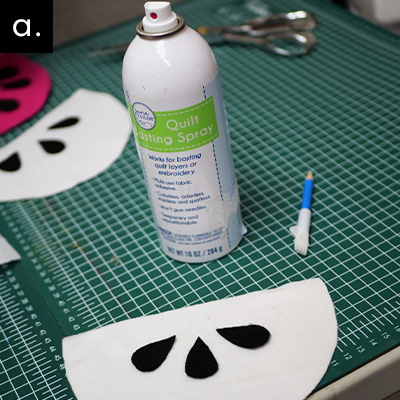
a. Cut out all templates from PDF pattern provided. Trace the templates and cut out all pattern pieces
from
the required fabric. See below for what you need for each bag.
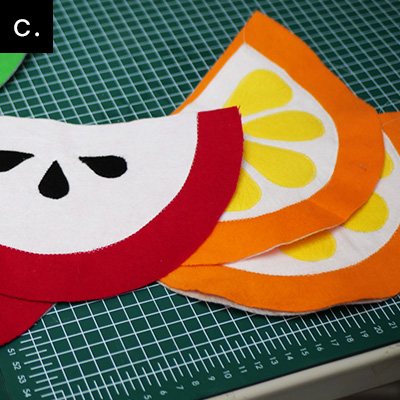
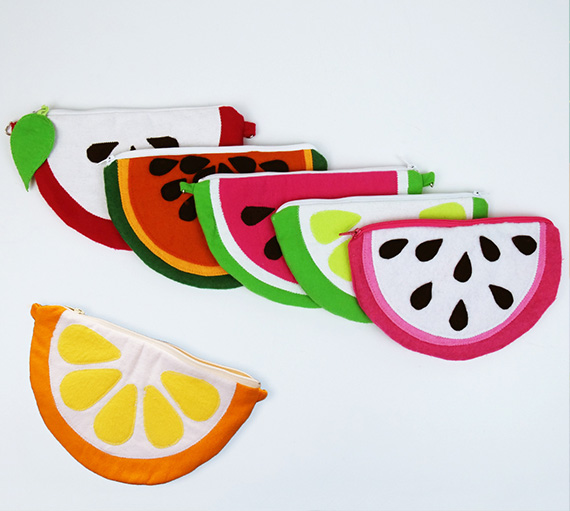
Apple: 6x Fruit Slice Base (2x red
flannelette, 2x fusible fleece, 2x
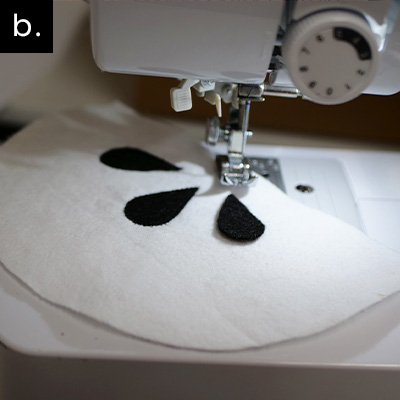
craft cotton lining), 4x Fruit Slice Applique
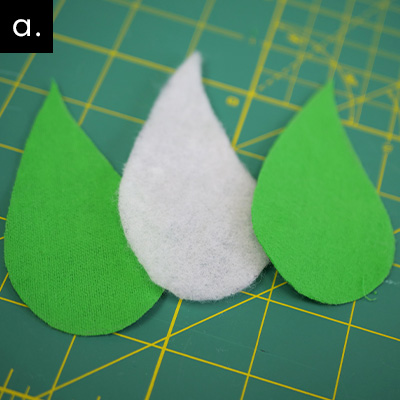
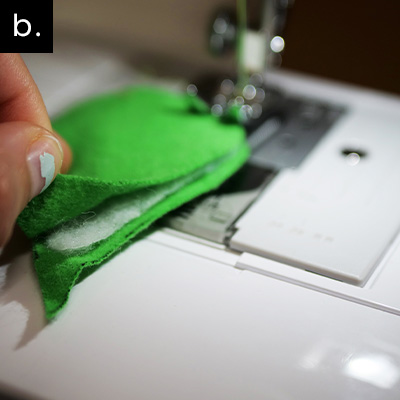
(2x white flannelette, 2x fusible fleece), 6x Seed Applique (6x black felt), 3x Apple Leaf (2x green
flannelette,
1x fusible fleece).
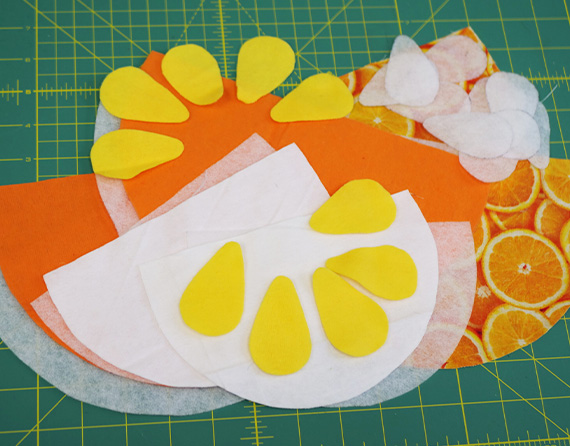
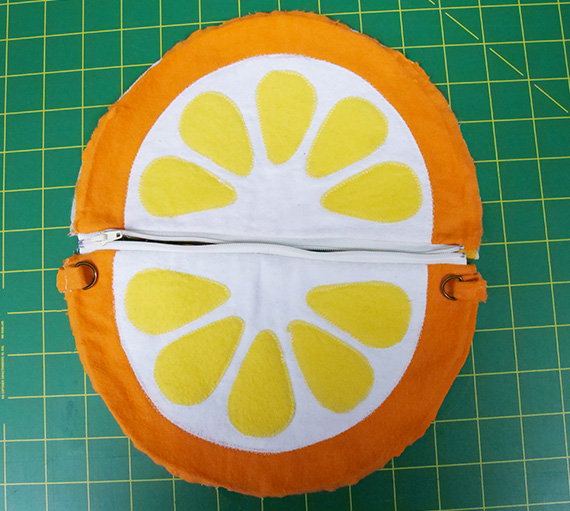
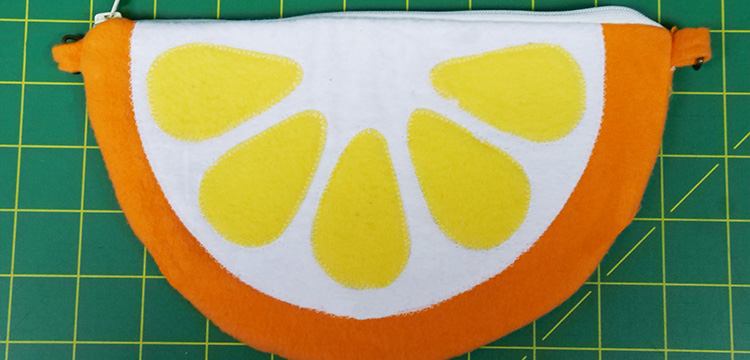
Orange: 6x Fruit Slice Base (2x orange flannelette, 2x fusible fleece, 2x craft cotton lining), 4x
Fruit Slice
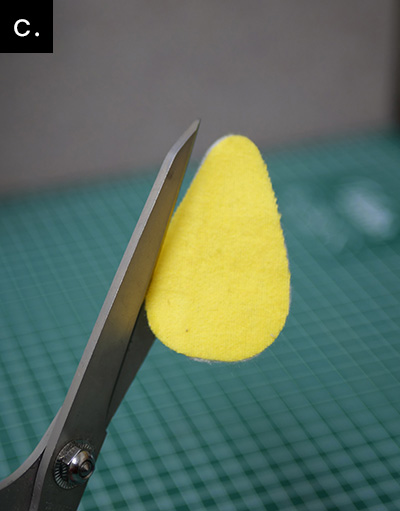
Applique (2x white flannelette, 2x fusible fleece), 20x Citrus Applique (10x yellow flannelette, 10x
fusible
fleece).
Lime: 6x Fruit Slice Base (2x green flannelette, 2x fusible fleece, 2x craft cotton lining), 4x
Fruit Slice Applique
(2x white flannelette, 2x fusible fleece), 20x Citrus Applique (10x light green flannelette, 10x fusible
fleece).
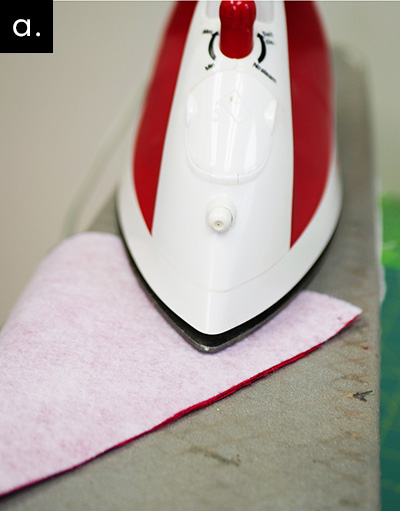
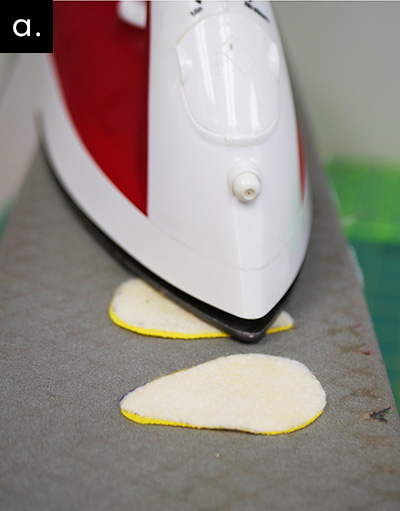
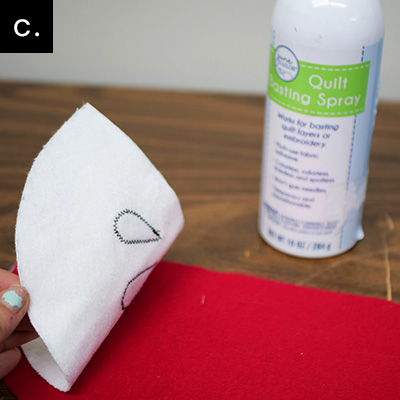
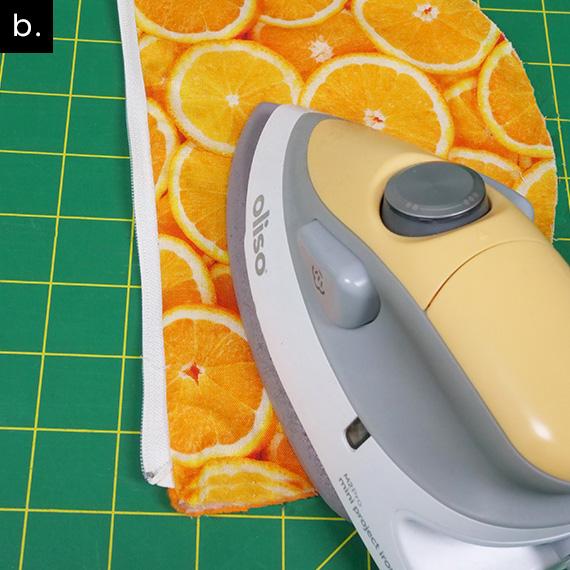
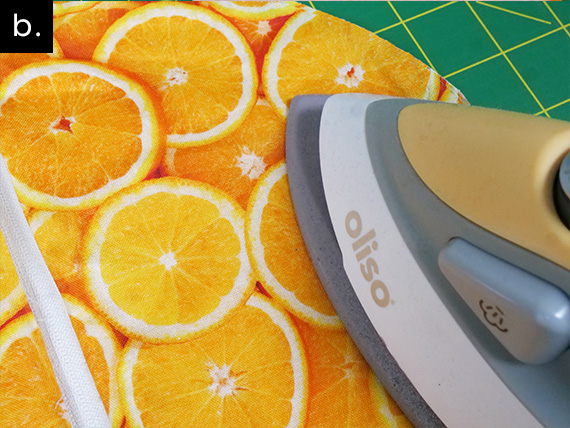
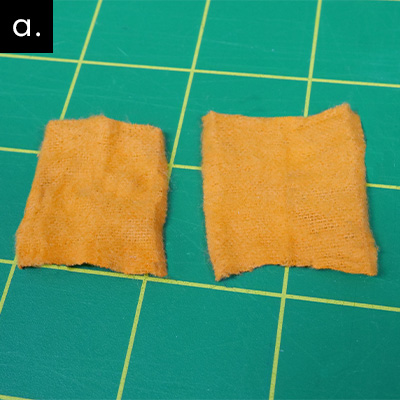
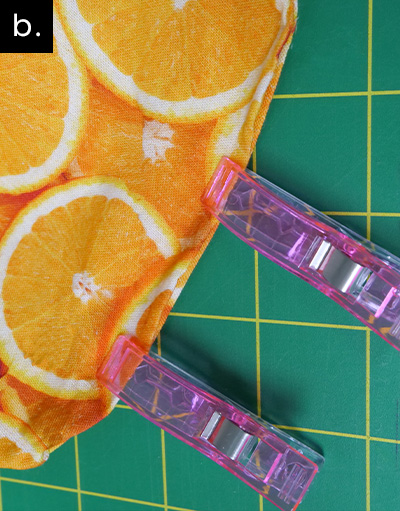
b. When all pieces are cut, iron out any wrinkles on flannelette pieces.