Sewing Machine Cover


e
e
e

Keep your project essentials close at hand and your sewing machine protected & dust-free with August’s DIY of the Month: Sewing Machine Cover.


Select fabric & trim in your favourite colours or choose something that coordinates with your sewing room. Make it your own!


*Please share your creations on Facebook & Instagram. Tag Fabricland at @fabricland.canada or use the hashtag #fabriclandlove


What you need:

  • 39" (100 cm) Fabric
  • 39" (100 cm) Lining
  • 39" (100 cm) Medium Weight Fusable Interfacing
  • 39" (100 cm) Light Weight Fusible Interfacing
  • 80" (203 cm) of Cord for piping
  • 1.5" (4 cm) x 80" (203 cm) Visible piping Fabric
  • Bias Tape 52” (132 cm) Add extra if covering pockets
  • 20" x 9" (25 cm x 50 cm) Mesh
  • 12" (30 cm) Clear Vinyl
  • Scissors
  • Sewing Machine
  • Straight Pins
  • Thread
  • Universal Needle / Super Universal

** Please note that these instructions were created having in mind a standard domestic sewing machine. Dimensions can vary according to each machine model.

Tips before you start

  • It is recommended to pre-wash and press your fabric before you start to avoid shrinkage. Be sure to check the care instructions for your chosen fabric.
  • For testing purposes, try pressing with the iron, and sewing a scrap piece of fabric, before starting your project.
  • Press using a pressing cloth to prevent damaging your fabric.
  • Slow down your sewing speed when working with clear vinyl, as this material can be slippery.
  • Adjust your tension, stitch length, and needle type accordingly.
  • It is a good idea to fill multiple bobbins before starting the project.
  • Only 68" (173 cm) of piping is needed but 13" (33 cm) has been added as a precaution. In a later step, the piping will be cut in half and pinned to each side of the machine cover, and each end will have around 3" (8 cm) of extra piping.

Fabric Recommendations

  • Craft Cotton (used in this example) or indoor upholstery fabrics.
  • No directional prints.
  • Mesh for the front pocket.
  • Clear Vinyl for the side pocket.
  • If the width of the fabric, lining or interfacing is under a metre, buy the double.
Instructions

x

Step 1: Cut pattern pieces

Cut out all pattern pieces for this project.

Free pattern is available to download from our website.

x

Step 2: Iron interfacing

Iron interfacing onto the wrong side of the fabric and lining. Use light weight fusible interfacing on the lining and medium weight fusible interfacing on the fabric.

x

Step 3: Make the piping

Cut the fabric into two strips of 1.5" (4 cm) wide and 40" (101 cm) long.

Cut two pieces of cord to 40" (101 cm) in length.

To learn how to make piping check out our How To: Make Piping video on the “How-To” section.

x

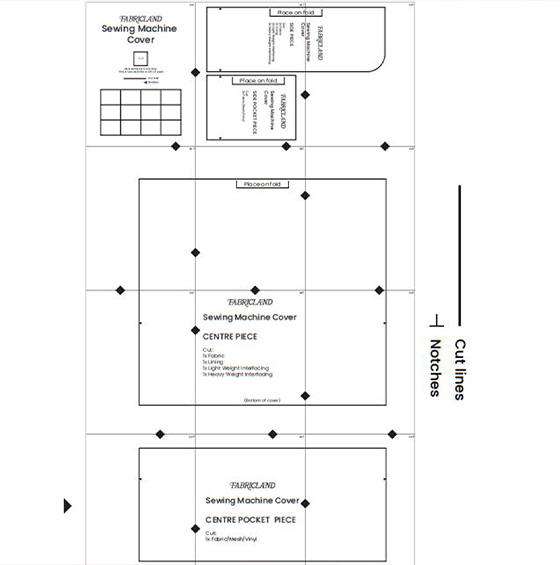
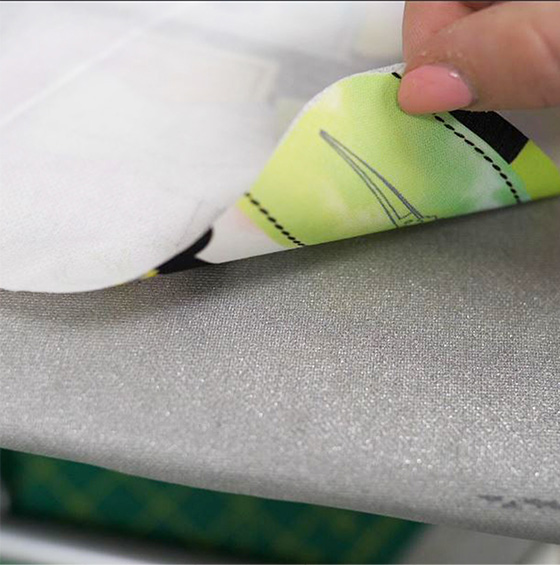
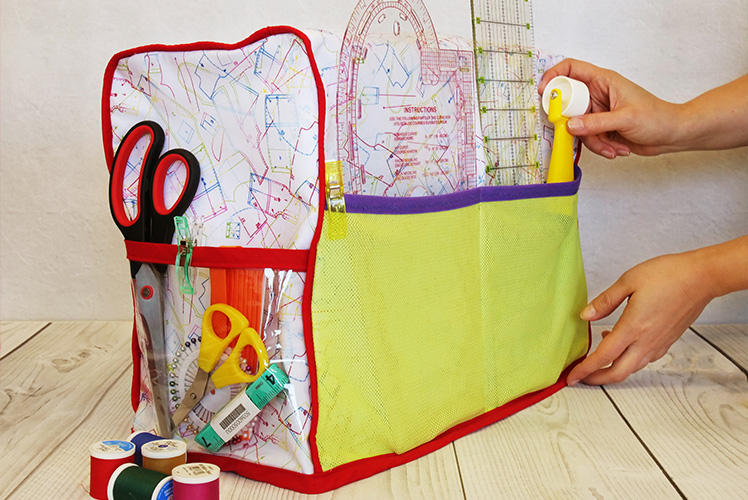
Step 4: Make the pockets

Cut the front-side pocket and side pocket.

Hem or add foldover bias tape onto the top of the pockets.

Match up the notches of the side pocket pieces and the side fabric pieces.

Baste stitch the bottom and side edge of the side pocket to the side fabric pieces with a ½” (1.27 cm) seam allowance.

Repeat this step with the front pocket pieces and front fabric pieces.

Tip: If the mesh is stretchy, use an elastic foldover tape.

Making a seam in the middle of a pocket is optional.

x

Step 5: Pin the outer pieces together

Using the outer front and side fabric pieces, match the notches, right sides together.

Place piping between the layers of fabric, pin to hold.

Ensure that the piping length is sticking out .1" (25 mm) or longer on both sides from where the fabric layers end. This will make it easier when piping is sewn (ex. fraying or shifting).

Tip: The raw ends of all layers should be facing the same way.

With a zipper foot on, sew 5/8” (1.58 cm) pinned area and back stitch where the fabric ends.

Cut off excess piping.

Repeat step on the other side.

x

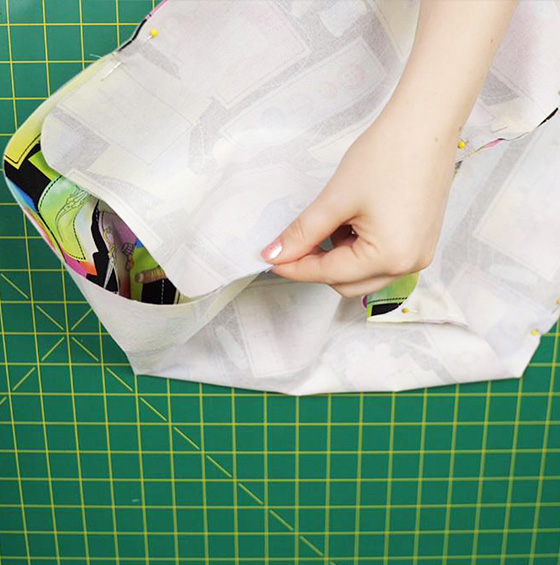
Step 6: Pin and sew the lining pieces together

Using the lining pieces, match the notches of the front and the side, right sides together. Pin and sew pieces together 5/8” (1.58 cm).

Repeat step on the other side.

x

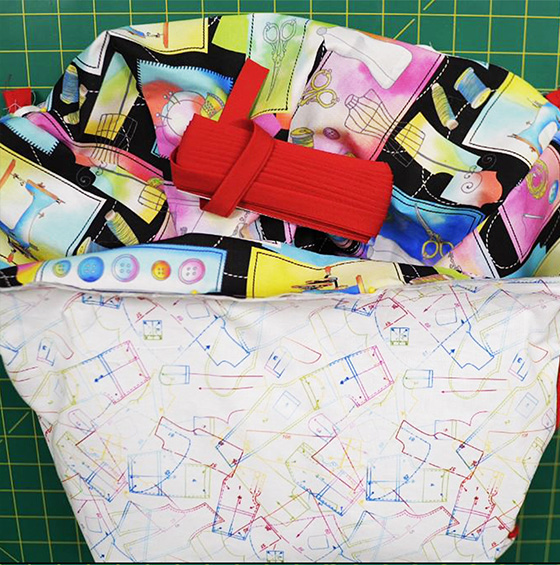
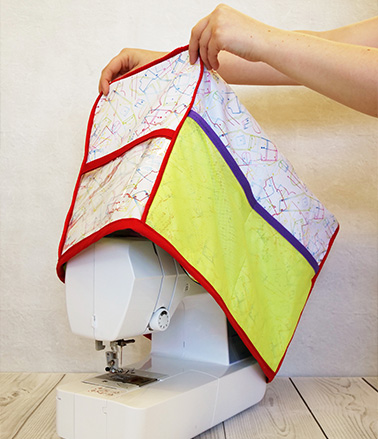
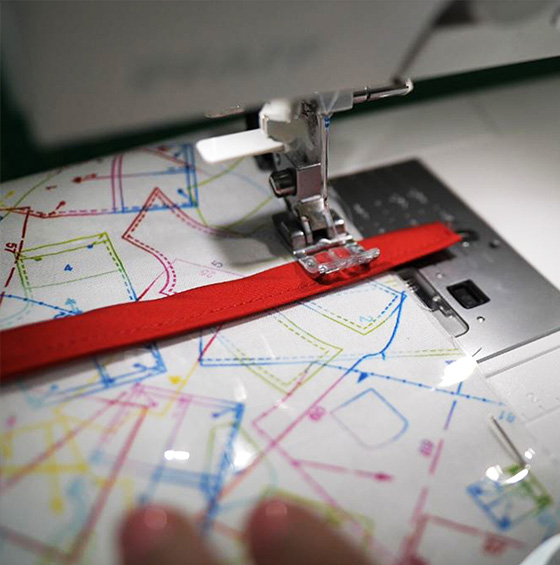
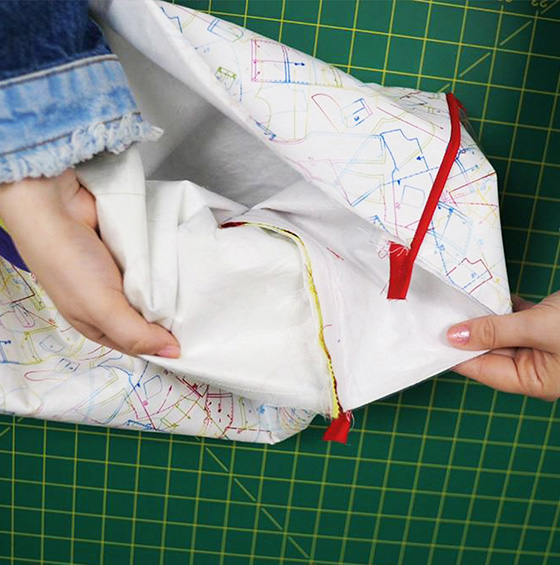
Step 7: Attach all pieces to finish the cover

With wrong sides together, place the lining inside the main fabric. Match the seams together, pin and sew binding around the bottom edge of the fabric to complete.

e
e

Note: All products might not be available at all store locations. To find a suitable product alternative for your project, please ask a store team member for assistance.

More DIY Crafts

DIY of the month DIY of the month DIY of the month
Homepage

More DIY Crafts

Sales Slyer

Learn 'HowTo'

Sales Slyer

Sales Flyer

maple

PROUDLY CANADIAN

2024 © Fabricland - All Rights Reserved