Quilted Halloween Bunting Banner


Create uniquely spirited décor this spooky season with October’s DIY of the Month: Quilted Halloween Bunting Banner.


Let your imagination guide your freakishly festive creation, and select fabric, colours or additional accents to cause big scares or simply subtle eeks! Use your finished banner to decorate your kitchen, living room or entrance way.


e
e

e


What you need:

  • 12” (30cm) of Halloween Themed Cotton (Fabric A)
  • 12” (30cm) of Halloween Themed Cotton (Fabric B)
  • 18” (45cm) of Halloween Themed Cotton (Fabric C)
  • 18” (45cm) Solid Cotton Fabric - Green
  • 16” (40cm) Solid Cotton Fabric - Purple
  • 27.5” (70cm) Solid Cotton Fabric - Orange
  • 18” (45cm) Solid Cotton Fabric - White
  • 3.65m (4yds) Double Folded Bias Tape - Black
  • 1m (1.1yds) Batting
  • Quilt Basting Spray (optional)
  • Sewing Machine & General Purpose Thread
  • Dressmaker Pencil or Chalk
  • Straight Pins or Small Clips
  • Fabric Scissors
  • Rotary Cutter & Cutting Mat (optional for cutting)
  • Iron & Ironing Board
  • Ruler

** Please note that these instructions were created having in mind a standard domestic sewing machine. Dimensions can vary according to each machine model.

Tips before you start

  • It’s a good idea to pre-wash and press your fabric before you start; however, some fabrics are not machine-washable, so follow the care instructions for your chosen fabric.
  • Press using a pressing cloth to prevent damaging your fabric. Test your iron settings on a scrap piece of fabric before you start your project.
  • Try sewing on a scrap piece of fabric before sewing your project pieces. Adjust your tension, stitch length, and needle type accordingly.

Fabric Recommendations

  • Cotton fabrics should be the same weight & fibre content for this project.
  • For Fabric C, a lighter coloured print is recommended.
  • Double Fold Bias Tape that is 1/3” or 1/4” wide is recommended for this project.
  • Fusible Batting can be used as an alternative to Basting Spray.
Instructions

x
x
x
x
x

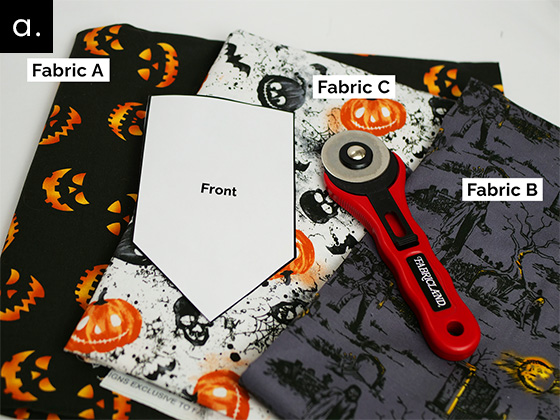
Step 1: Cut out pieces

Cut out all the pieces from the free pattern provided.

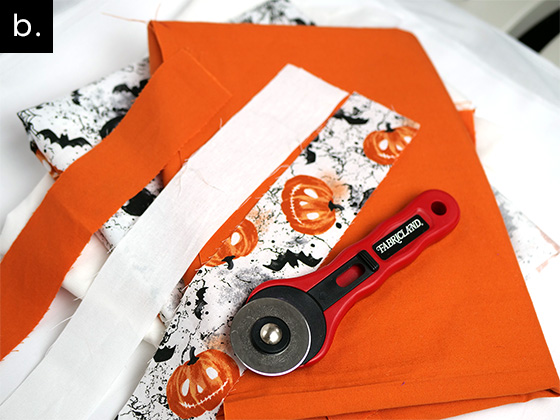
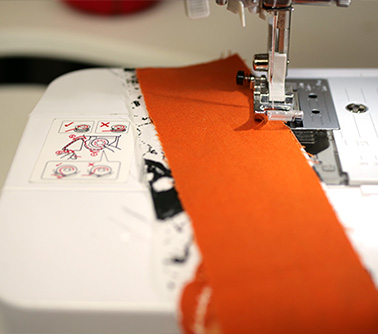
Cut 3 strips of fabric each 1.5” x 16” (4cm x 41cm) - 1 x white fabric, 1 x orange fabric, 1 x Fabric C. (See Image B)

Using dressmakers chalk, pin and trace the pattern pieces on fabric as follows:

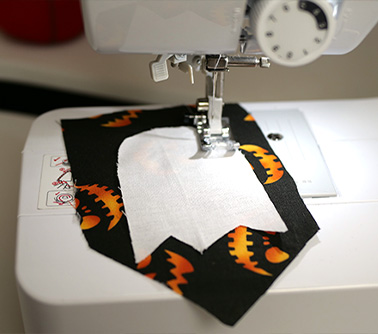
  • ‘Pennant’ pattern labeled ‘Front’, cut out 3 pieces from Fabric A, 3 pieces from Fabric B, 2 pieces from Fabric C and 8 pieces from the batting. (See Image A)
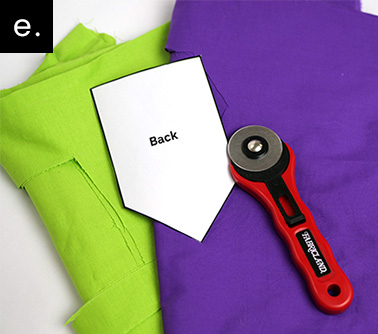
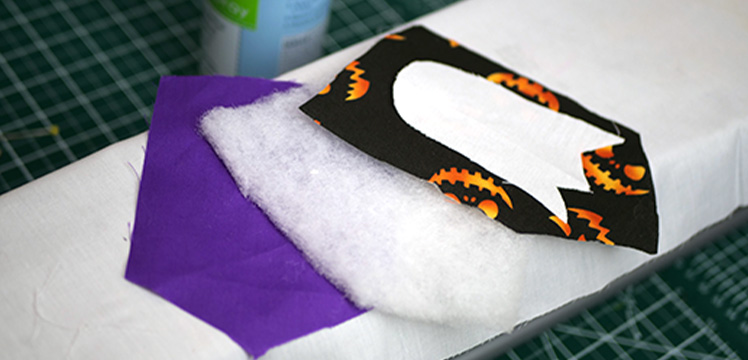
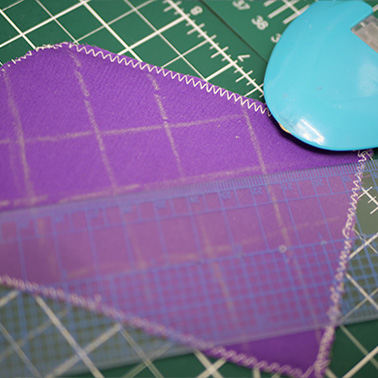
  • ‘Pennant’ pattern labeled ‘Back’, cut out 4 pieces from each from the purple & green fabrics. (See Image E)
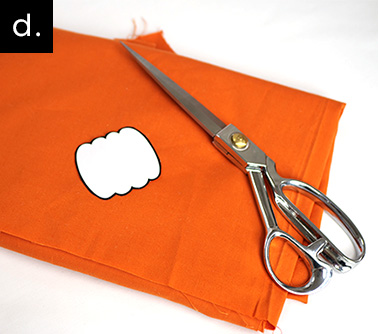
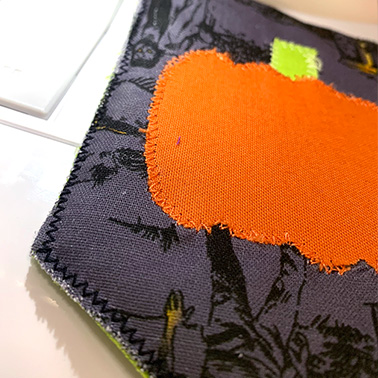
  • ‘Pumpkin’ pattern, cut out 4 pieces from the orange fabric. (See Image D)
  • ‘Stem’ pattern, cut out 4 pieces from the green fabric.
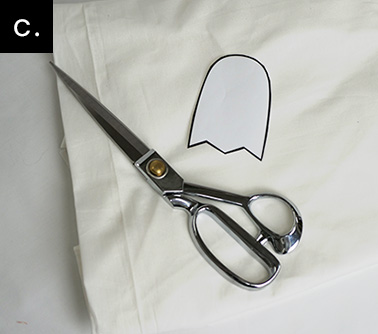
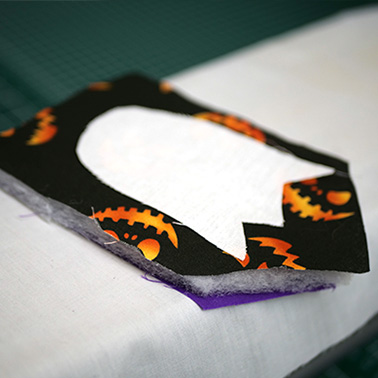
  • ‘Ghost’ pattern, cut out 4 pieces from the white fabric. (See Image C)
  • ‘Candy Corn’ pattern, cut out 4 pieces from the batting.
x

Step 2: Secure ‘Ghost’ & ‘Pumpkin’ cutouts

Pin your ‘Ghost’ & ‘Pumpkin’ cutouts to the centre of each ‘Front Pennant’ and sew on with a zigzag stitch.

NOTE: For the ‘Pumpkin’ cut outs, sew the ‘Stem’ to the pennant first, then the ‘Pumpkin’ on top.

x
x

Step 3: Prep the ‘Candy Corn’ base

Pin & sew the 3 1.5” x 16” (4cm x 41cm) pieces together to resemble a candy corn colour (top-bottom: white, orange, Fabric C). Iron seams flat.

x
x

Step 4: Cut out the ‘Candy Corn’

Use the ‘Candy Corn’ pattern to cut out 4 pieces from the base created in Step 3.

x
x

Step 5: Baste the pieces

Gather all the pieces for each pennant: front, back & batting. There should be enough pieces for 4 ‘Ghost’ pennants, 4 ‘Pumpkin’ pennants and 4 ‘Candy Corn’ pennants.

Repeat the following steps for each group:

  1. Prepare your quilt sandwich (back fabric, batting and top fabric).
  2. Using your basting spray, mist a light & even coat on the batting.
  3. Press the pennant’s top fabric on top of the batting using an iron.
  4. Repeat with the back fabric.
x
x

Step 6: Sew together

Sew the edges of each pennant using a zigzag stitch. Trim any excess fabric, batting or threads to make the edges of your pennants even.

x
x

Step 7: Plan the quilting

Gather the ‘Ghost’ and ‘Pumpkin’ pennants. NOTE: This step does not apply to the ‘Candy Corn’ pennants.

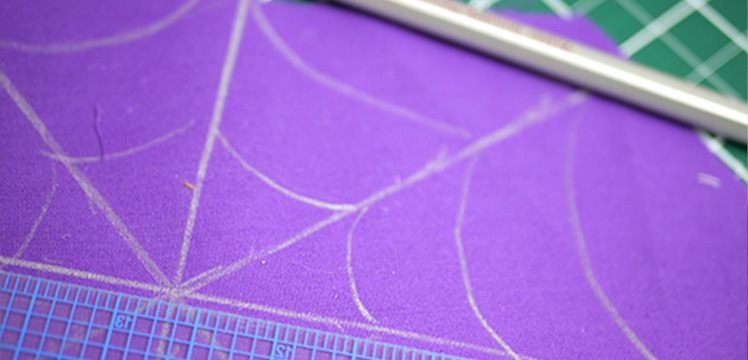
Using a ruler & dressmakers chalk, draw your stitch design on the back of each pennant. You will sew the design into the pennant in the next step.

For this project we used a crosshatch design on 4 pennants and a cobweb design on the other 4 pennants. Use your imagination and get creative with your stitch design!

x
x

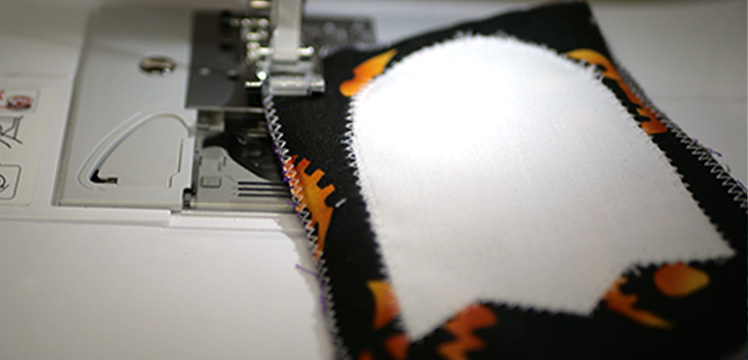
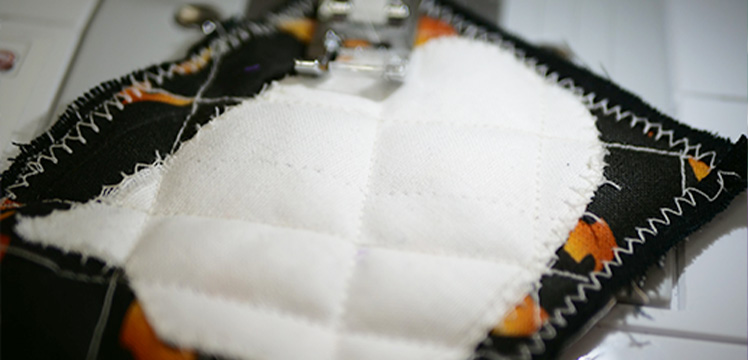
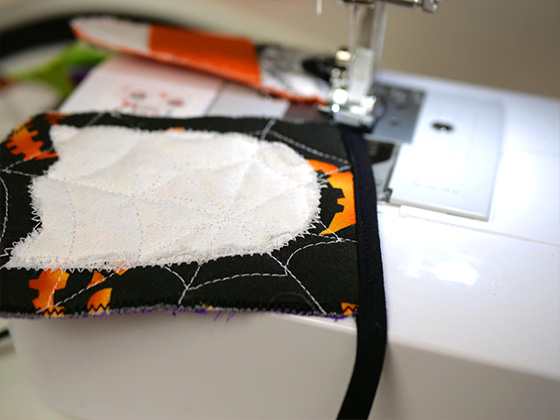
Step 8: Quilt your design

Using a straight stitch, sew your stitch design onto each ‘Ghost’ & ‘Pumpkin’ pennant, backside up so you can see the chalk markings.

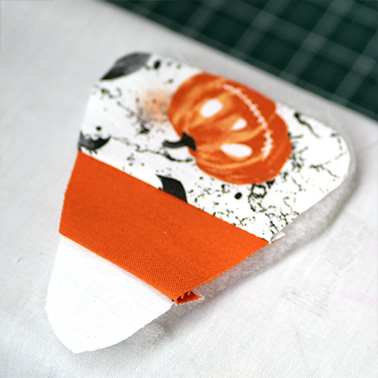
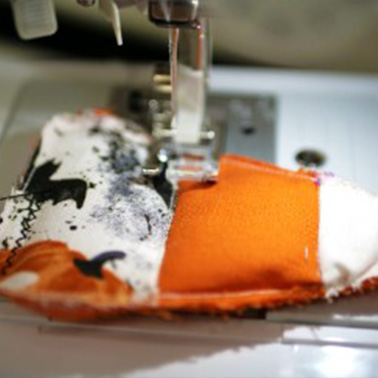
For the ‘Candy Corn’ pennants, use a straight stitch to sew along the seams between the patterned top fabric & solid orange and the solid orange & white fabric.

Trim any excess threads when finished.

x

Step 9: Plan out your banner

Lay out all your pennants and decide their order on the banner.

x
x

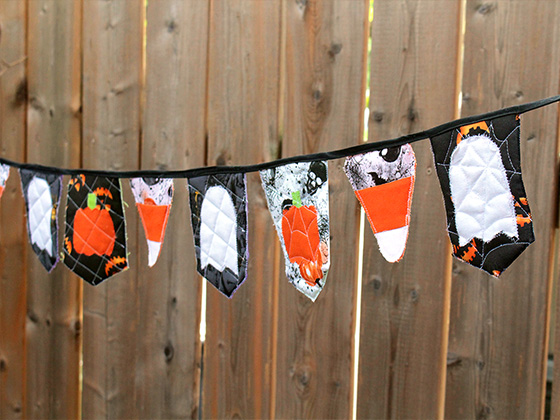
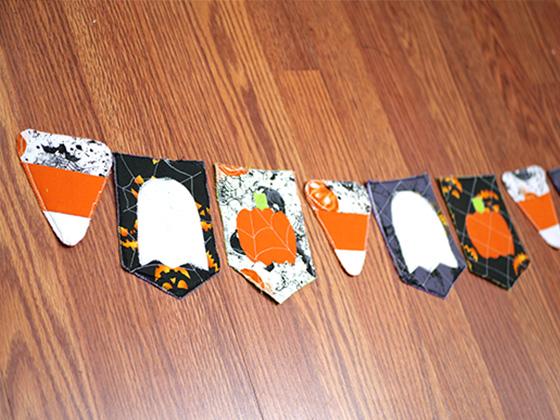
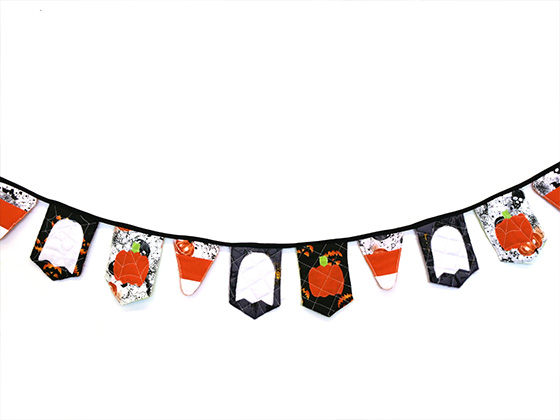
Step 10: Sew together & hang!

Place & pin the tops of all the pennants within the fold of the Double Folded Bias Tape, spaced 1” (2.5cm) apart, and use a zigzag stitch along the bias tape to secure the pennants.

Fold in the raw ends of the bias tape and straight stitch to secure. This will stop any fraying.

Use the extra length of bias tape on either end to hang your banner.


Note: All products might not be available at all store locations. To find a suitable product alternative for your project, please ask a store team member for assistance.

More DIY Crafts

DIY of the month DIY of the month DIY of the month
Homepage

More DIY Crafts

Sales Slyer

Learn 'HowTo'

Sales Slyer

Sales Flyer

maple

PROUDLY CANADIAN

2024 © Fabricland - All Rights Reserved