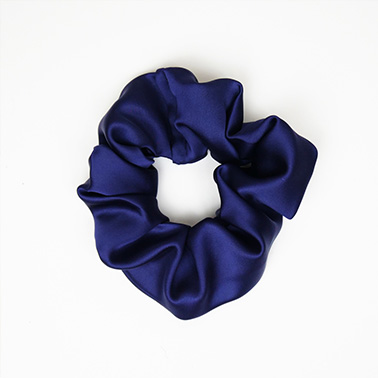
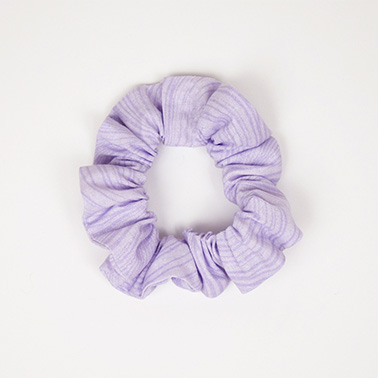
Make Your Own Scrunchie


e

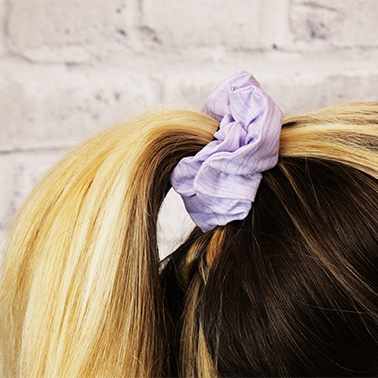
A scrunchie is an ideal project for new sewists because it's relatively simple, plus you’ll be rewarded with a new hair accessory once you’ve completed this DIY. Choose a fabric with fun prints & bold colours, or select something to match a new outfit. The possibilities are endless with scrunchies!


*Please share your creations on Facebook & Instagram. Tag Fabricland at @fabriclandcanada or use the hashtag #fabriclandlove


e
f
e


What you need:

  • Scissors / Rotary Blade
  • Safety Pins
  • Thread
  • 9” (23 cm) of 25” (6mm) Elastic
  • 4” (10cm) Fabric

Tips before you start

  • It’s a good idea to pre-wash and press your fabric before you start, especially with rayon because it will shrink. However, some fabrics are not machine-washable, so follow the care instructions for your chosen fabric.
  • Press using a pressing cloth to prevent damaging your fabric. Test your iron settings on a scrap piece of fabric before you start your project.
  • On lightweight flowy fabrics, fabric weights work well, instead of pins, to hold your pattern down while you cut. A rotary cutter is also recommended for these types of fabrics.
  • Try sewing on a scrap piece of fabric before sewing your garment pieces. Adjust your tension, stitch length, and needle type accordingly.

Fabric Recommendations

To make a bigger scrunchie add to the width of the fabric strip.

To make a bigger scrunchie add to the width of the fabric strip


Measurement Chart

The length of fabric is always 22” (56cm)
Fabric Requirements
3.5" (9cm) wide fabric
9.2" (23.4cm) wide fabric
11.2" (28.5cm) wide fabric
Finished Scrunchie
2.25" (5.7cm)
3" (7.6cm)
4" (7.6cm)
Instructions

x

Step 1: Cut Fabric & Elastic

Cut fabric to the dimensions of length 22" (56cm) x width 3.5" (9cm).


Cut a piece of .25" (6mm) elastic to the length of 9" (23cm).

x

Step 2: Fold the Widt

Fold the width in half, right sides together & pin to create a tube shape.

x

Step 3: Fold the Tip

Fold one end of the tube back .5" (1.3cm).

x

Step 4: Create the Seam

Stitch with a 5/8” (1.6cm) seam allowance.


Cut off excess to make a .25” (6mm) seam allowance.

x

Step 5: Turn the Tube

Turn the tube right side out.

x

Step 6: Iron

Press the seam with an iron.

x

Step 7: Safety Pin Elastic

Safety pin the end of the piece of elastic. Feed the elastic though the tube until the elastic is sticking out of each end.


Note: The safety pin will make it easier to feed the elastic through the tube

x

Step 8: Knot Elastic

Tie the elastic ends together with a knot and move the knot to the side.

x

Step 9: Overlap Tube Edges

Put the raw edge of the tube inside the folded edge of the tube creating a .5” (1.3cm) overlap.

x

Step 10: Stitch Joint

Stitch down the joint with a .25” (6mm) seam allowance.

x

The scrunchie is now complete!

x

Note:All products might not be available at all store locations. To find a suitable product alternative for your project, please ask a store team member for assistance.

More DIY Crafts

DIY of the month DIY of the month DIY of the month
Homepage

More DIY Crafts

Sales Slyer

Learn 'HowTo'

Sales Slyer

Sales Flyer

maple

PROUDLY CANADIAN

2024 © Fabricland - All Rights Reserved