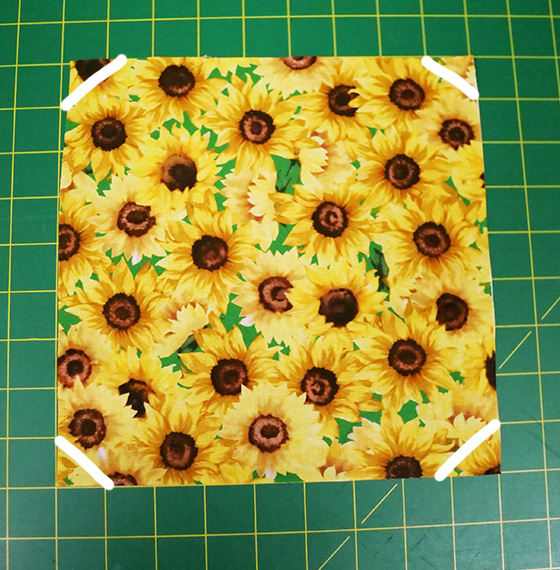
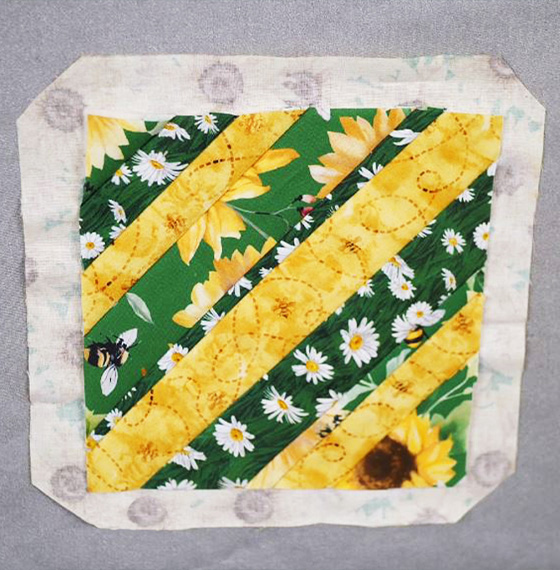
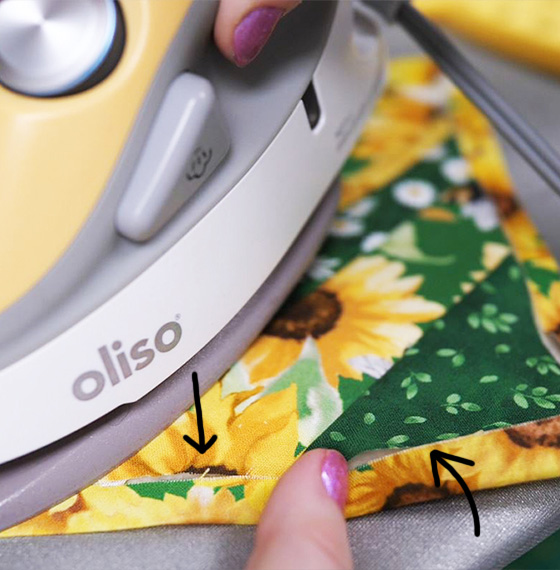
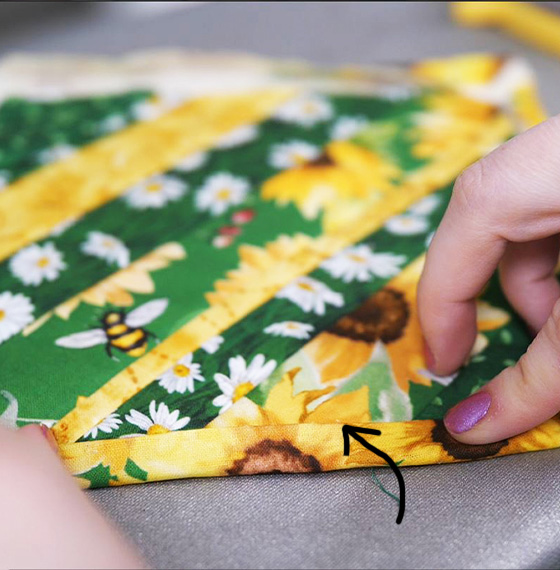
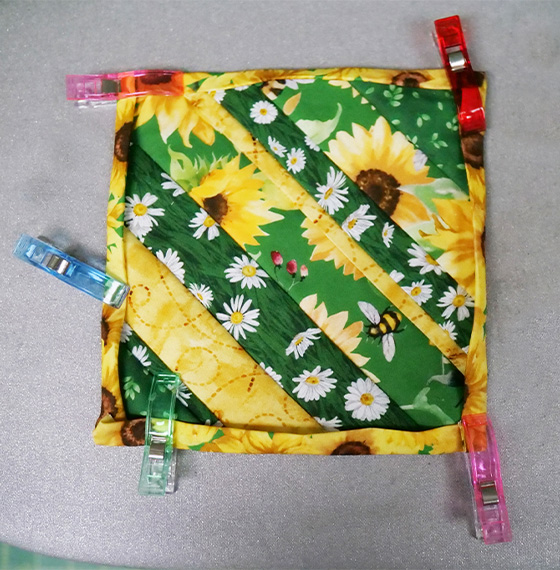
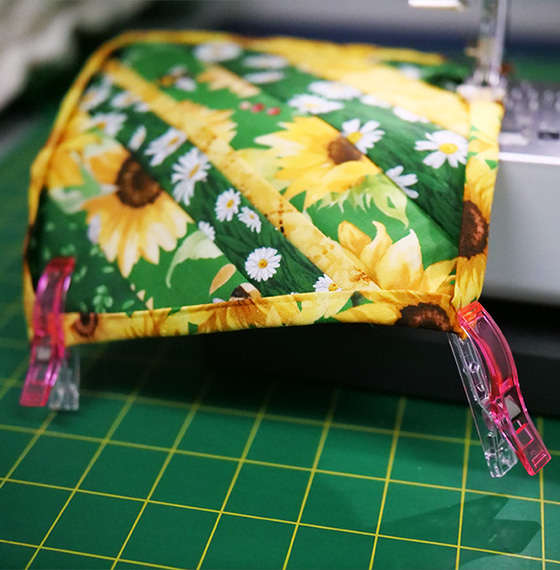
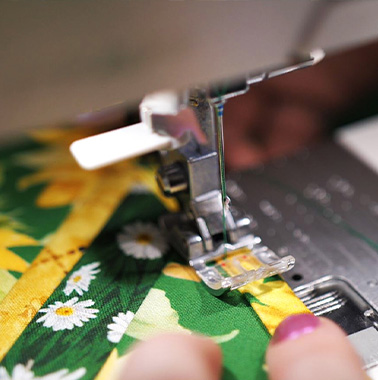
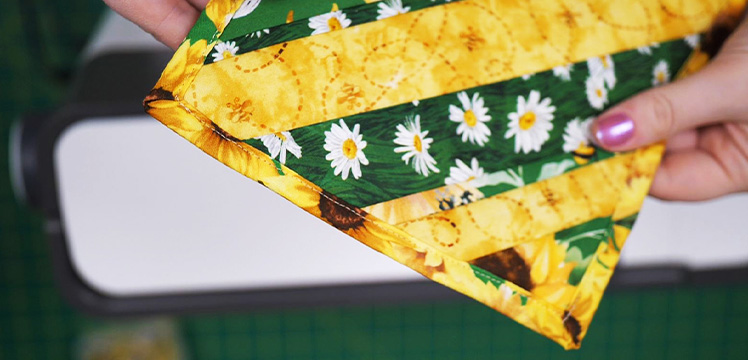
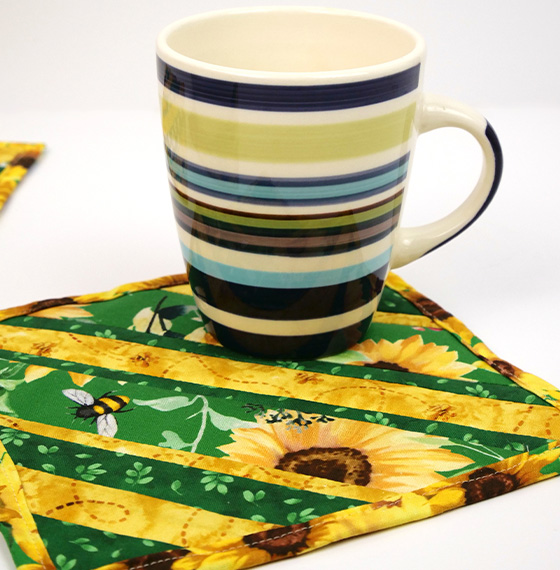
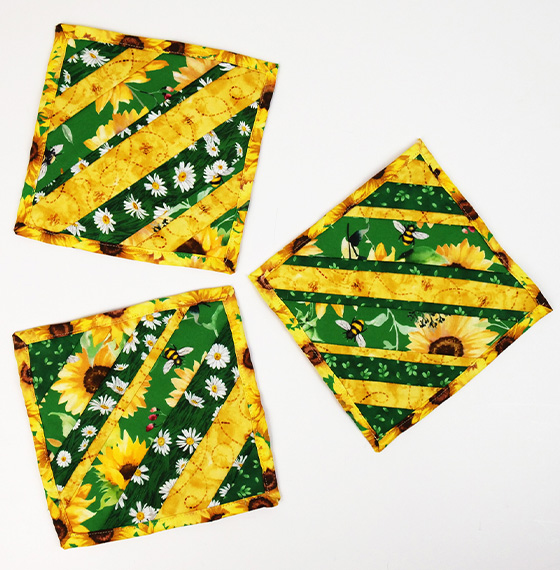
Quilted Potholder


e e
e

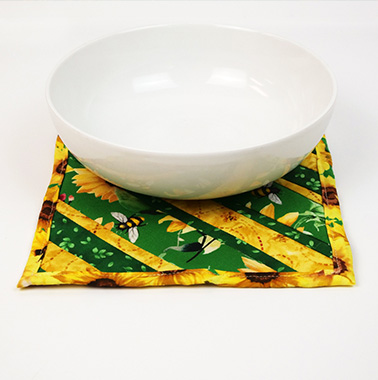
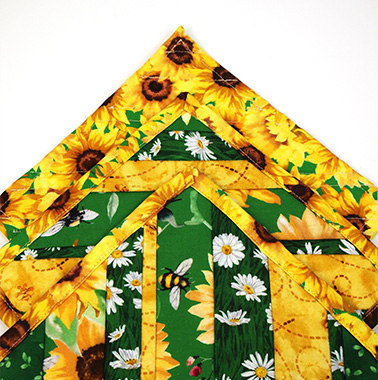
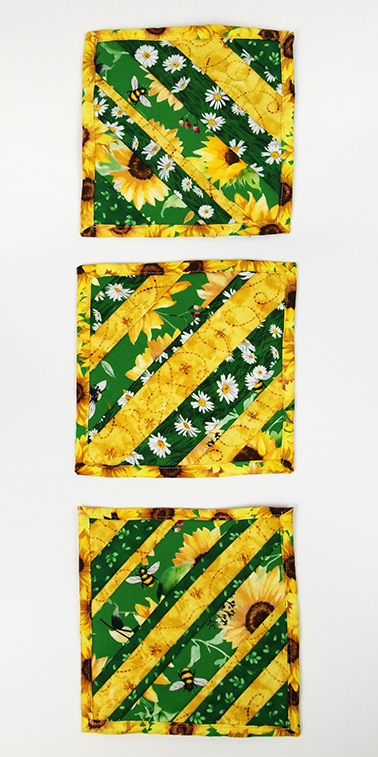
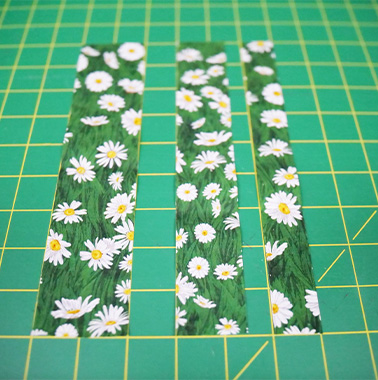
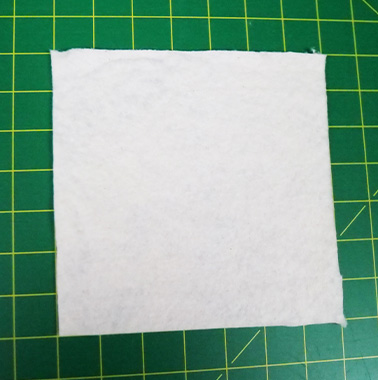
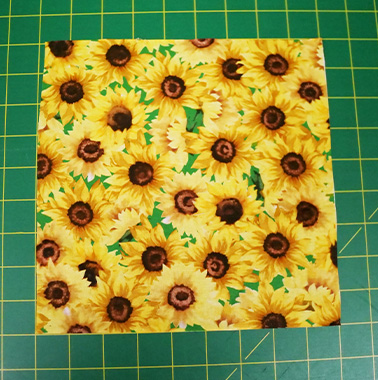
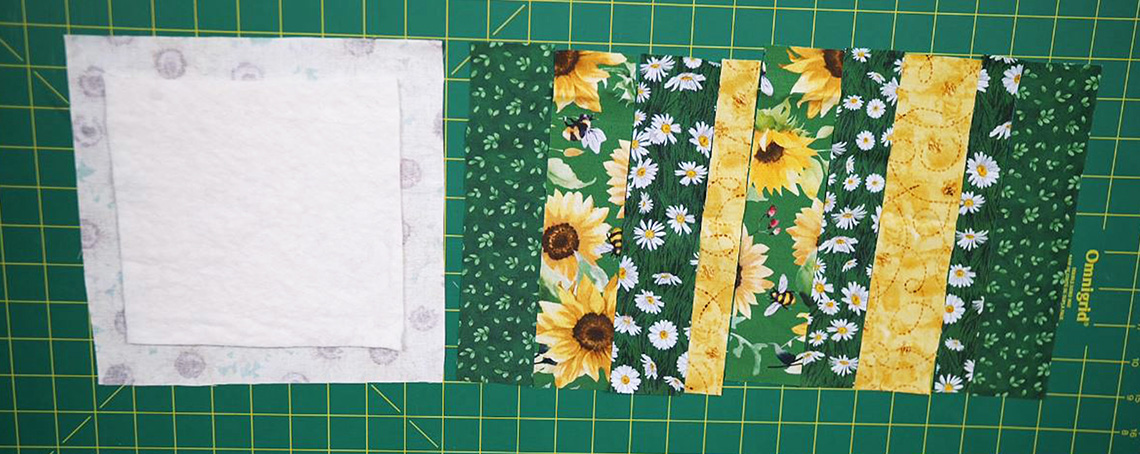
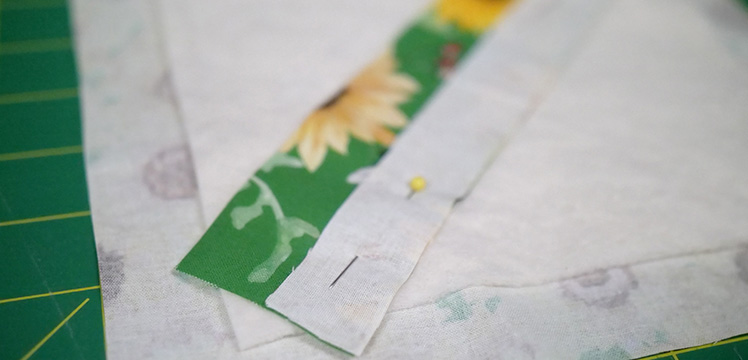
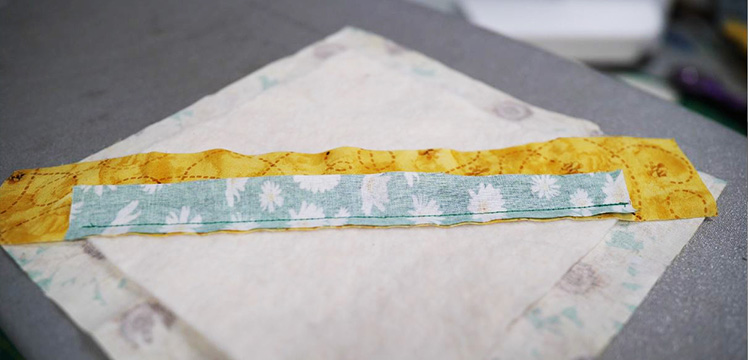
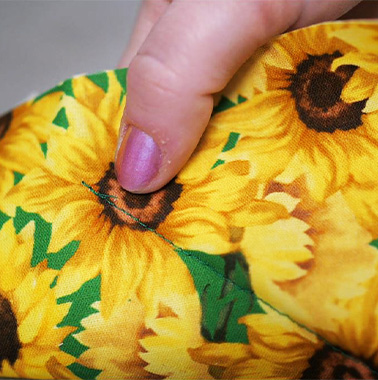
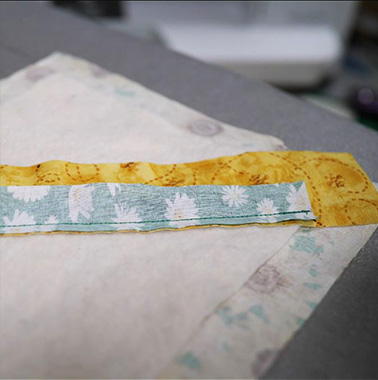
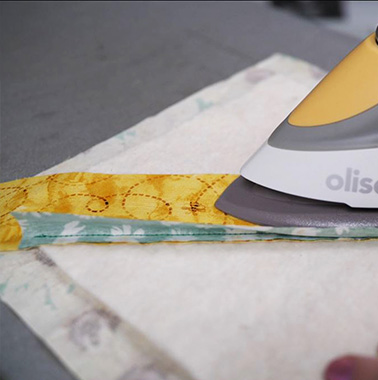
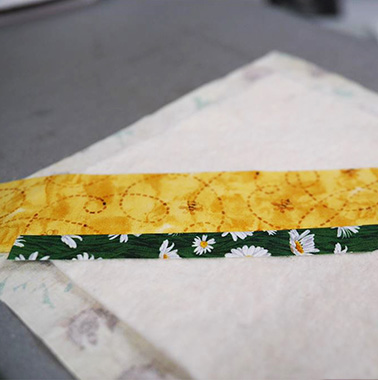
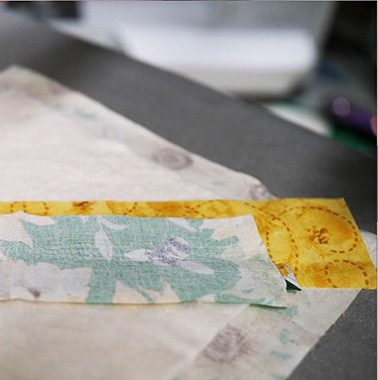
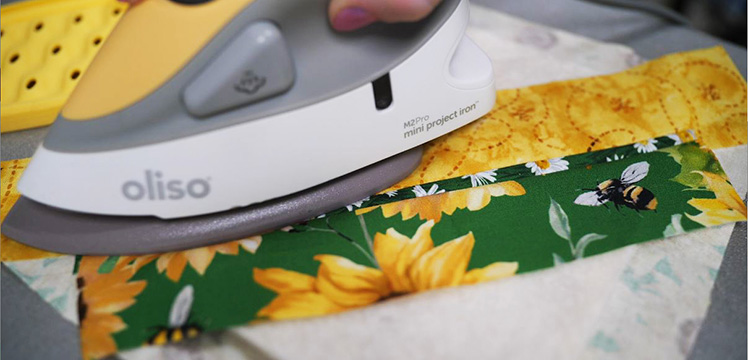
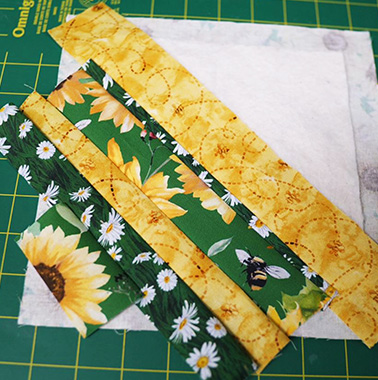
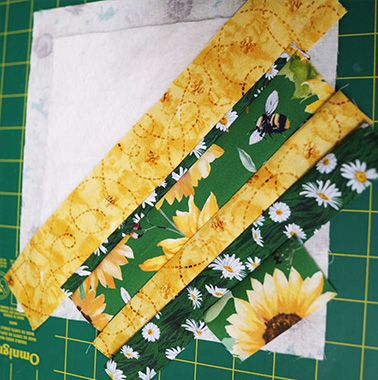
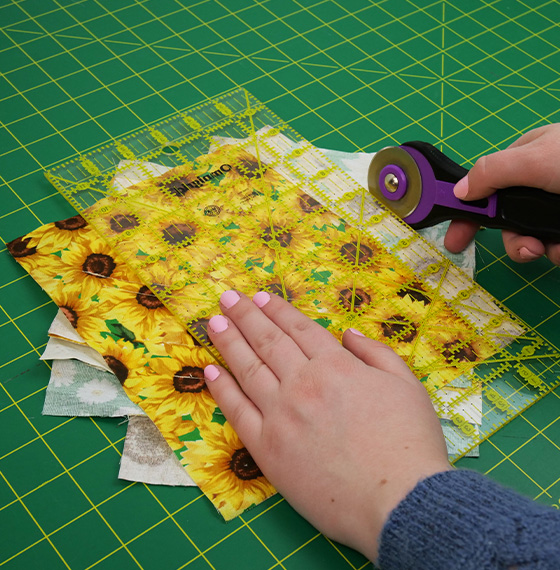
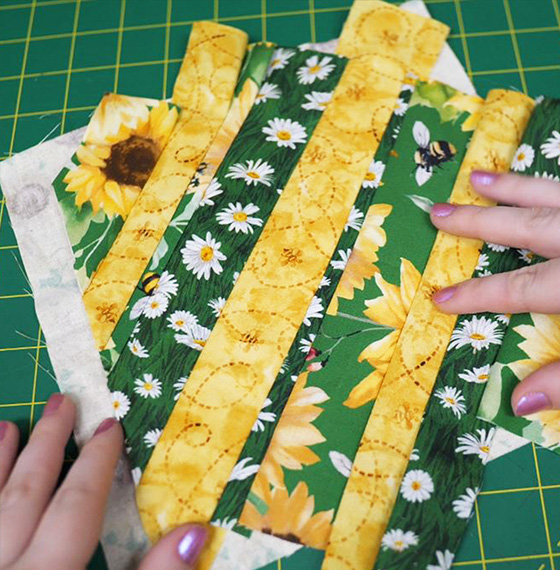
In this project learn how to make a Quilted Potholder! The Quilted Potholder can be used to hold pots, cups, bowls and more. Choose your favourite coordinating craft cotton strips of different widths for a beautiful look.


*Please share your creations on Facebook & Instagram. Tag Fabricland at @fabricland.canada or use the hashtag #fabriclandlove


What you need:

  • Pins
  • Thread
  • Sewing Machine
  • Quilting Clips
  • Iron
  • Tailors Chalk
  • Scissors / Rotary Blade
    Note: Rotary Blade is optional for cutting out strips.

Tips before you start

  • It’s a good idea to pre-wash and press your fabric before you start, especially with quilting cotton because it will shrink and wrinkle.
  • Decide approximately how wide you would like the strips to be. They can very between 1"- 2" (2.5cm - 5cm).
  • Try sewing on a scrap piece of fabric before sewing your project pieces. Adjust your tension, stitch length, and needle type accordingly.

Fabric Recommendations

  • Medium weight natural fibres, because the finished product will need to be durable enough to withstand high heat.
  • 100% Quilting Cotton
  • 100% Cotton Batting
Instructions

x
x
x

Step 1: Cut the fabrics and batting

Cut 12 strips to 9" (23cm) long x 1"-2" (2.5cm - 5cm) wide. The strip width can be customizable depending on preference of the end result’s look.

Cut the batting to 7” (18cm) squared.

Cut the backing fabric to 9” (23cm) squared.

Note: Depending on the width of your strips you may need more or less strips. There can be a mix of some strips being 1” (2.5cm) wide, 1.5” (4cm) and others being 2” (5cm), or all strips being 1” (25cm) wide.

a

Step 2: Lay the batting on the backing

Place backing with the wrong side facing up.

Place the batting in the centre of the backing.

b

Step 3: Make the collar neck

Place the centre strip diagonally across over top of the batting covering two corners right side up.

Place a second strip on top of the first strip so right sides are together, and pin to hold in place.

x
x

Step 4: Sew the first 2 strips to the batting and backing

Stitch with a ¼" (6mm) seam allowance along one long edge of the two strips. These stitches will be going through all the layers that are pinned together (the strips x batting x backing).

Note: DO NOT stitch beyond the edge of the batting. Back stitch at the beginning and end.

x
x
x

Step 5: Open and press strips flat

Open up the strips so that both strips are right sides up. Press the strips flat with an iron for best results.

Optional: Finger pressing.

x
x

Step 6: Attach the 3rd strip

Place an additional strip right side down on top of the second strip. Pin to hold in place.

Stitch with a ¼” (6mm) seam allowance along the raw long edge of the two strips.

Note: DO NOT stitch beyond the edge of the batting. Back stitch at the beginning and end.

x
x

Step 7: Repeat the last step

Repeat the step by adding a strip to the last sewn strip and so on until the batting is covered by the sewn strips to create the front fabric.

x
x

Step 8: Cut off extra fabric from strips

Cut the excess of the front fabric strips off that are longer than the batting.

Note: Do not cut the backing yet.

x
x

Step 9: Cut the backing corners to help create mitered corners (Optional)

Instead of using bias tape for the edges, this pattern uses the 1” (2.5cm) extra around the fabric backing to fold over the edges in Step 10.

In order to help make the corners fold over easier, to create mitered corners, it is recommended to cut off the corners to reduce bulk. Here is the best way to do this:

First measure 1" (2.5cm) away from the corners on the edge of the backing fabric and mark with chalk.

Connect the two marks with a line on each corner.

Cut across the chalk line on each corner.

x
x
x
x

Step 10: Turn the excess backing into binding

Fold the side of the backing in towards the batting, so the raw ends of the batting and the backing are touching. Press with an iron.

Fold the backing forward over the front fabric. Press with an iron.

Repeat this step for all sides to create the binding.

Note: Create a mitered corner by folding the corner in toward the edge of the batting, followed by the side edges.

x
x

Step 11: Hold the corners in place

Hold the corners and edges in place with quilting clips.

x
x

Step 12: Top stitch the binding

Top stitch around the edges 0.4" (1cm) from the opening edge of the binding to complete.

a
b

Project completed

Enjoy your potholder! This strip quilting technique can also be used for other projects, such as sewing machine mats or coasters, by adding more strips!


Note: All products might not be available at all store locations. To find a suitable product alternative for your project, please ask a store team member for assistance.

More DIY Crafts

DIY of the month DIY of the month DIY of the month
Homepage

More DIY Crafts

Sales Slyer

Learn 'HowTo'

Sales Slyer

Sales Flyer

maple

PROUDLY CANADIAN

2024 © Fabricland - All Rights Reserved