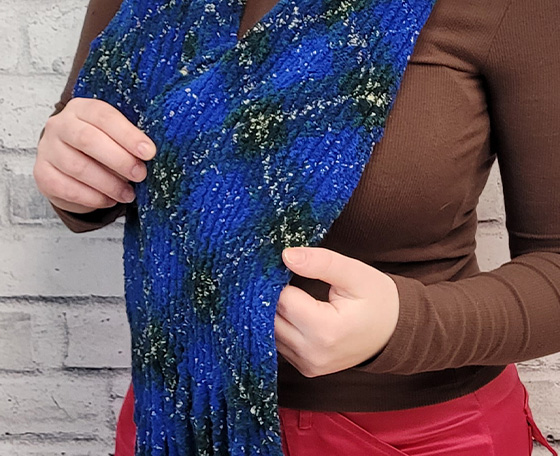
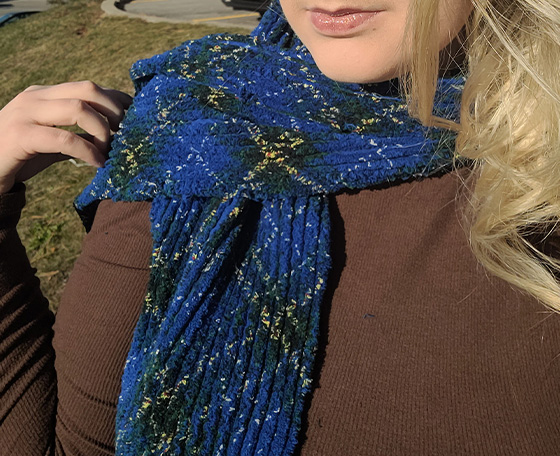
Chenille Scarf


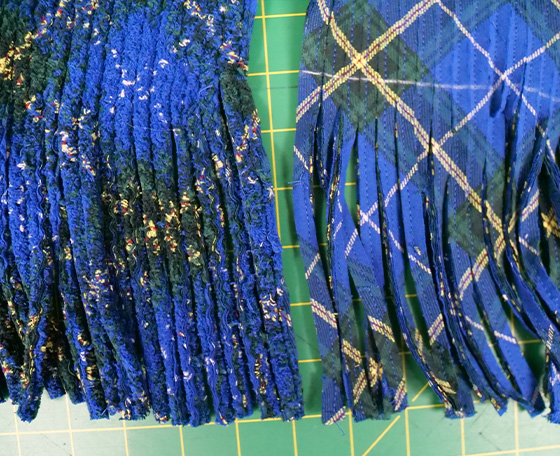
Turn A Regular Cotton Texture Into Chenille!

e
e
e
e

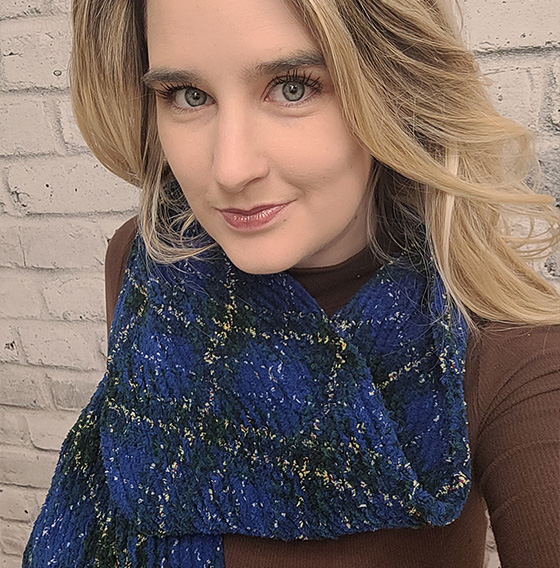
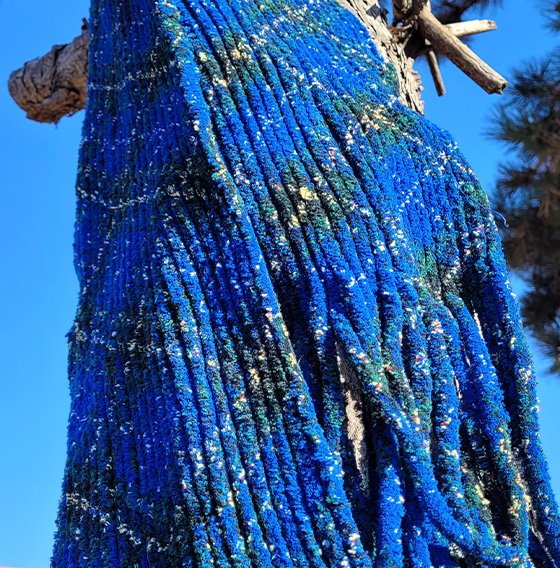
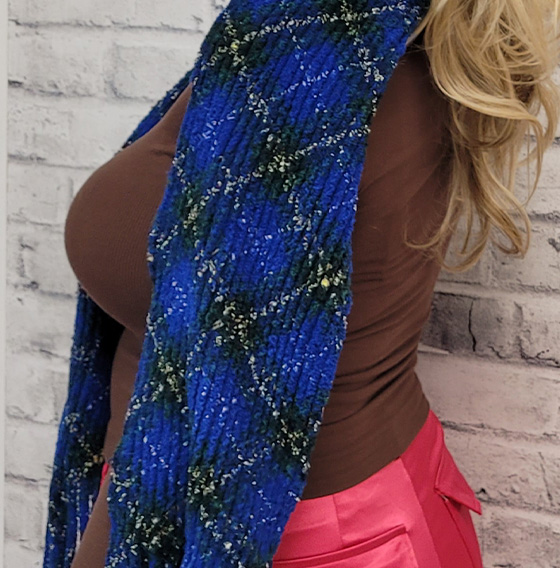
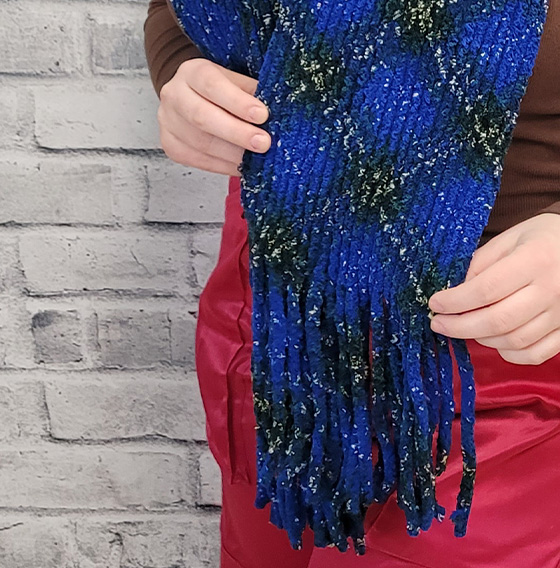
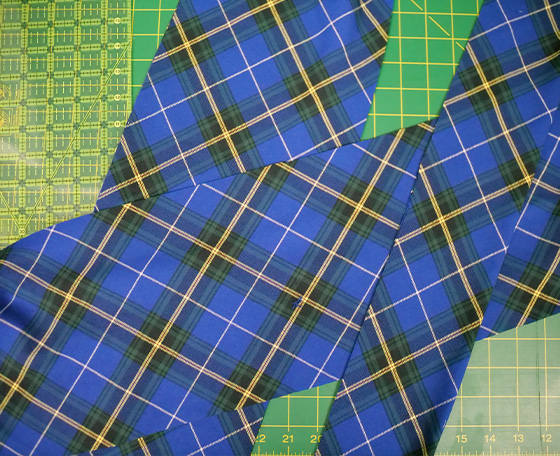
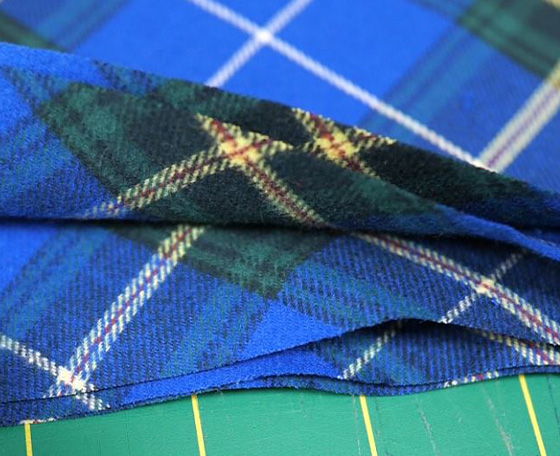
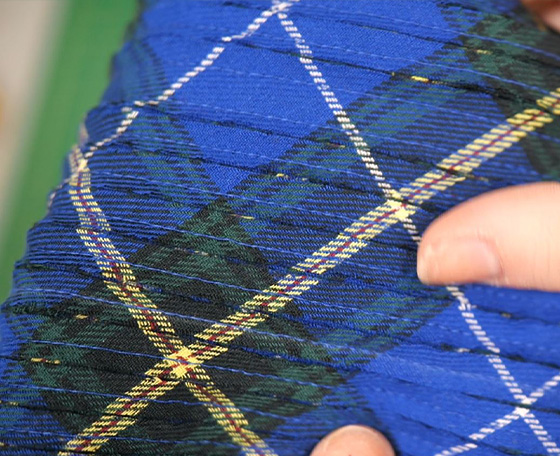
In this DIY project, the maker will learn to convert a standard textured cotton fabric into one with a chenille texture. These instructions are for a chenille scarf, but the maker can apply this technique to make many different items. The method proves excellent for coordinating accessories, allowing for the creation of matching pieces. For instance, a regular textured jacket can be complemented by a matching chenille-textured scarf, ensuring uniformity in fabric, color, and pattern.


*Please share your creations on Facebook & Instagram. Tag Fabricland at @fabricland.canada or use the hashtag #fabriclandlove


What you need:

  • Cotton Fabric
    110.25” (2.8m) Length.
    53” - 60” (135cm-152cm) Width.
  • Washaway Interfacing
    (Optional between layers if the fabric is slippery)
  • OLFA Chenille Cutter
  • Sewing Machine
  • Straight Pins
  • Ruler 8.5” x 24” (21.6cm x 61cm)
  • Tailors Chalk
  • Standard Thread
  • Rotary Cutter
  • Scissors

Tips before you start

  • Take time to read through all the instructions before you start.
  • Do not pre-wash the fabric before you start.
  • Choose a fabric which will fray.
  • Only use fabrics that are machine-washable, as washing the fabric is the step that creates the chenille effect.
  • Try sewing on scrap pieces of fabric before sewing the main fabric layers. Adjust your tension, stitch length, and needle type accordingly.
  • The finished measurement of the scarf will be around 67” (170cm).

Fabric Recommendations

  • Cotton (used in this example) Yarn dyed or brushed cotton is preferred.
  • Natural fibres with weaves which raw edges will fray in the washer/dryer.
Instructions

x
x

Step 1: Lay the fabric on the bias

Lay the fabric out on the bias. Fold the fabric to make a triangle using the selvage edge.

x
x

Step 2: Cut the 4” (10cm) strip on the fold

Lay the ruler on the fold at 4” (10cm). Using the Rotary Cutter, cut the first piece the full length on the fold at 4” (10cm). Place this piece aside, right side up.

Note: When the fold is laid flat, the 4” (10cm) will turn into 8” (20cm).

x

Step 3: Cut 8” (20cm) strips

Mark the next strip at 8” (20cm) wide with the ruler, following the previous line and place aside right side up. Continue to cut strips at 8” (20cm) wide until reaching the end of the piece of fabric. Ensure that there are three strips 70” (178cm) or longer that can be laid out without joining or piecing. The other two strips can be pieced together to create 5 (five) 70” (178cm) strips. Cut the strips as long as possible even if cutting through two layers.

Note: If using Washaway Interfacing to stabilize cut 5 (five) 70” (178cm) strips.

x

Step 4: Create the centre strip

Take one long 70” (178cm) or longer strip (measuring from the shortest side of the strip). Cut off excess and face right side up. This is your centre strip.

x
x

Step 5: Match the short pieces to make a full length

Take a shorter piece and match it with another shorter piece to make the full length. Start the second layer with a long piece to match the short pieces that were trimmed.


Note: Match the diagonal edges together and do not overlap the layers. Cut off the selvage edge on a diagonal, if needed. Pin fabric edge on each piece. Trim fabric edges to make it even. There should be one centre piece and two layers over it, with the right sides facing away from the centre piece. If using the Washaway Interfacing, place each strip between the layers of fabric to stabilize.

x
x

Step 6: Cut the layered ends off 1” (2.5cm)

Cut the end off 1” (2.5cm) of the top layer pieces, making the centre piece to be 1” (2.5cm) longer. This will be helpful when it is time to cut the layers with the Chenille Cutter.


Note: Do this on both sides of the centre piece.

x
x

Step 7: Mark the length with chalk

Now that the 2 layers are complete on one side, use the ruler and tailors chalk to mark the centre line. Place the ruler at 4” (10cm) and mark the full length of the scarf.

x

Step 8: Turn and repeat steps 5 and 6

Turn pieces over and continue, as per step 5 and 6, until there are two layers on this side.

Note: It’s ok if the pins line up with the other side, as the centre piece separates the two sides.

x
x

Step 9: Stitch

Set the stitch length to 2.5-2.8. Using the chalk line, stitch down the length through the centre of all layers. Back stitch at the start and end of each stitch line. The stitches should be in parallel lines, either 3/8” (approx. 9mm) to 1/2” (approx. 1.3 cm) from your first stitch line. Continue stitching until you reach the outer edge.


Note: If the edge does not match up, leave at least 1/4” (approx. 1.60 cm). A walking foot or guiding hands will help guide fabric layers. Be careful of the underlayer pleating. The wider the width between stitches, the thicker the fringe will be. Aligning the edge of the foot with the neighbouring seam is a good way to ensure that the line width is parallel and the same size.

x
x

Step 10: Use the Chenille Cutter

Trim thread ends from the stitching. Using the Chenille Cutter, follow the Chenille Cutters Guide to determine what size setting to cut on.


Example: If you have stitched at 3/8” (approx. 9mm) use the large setting. Place the cutter in-between stitch lines to cut the two layers on each side. Start at the end that has the extended centre piece. Cut in between all lines on both sides.


Note: The edges are rough and do not match up, but these will be trimmed away after cutting is finished. Keep the cutter flat when cutting through to keep the blade in the centre of the stitches. If the cut comes too close to the stitching, it will affect the outcome. The outside edges are the toughest to cut through.

x
x

Step 11: Trim Edges

Trim the side edges to half of the stitch width, or 1/4” (approx. 7mm). Also, cut the ends so they are even.

x
x

Step 12: Make the Fringe

Using the ruler, measure at 6” (approx. 15.20cm) from the ends and mark with chalk. Adjust the length if wanted. Using scissors, cut the end edge to the chalk mark in all rows to make the fringe on both ends.

x
x

Step 13: Machine wash and dry to complete

Machine wash and dry on normal settings to complete. The raw edges will fray to create this beautiful chenille look.


Note: All products might not be available at all store locations. To find a suitable product alternative for your project, please ask a store team member for assistance.

More DIY Crafts

DIY of the month DIY of the month DIY of the month
Homepage

More DIY Crafts

Sales Slyer

Learn 'HowTo'

Sales Slyer

Sales Flyer

maple

PROUDLY CANADIAN

2024 © Fabricland - All Rights Reserved