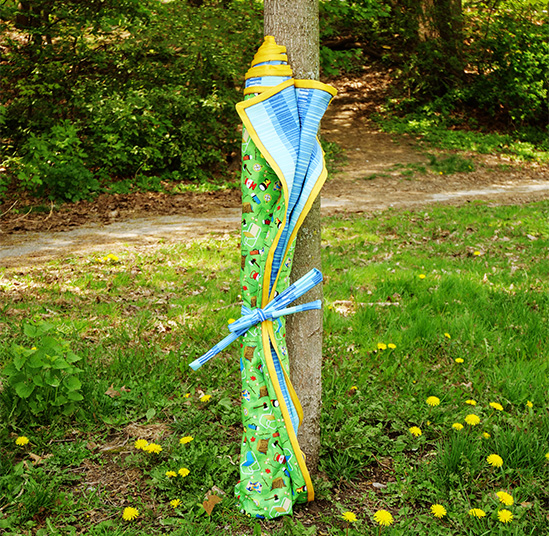
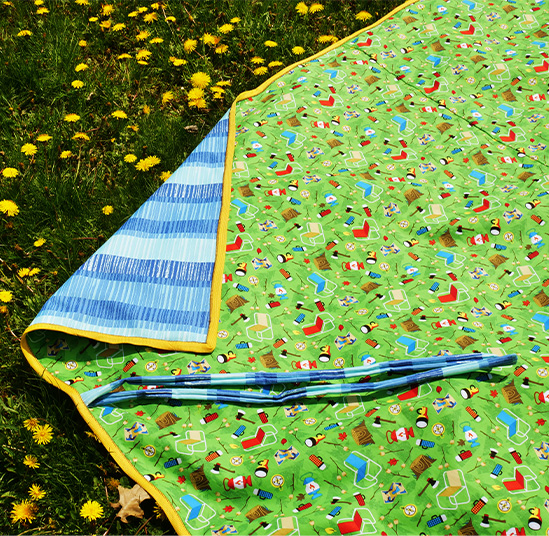
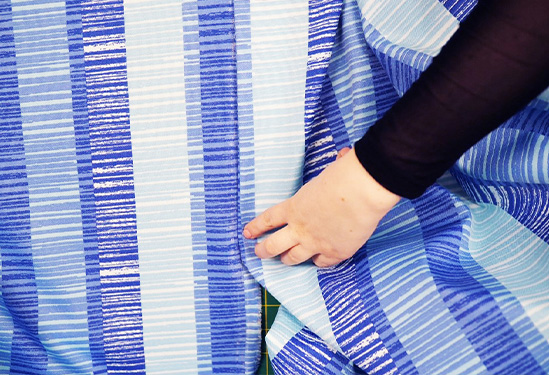
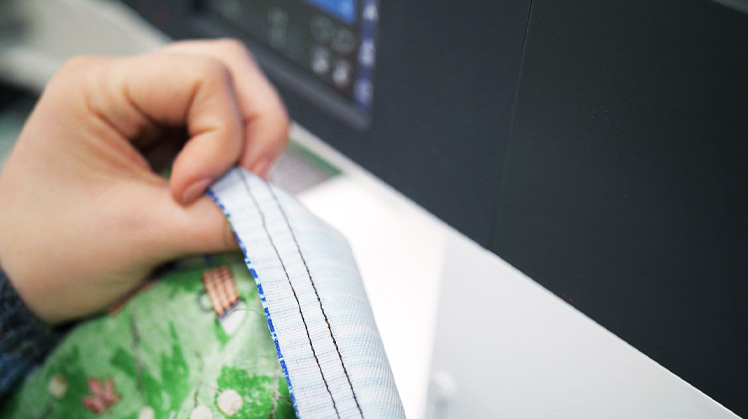
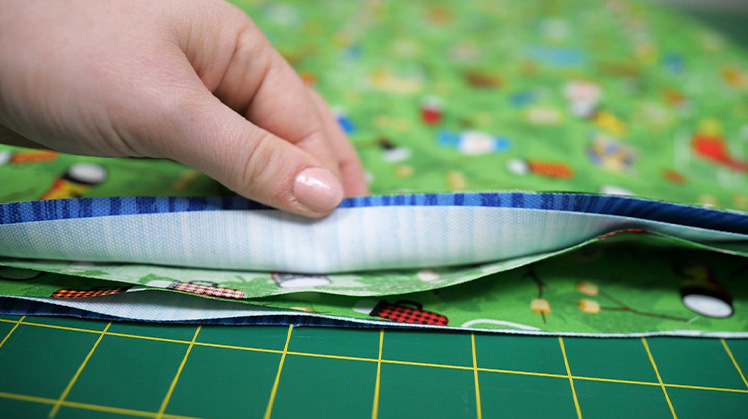
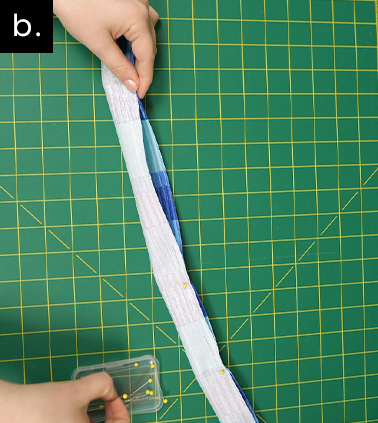
Roll Up Ground Cover
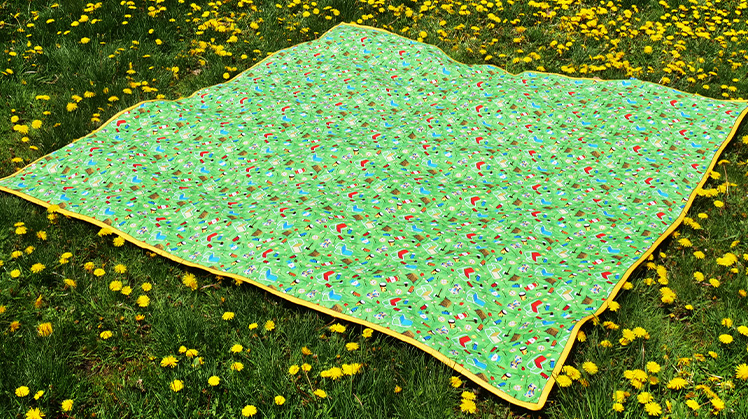
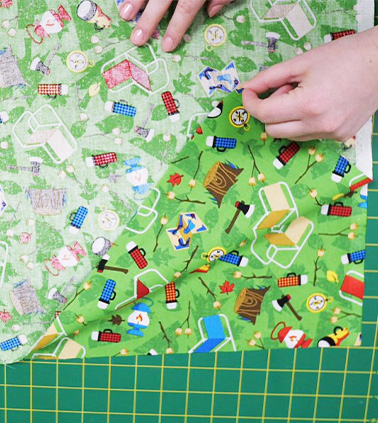
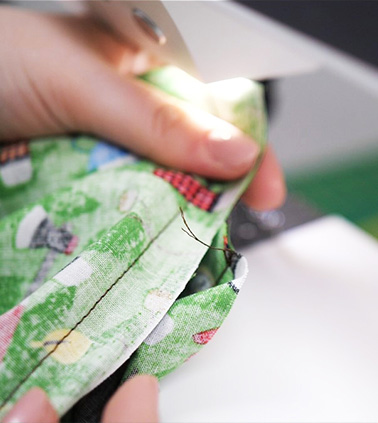
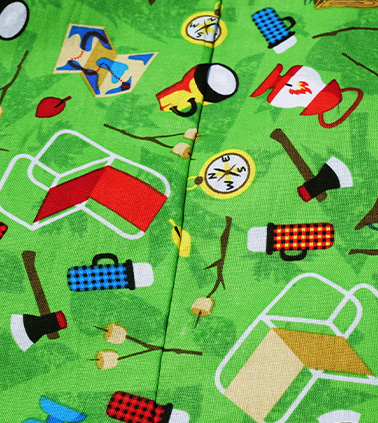
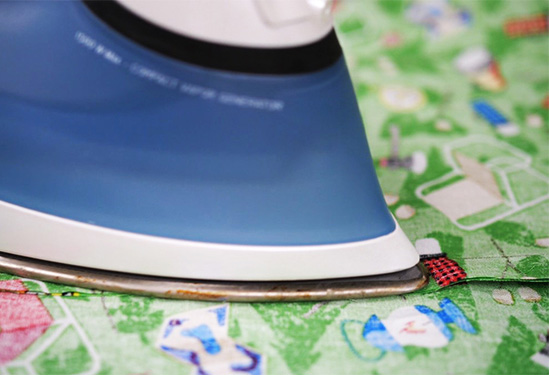
Prepared for all your outdoor adventures this summer with June's DIY of the Month: Roll Up Ground Cover. This practical make can be used for picnics, camping or trips to the beach.
*Please share your creations on Facebook & Instagram. Tag Fabricland at @fabricland.canada or use the hashtag #fabriclandlove