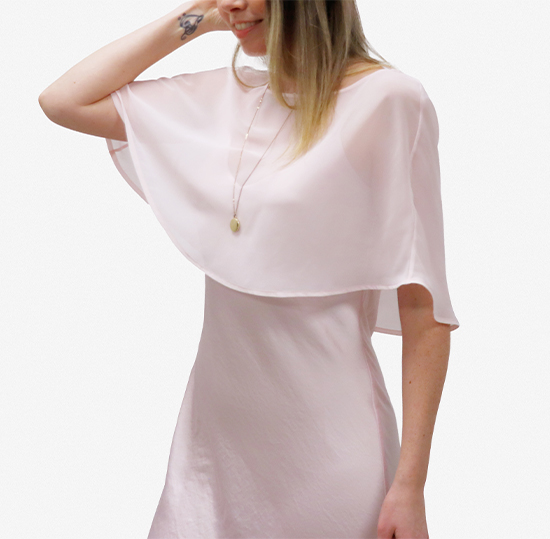
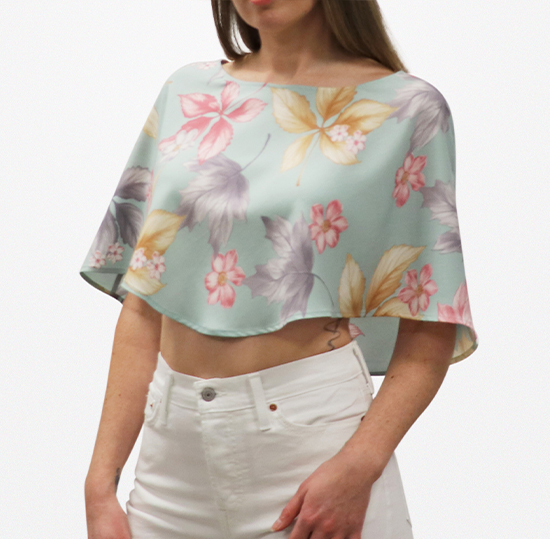
Party Shawl

e

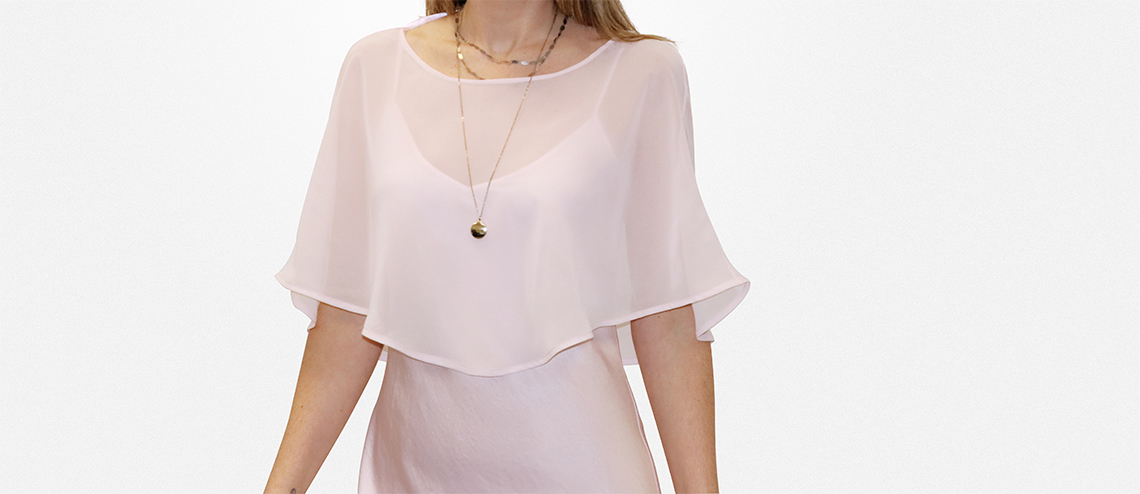
Get party ready with March’s DIY of the Month: Party Shawl.

Whether you’re attending a wedding, a garden party or simply going on a weekend adventure, this pattern can be made to match your outfit or add a style pop to accent jeans.

*Please share your creations on Facebook & Instagram. Tag Fabricland at @fabriclandcanada or use the hashtag #fabriclandlove


e
f


Measurement Chart

Women’s Size XS S M L XL 2XL
Garment Measurements
Shoulder Width (inches)
15.80” 15.91” 16.05” 16.28” 16.45” 16.66”
Fabric Requirements (m)
45" wide
60" wide
1m
0.75m
1.10m
0.75m
1.10m
0.77m
1.10m
0.77m
1.20m
0.79m
1.22m
0.82m
Ribbon or acccent tape (inches) 11.25" 11.36" 11.5” 11.73” 11.90” 12.11”


What you need:

  • 1 spool of polyester thread. (In this example: Gutermann Thread – colour 300, 100% polyester.)
  • Fine sharp pins.
  • Sewing machine needle (For chiffon - 70/10 universal or fine sharp sewing machine needle is recommended. Use the appropriate needle for the fabric you’re using).
  • Fine sharp hand sewing needle.
  • Rotary cutter - works well for cutting out lightweight, fluid fabrics.
  • Lightweight fabric with a fluid drape. (Refer to the size chart for the amount of fabric needed).
  • Ribbon or accent trim. (Refer to the size chart for the amount of fabric needed).
  • 11.5” Ribbon or accent trim. (Refer to the size chart for the amount of fabric needed).
  • Sewing machine
  • Scissors

Tips before you start

  • Press using a pressing cloth to prevent damaging your fabric. Test your iron settings on a scrap piece of fabric before you start your project.
  • Use a scrap piece of fabric to practice sewing with on your sewing machine. Adjust the tension and thread length to what works best with your fabric. Try lowering the thread tension or trying a different needle if your fabric is puckering or stitches are skipping.
  • On lightweight flowy fabrics, fabric weights work well instead of pins to hold your pattern down while you cut. A rotary cutter is also recommended for these types of fabrics.

Fabric Recommendations

Lightweight woven fabrics with a fluid drape and the same amount of give in both directions, such as:

  • Chiffon (used in this example)
  • Rayon
  • Georgette
x

Step 1 : Print pattern pieces on 8.5” x 11” paper and tape them together.

Align the pattern by matching the corners of each diamond. The pages are numbered in order from left to right.

x

Step 2 : Cut out your fabric.


Align the length and width of your fabric to the edges on your table or cutting mat to ensure that the grainlines on your fabric are straight. Align the bias grainline on the pattern with the edge of your fabric.

a
b
c

Step 3 : Finish the back neck with a ¼” double turned hem.

a. Baste along the hem with a 1/4” seam allowance, leaving a tail of thread at the beginning and end. Do not backstitch.

b. Press the seam to the wrong side of the fabric 1/4” and press. Then turn it up one more time 1/4” and press again, pinning as you go.

c. Sew the hem in place along the top of the fold.


x

Step 4 :Fold the bias strip in half lengthwise with wrong sides together and press.


x

Step 5 : Finish the front neckline.

a. Stay stitch along the neckline with just under 1/4” seam allowance.
b. Pin the bias strip to the right side of the front neckline with raw edges together. Sew the bias strip to the neckline with a 1/4” seam allowance. Backstitch at the beginning and end.
c. Press the seam open with the folded edge and raw edge folded together, away from the front piece.
d. Understitch the neckline along the bias strip 1/16” away from the seam.
e. Trim the raw edge of the seam allowance to 1/8”.
f. Press the entire bias strip to the wrong side of the neckline, with the raw edge hidden between the bias strip and the front piece.
g. Sew the neckline along the bottom edge of the folded bias strip. Backstitch at the beginning and end.


x

Step 6 : Sew the back and front together with French seams.

a. Pin the front and back shoulders together with the wrong sides facing each other. Match the back neck up to the front neckline 5/8” away from the shoulder. Sew the shoulder seams with a 3/8” seam allowance, backstitching at the beginning and end.
b. Trim the shoulder seams to just under 1/4”.
c. Press the seam flat with the seam allowance facing one side.
d. Flip the pieces wrong side out with the seam sandwiched between the front and back and press the seam.
e. Sew the shoulder seams with a 1/4” seam allowance, enclosing the raw edges in the seam. Start at the hem and finish at the neck, backstitching at the beginning and end.
f. Flip the shawl wrong sides out and press the seams towards the back.


e
f
g

Step 7 : Finish the hem with a 1/4” double turned hem (similar to step 3)

a. Pin the side seams towards the back. Baste along the hem with a 1/4” seam allowance leaving a tail of thread at the beginning and end. Do not backstitch.

b. Press the seam to the wrong side of the fabric 1/4” and press. Then turn it up one more time 1/4” and press again, pinning as you go.

c. Sew the hem in place along the top of the fold.


e
f

Step 8 : Hand sew the back trim/ribbon onto the back neck at each side of the shoulder.

a. Flip the shawl wrong side out and stitch the ribbon/trim to the back side of the seam allowance.

b. Continue sewing with the same strand of thread, folding the back neckline out and under the trim. The trim should be sandwiched between the seam allowance and the back neck. Sew through all layers to secure the ribbon/trim in place.


Step 9 :Give it a final press and you’re done! Try different woven fabrics and trims for different effects.

x
e
f

Note:All products might not be available at all store locations. To find a suitable product alternative for your project, please ask a store team member for assistance.

More DIY Crafts

DIY of the month DIY of the month DIY of the month
Homepage

More DIY Crafts

Sales Slyer

Learn 'HowTo'

Sales Slyer

Sales Flyer

maple

PROUDLY CANADIAN

2024 © Fabricland - All Rights Reserved