Hanging Wall Organizer
Is your current workspace more chaos than creative? Imagine still having all the tools you need nearby, organized & easy to find. We know, it seems like a dream.
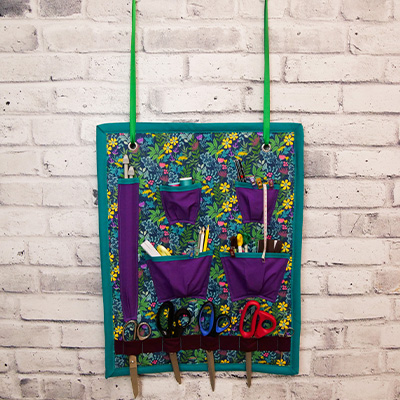
Make that dream come true with our Hanging Wall Organizer DIY! This handy storage solution project features 5 pockets and several scissor slots.
Difficulty Level: Easy
What you need:
Click to know more

19.7” x 25.6”(W50cm x H65cm) Front Fabric

19.7” x 25.6”(W50cm x H65cm) Backing Fabric

Contrasting Fabric for Pockets (Step 3 for more info):
The Knitting Needle Pocket
Scissor Pocket
Small/Medium Pockets (For Notions)
19.7” x 25.6”(W50cm x H65cm) Fusible Foam
Hot Iron
93"(236cm) of 2"(50mm) Double Fold Bias Tape (Optional)
1"(25mm) Double Fold Bias Tape (Optional) (Quantity depends on the number of pockets. See Step 3)
1" and 2"(25mm and 50mm) Double Fold Bias Tape Maker (Optional)
Thread
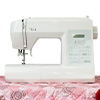
Sewing Machine
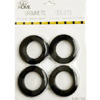
2 Grommets + Grommet Tool

Hammer (Provided by Maker)
Wash-out Pencil
Rotary Cutter
Straight Pins/Clips
2 Adhesive Hooks (Provided by Maker)

98.5"(2.5m) Ribbon
Ruler
Fabric Recommendations
Medium weight woven fabrics such as::


Tips before you start
- Read all of the instructions before starting this project.
- It’s a good idea to pre-wash and press your fabric before you start, if you are planning on washing this wall organizer, because natural fibres will shrink. However, some fabrics are not machine-washable, so follow the care instructions for your chosen fabric.
- Press using a pressing cloth to prevent damaging your fabric. Test your iron settings on a scrap piece of fabric before you start your project.
- Decide approximately what size you want your wall organizer to be before you cut your fabric and shorten or lengthen the pattern accordingly.
- Try sewing on a scrap piece of fabric before sewing your organizer pieces. Adjust your tension, stitch length, and needle type accordingly.
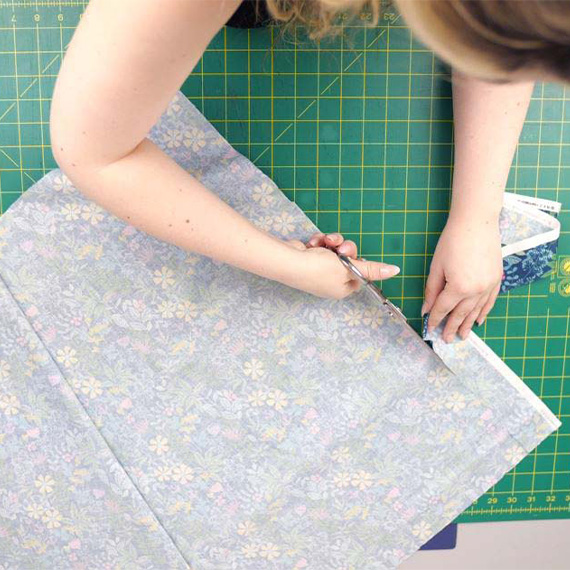
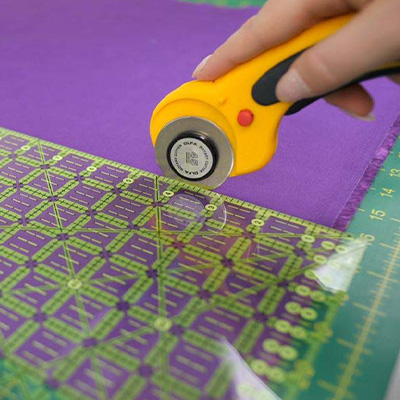
Step 1: Cut Fabric
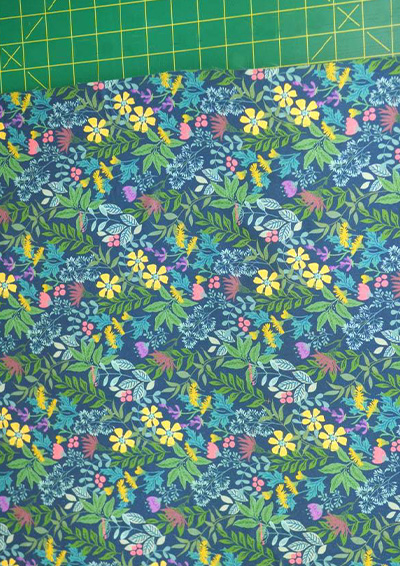
Take the front fabric, backing and the fusible foam and cut all to this dimension: 19.7" x 25.6"(W50cm x H65cm).
Note: If you would like your Hanging Wall Organizer to be a different size, cut the front fabric, backing and fusible foam to your preferred size.
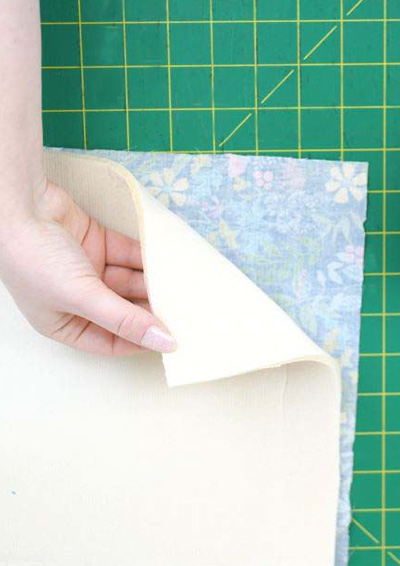
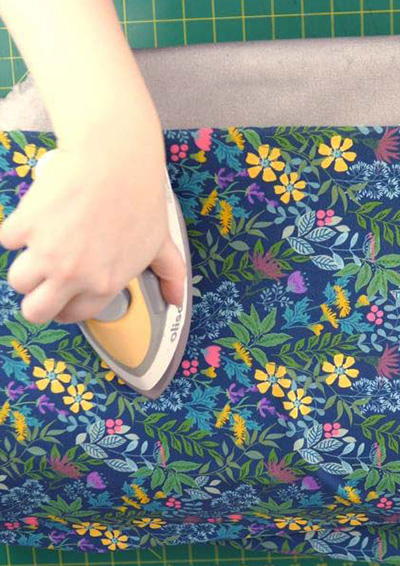
Step 2: Fuse Pieces
Fuse the wrong side of the front fabric to one side of the fusible foam with a hot iron. Don’t iron the backing on yet.
Step 3: Pockets
In this section learn about the below:
- The Scissor Hanger
- The Knitting Needle Pocket
- Small/Medium Sized Rectangle Pockets
- Bias Tape Finish
- Pocket Pleats
- Attach Pockets
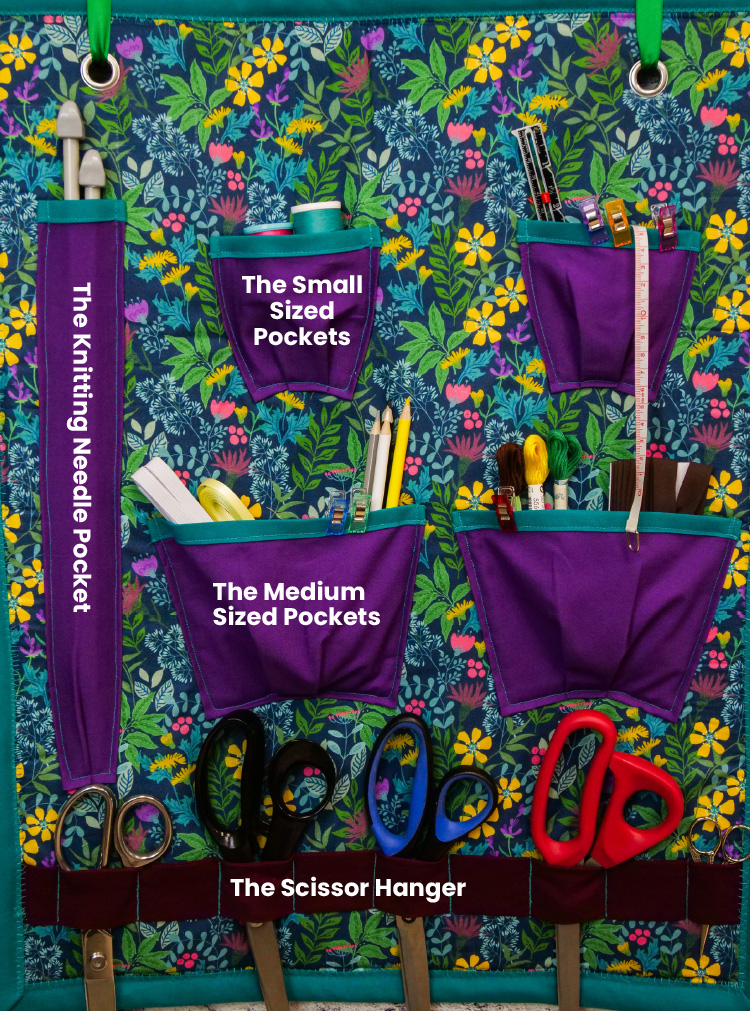
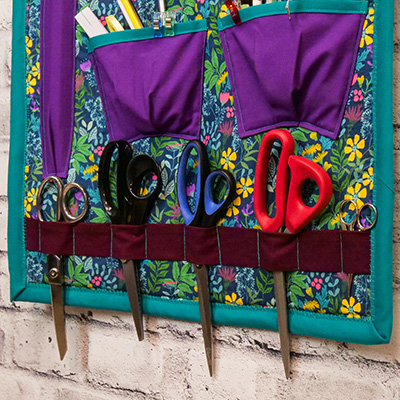
The Scissor Hanger(Multiple scissors can be taken in and out of this Hanger)
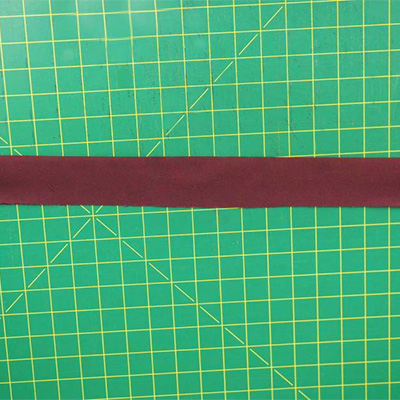
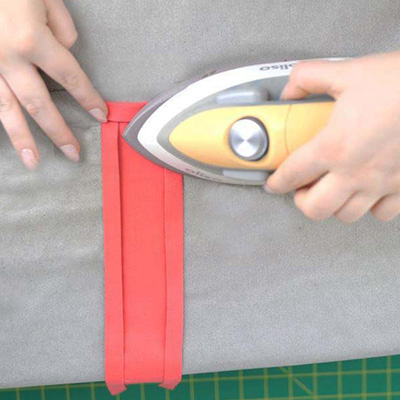
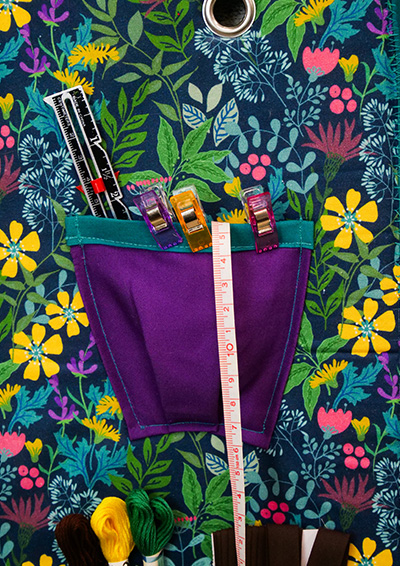
The size of the sections depends on the scissors being stored. A 2" (5cm) section is a good size for regular scissors so that the top of the scissors top won’t slip out and the bottom of the scissor can slide inside. The size of the sections can easily be adjusted. Cut out a rectangle in contrasting fabric to H4" x W9.5"(10cm x 24cm). Fold the width in half and press (hot iron or finger press) wrong sides together. Reverse the fabric so the right sides are together. Sew across the raw edge of the width to make a tube shape. Turn inside out. Mark the sections with fabric chalk. Measure and place the piece onto the main fabric. Stitch and back stitch on the chalk lines to secure.

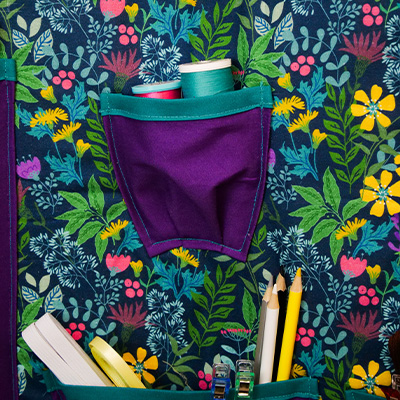
The Knitting Needle Pocket(This is a pocket for knitting needles to sit in)
Cut fabric to H14"x W4" (35.5cm x 10cm)
The length of standard steel knitting needles at Fabricland are: 13 3/4"(35cm)
Fold the width and the bottom of the length of the fabric in on both sides by 1/4” (0.6cm), wrong sides towards the centre. Don’t fold the top. Press the folds in with a hot iron. Fold inward 1/2" (1.27cm) and press the folds in with a hot iron.
Hem or put bias tape/trim over the top width. Pleat the bottom of the pocket. (See Top Bias Tape Finish and Pocket Pleats instructions for more information on how to do this.)
Place the pocket where you want it to go, wrong sides of the pocket facing the main fabric. Pin in place and sew around the folded edge of the pocket. This stitch will attach the foam, main fabric and pocket.

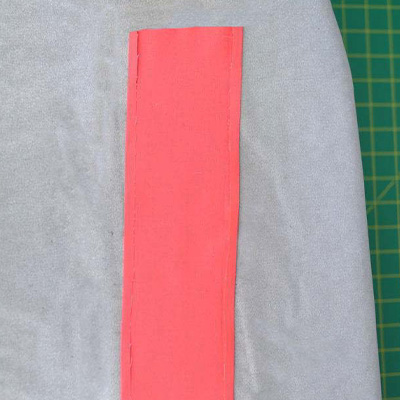
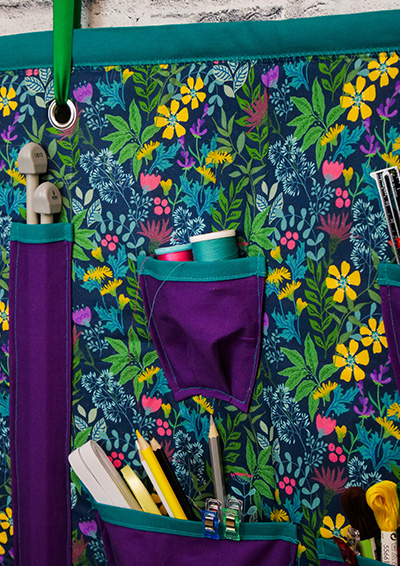
Small and Medium Sized Pockets
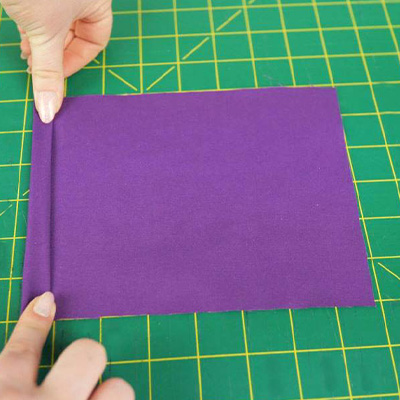
Cut the fabric (use the below measurement chart for dimensions). The size of the pocket can easily be adjusted. Fold in 1/4” (0.6cm) on the side edges of the width and across the bottom of the length, wrong sides are folded in towards the centre. Don’t fold the top. Press the folds in with a hot iron.
Fold what has been already folded 1/2” (1.27cm) towards the centre and press the folds in with a hot iron.
Hem or put bias tape/trim over the top width. Place the pocket where you want it to go, wrong sides of the pocket facing the main fabric. Pin in place and top stitch around the folded edge of the pocket. This stitch will attach the foam, main fabric and pocket together.


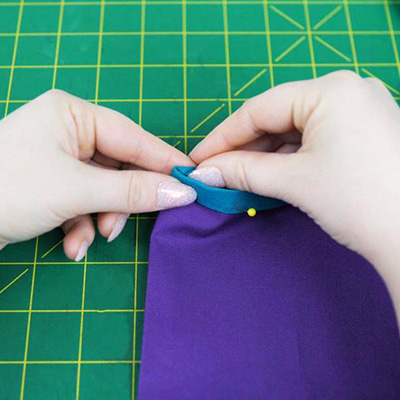
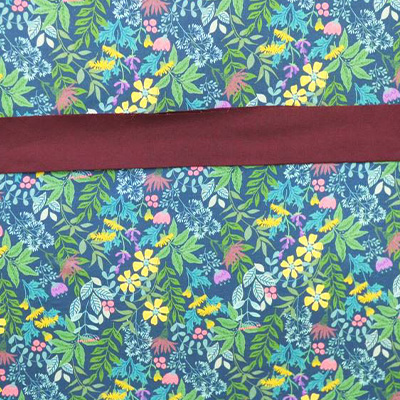
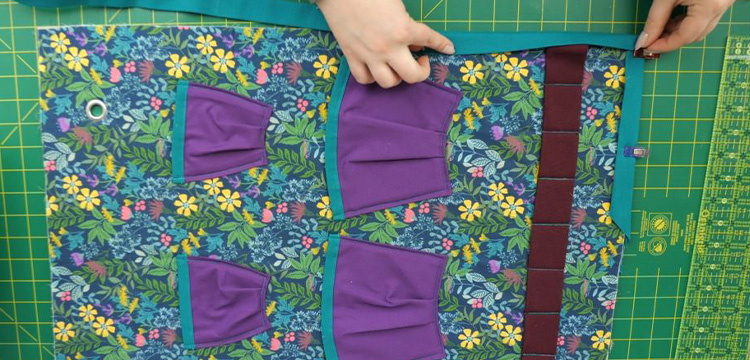
Bias Tape Finish (Optional)
For the top of the pockets choose to hem or straight/zig-zag stitch on a decorative bias tape. For the pockets in the above picture, a 1” (25mm) bias tape was used. Note: 2" (50mm) is used in Step 6.


Pocket Pleats
Fold 1" (2.5cm) from the bottom middle and fold the sides in 1/2" (1.3cm) behind the 1" (2.5cm) fold. The folds should meet in the centre. This will create a cup effect, making space within the pocket. Pleats can be made larger or smaller to accommodate different sized pockets.
Attach Pockets
Sew the pockets onto the main fabric. Be aware of where you will be placing grommets and that the pockets are not too close. Below are instructions on how to make each style of pocket. You can choose the pocket types and colour combination that work best for what you would like the hanging wall organizer to hold.
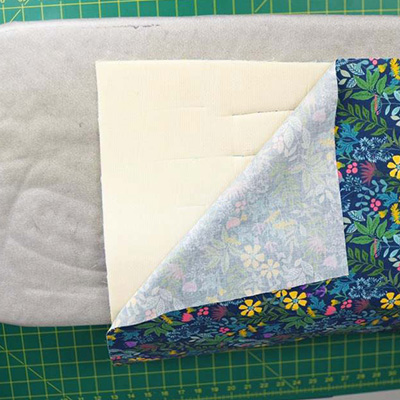

Step 4: Add Backing Fabric
Use a hot iron to fuse together the wrong side of the backing fabric onto the foam back.

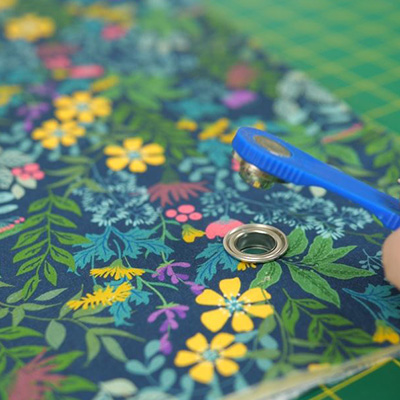
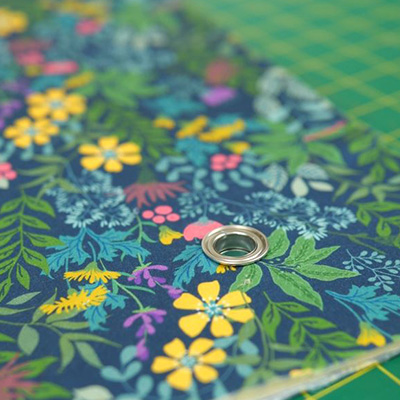
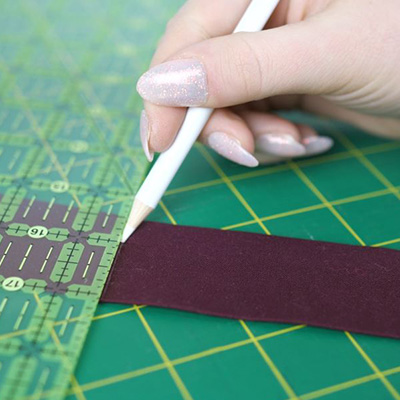
Step 5: Add Grommets
Mark where the grommets will be with the wash-out pencil and a ruler. Then, add a grommet on the marking by using a hammer and the grommet tools provided in the grommet package.

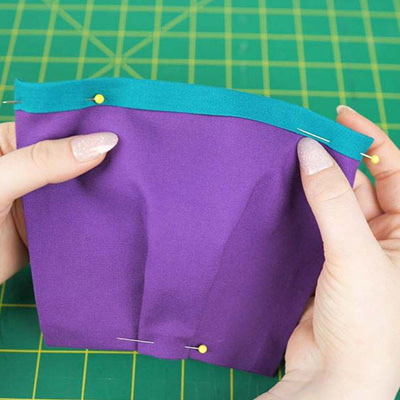
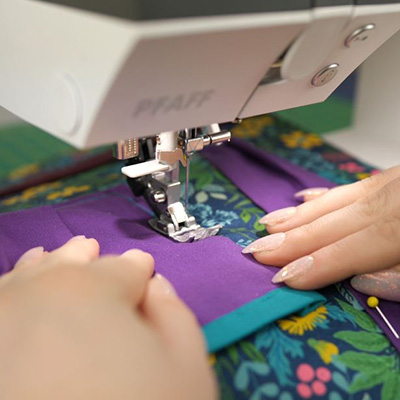
Step 6: Bias Tape Finish
Place the fused fabric and foam between the opening of the double fold bias tape and clip in place.
Zig-zag stitch to secure. For this edge, a 2" (50mm) bias tape maker was used. For a mitred corner hack click here.
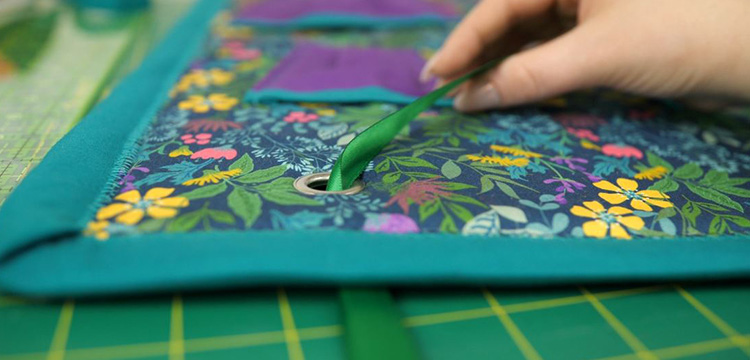
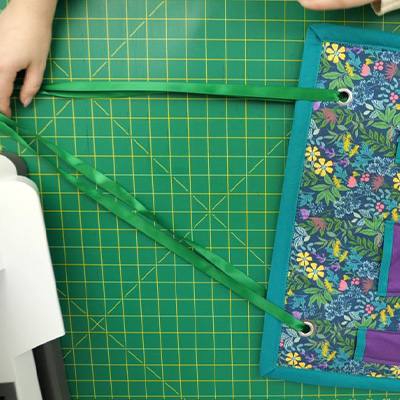
Step 7: Ribbon
Run the ribbon through the front of the grommets and tie the raw ends together to make the ribbon a continuous piece.
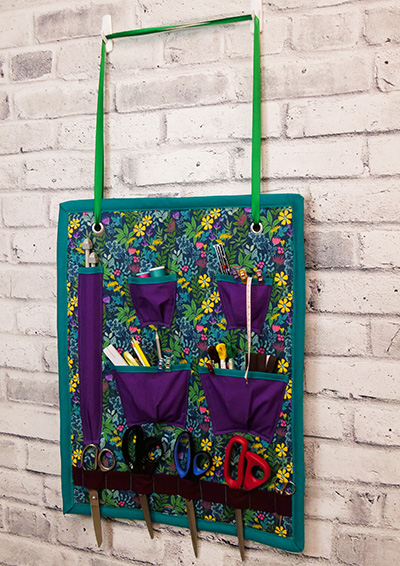
Project is Complete
Hang the wall organizer up by placing the two adhesive hooks parallel in width to the grommets. Hang the ribbon over and around the hooks.


