Upcycled Lampshade
Upcycle a lampshade to create a treasured home décor feature which will make them ask, “Where did you buy that beauty?” Our Upcycled Lampshade DIY provides step-by-step instructions on how to create two beautiful styles - a Gathered Lampshade & a Pleated Lampshade.
Difficulty Level: Intermediate

What you need:
Click to know more
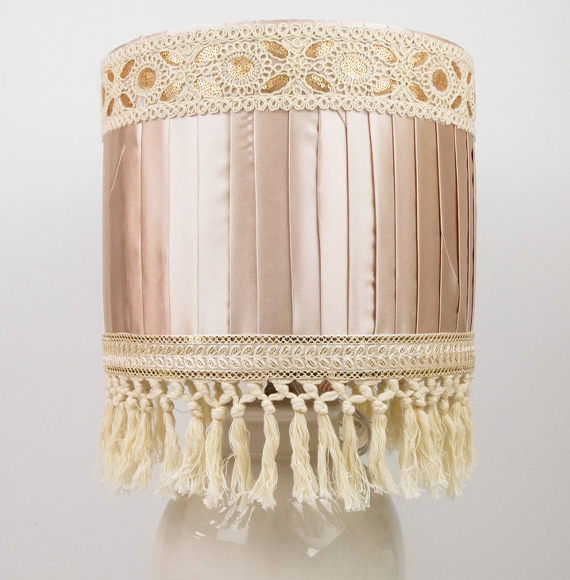
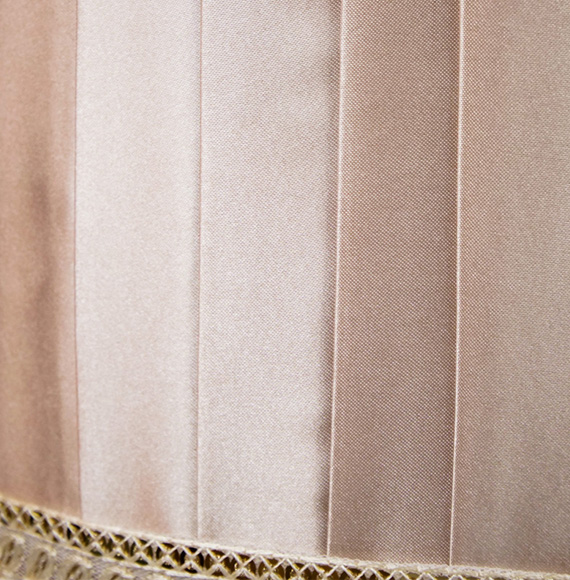
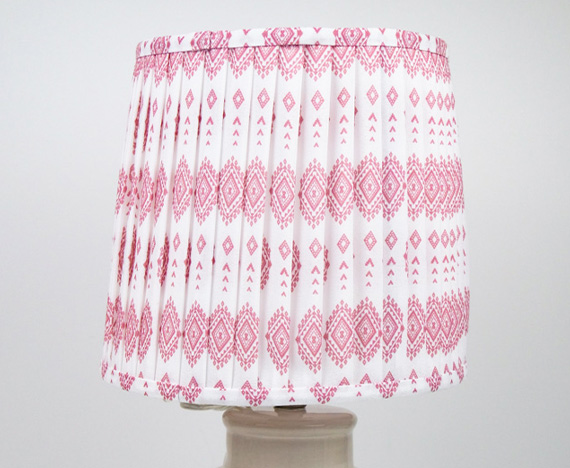
Pleated Lampshade

Lampshade

Fabric (Refer to step 2 for quantity)

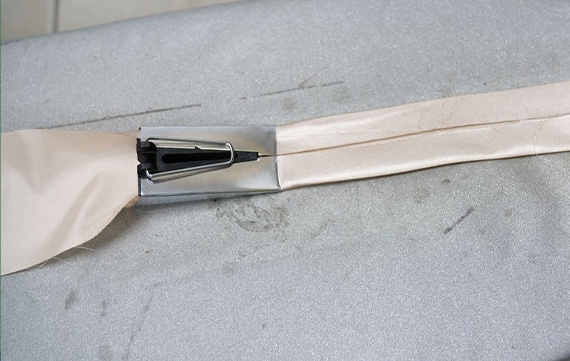
2" (50mm) Bias Tape Maker

Hot Iron
OR

Trim in a 2" (50mm) strip (Refer to step 2 for quantity)
Ready Made Single Fold Bias Tape (Refer to step 2 for quantity)

Clips

Rotary Cutter

Ruler

Hand Stitch Needle

Thread

Decorative Trim & Accessories (Optional)

Non-Flammable Glue (Optional)
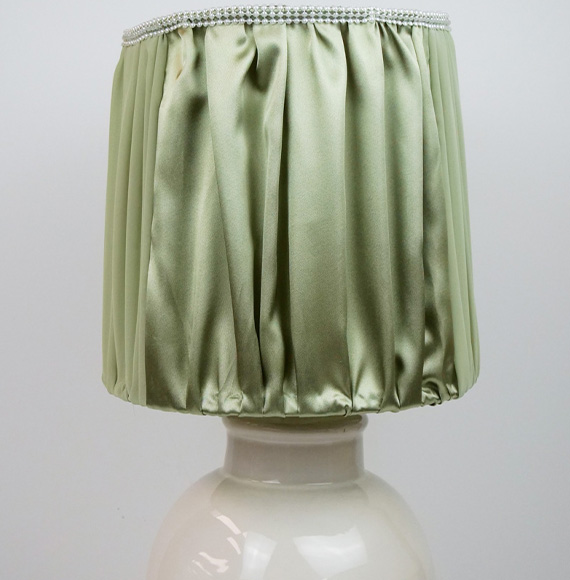
Gathered Lampshade
Lampshade
Fabric (Refer to step 2 for quantity)

Contrasting Fabric (Optional. Refer to step 4 for quantity)

Trim (Optional)

Scissors / Rotary Cutter
Thread

Sewing Machine

Straight Pins / Clips
Hand Stitch Needle
Ruler
Decorative Trim & Accessories (Optional)
Non-Flammable Glue (Optional)
Fabric Recommendations
Pleated Lampshade
Synthetic fabric that is easy to fold into a small thickness and is structured enough so that the fabric fold does not to fall out of place after ironing.


Pleated Lampshade
Synthetic fabric that can tolerate some resistance.

Tips before you start
- Please read all the instructions before starting this project. Notice that the steps are for either the Pleated Lampshade only or the Gathered Lampshade only.
- Try sewing on a scrap piece of fabric before sewing your project pieces. Adjust your tension, stitch length, and needle type accordingly.
- LED bulbs are recommended.
- Synthetic fibres are recommended.
- Do not let the light bulb be in direct contact with fibres.
- Fabricland is not responsible for any property damages or medical issues caused by items or techniques you read about on our website or social media.
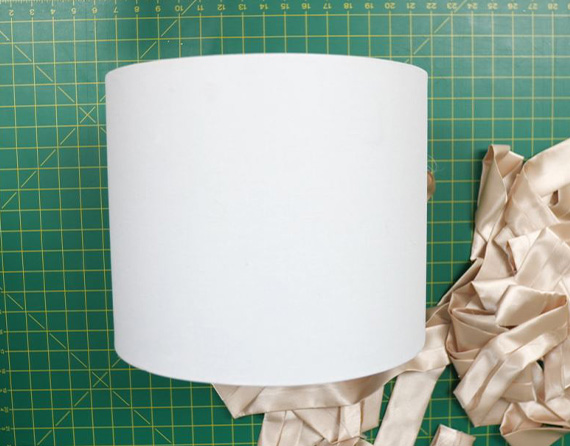
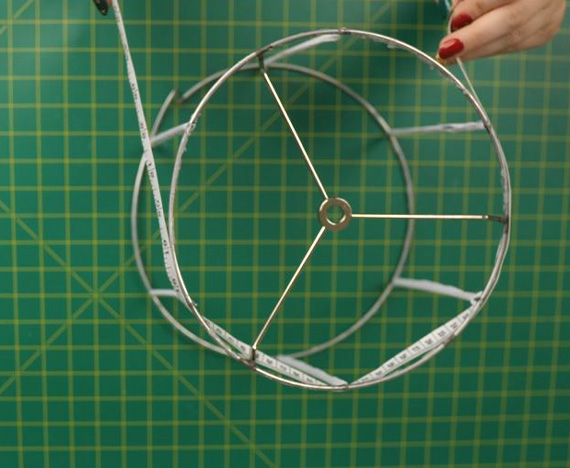
Step 1: Strip the Lampshade
Strip the lampshade down to the metal frame or base structure.
Step 2: Decide on Materials
Decide on how you would like to decorate the lampshade. There are two options: Create fold over bias tape that is made out of synthetic fabric or use synthetic trim. There will be a lot of pulling and friction on what will wrap around the lampshade. Make sure to use a small seam allowance for this reason when attaching pieces of single fold bias tape together.
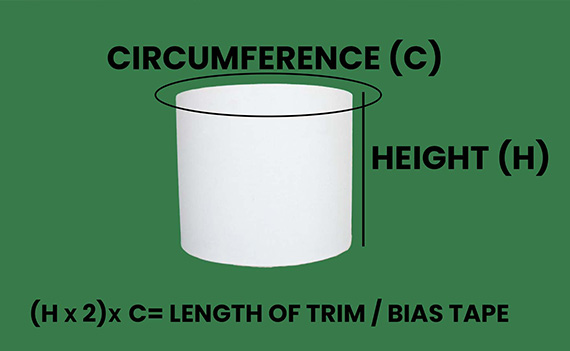
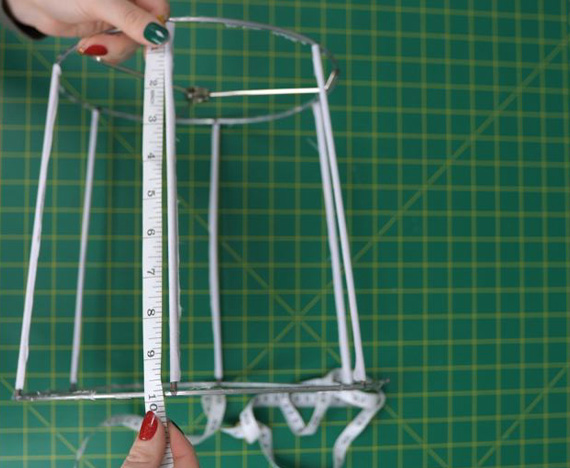
To determine how much trim to make or buy, measure the height of the lampshade then multiply that measurement by 2 to find out the total height. Next, measure around the circumference of the lampshade and multiply that measurement by the total height. This will be the length of trim you will need. Example: For a lampshade that has a 40"(102cm) circumference, and a height of 10"(25cm), you would need to multiply (10" x 2) 40" = 800" This means you need a length of at least 800"(20.32m) of trim or single fold bias tape. An extra metre is recommended. The trim must be 2"(5.08cm) wide when finished. This means cutting 4"(10.16cm) of fabric wide when making single fold bias tape (See picture above).
To create bias tape out of fabric, follow the how-to instructions available on our website: Bias Tape

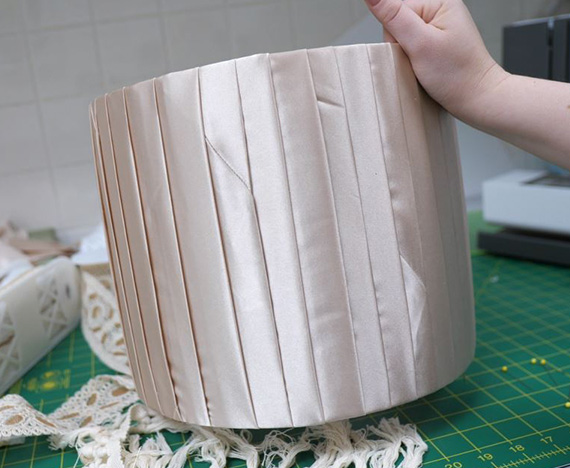
Step 3: Overlap Around the Lamp
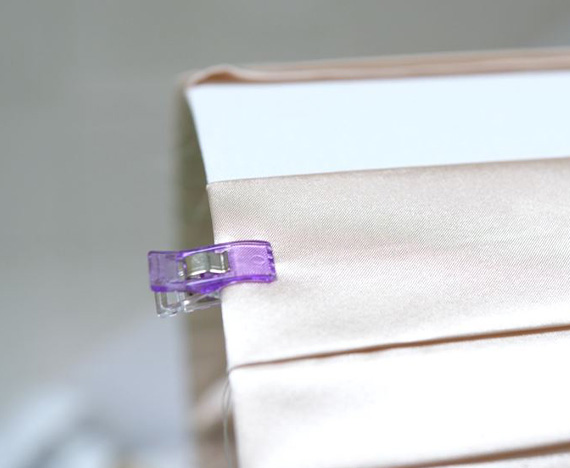
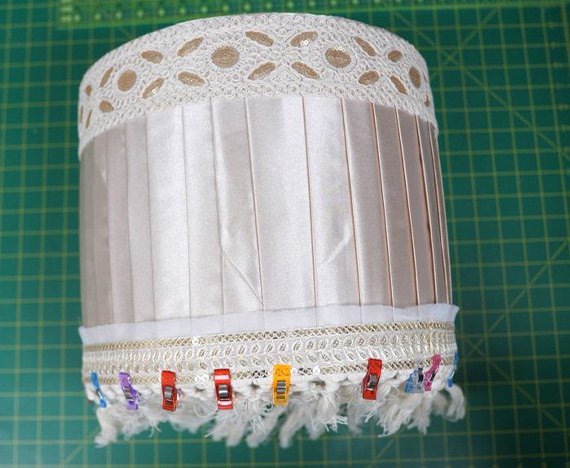
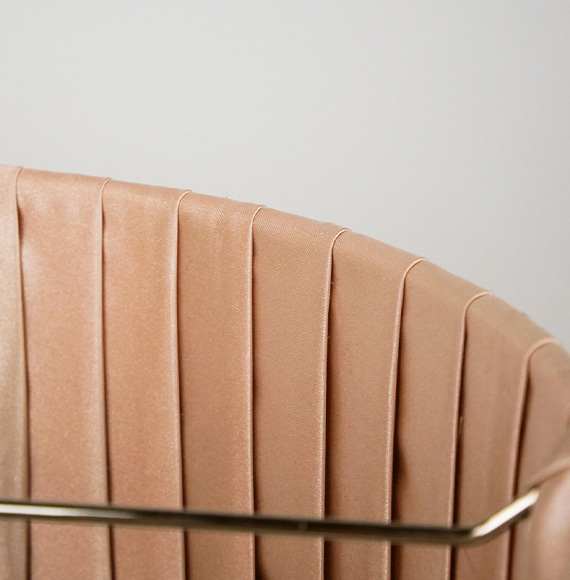
Fold the single fold bias tape/trim around the lampshade and use clips to keep the trim in place when wrapping around. Make sure to overlap the trim by 50% of the width. Hand sew the ends of the bias tape/ trim together to create a clean finish.
Note: If using single fold bias tape have the raw edge hidden under each fold.
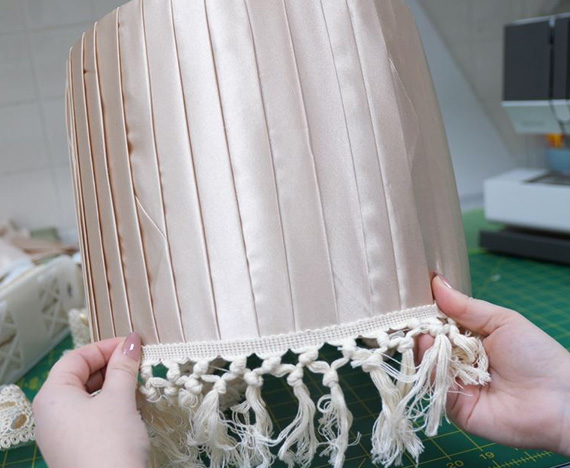
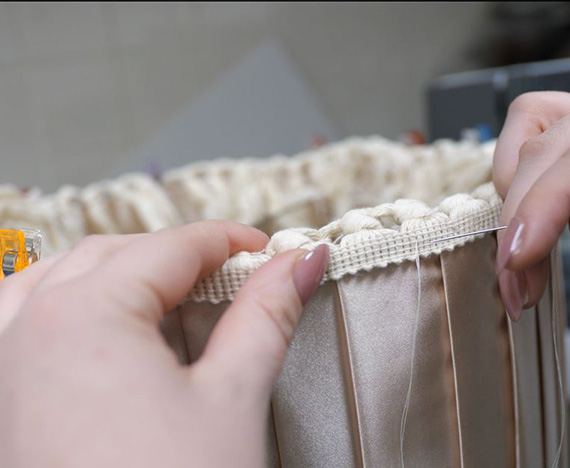
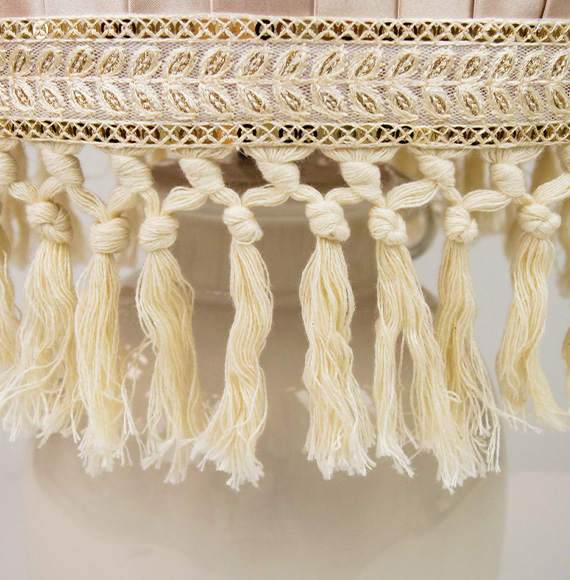
Step 4: Decorate
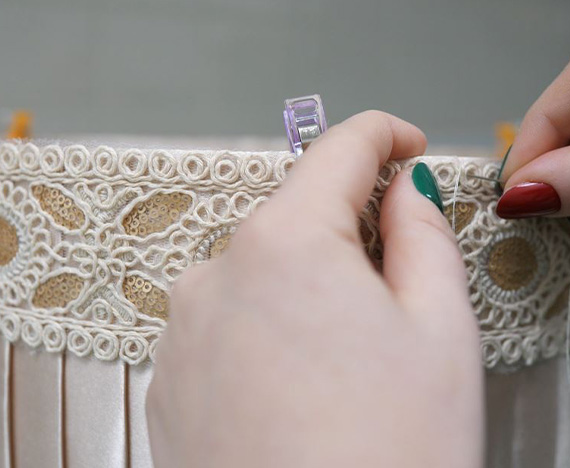
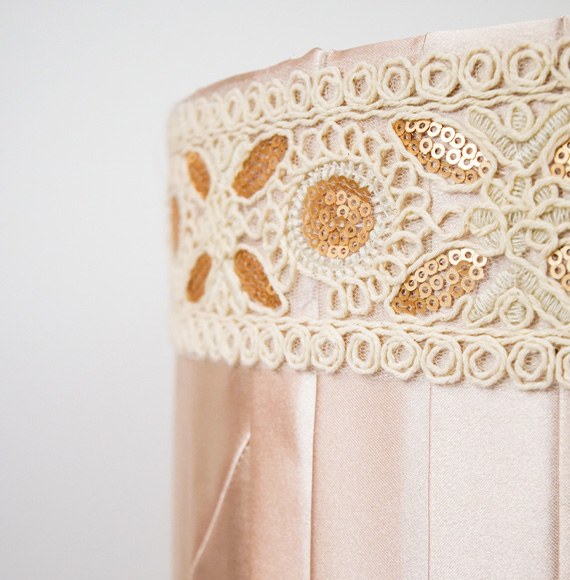
Add trim onto the pleats and hand stitch to secure. Hold in place with clips before sewing for best results.
Accessories and trims can be added by handsewing or with non-flammable glue on the outside of the lampshade.
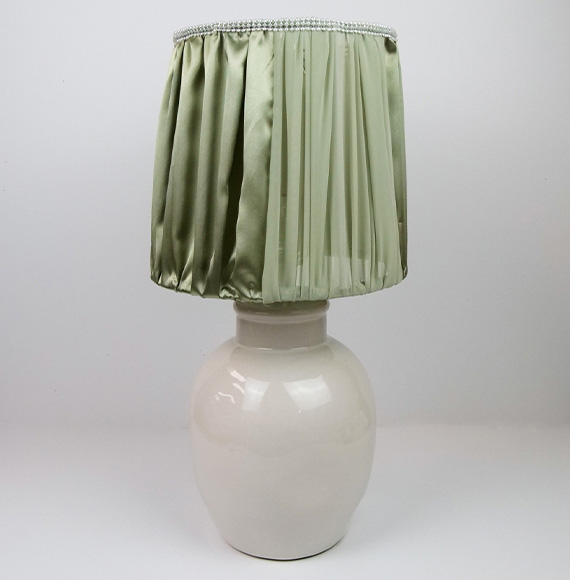
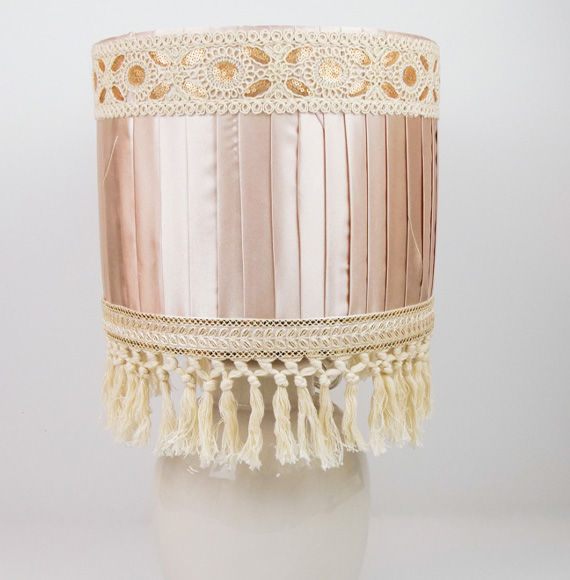
Your lampshade is now complete! Feel free to accessorize or personalize it further!
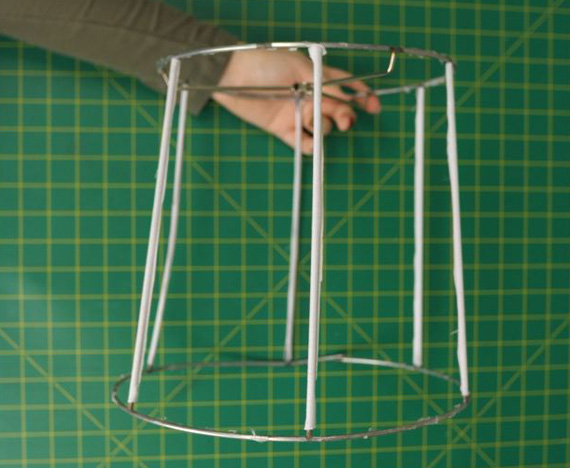
Step 1: Strip the Lampshade
Strip the lampshade down to the metal frame.
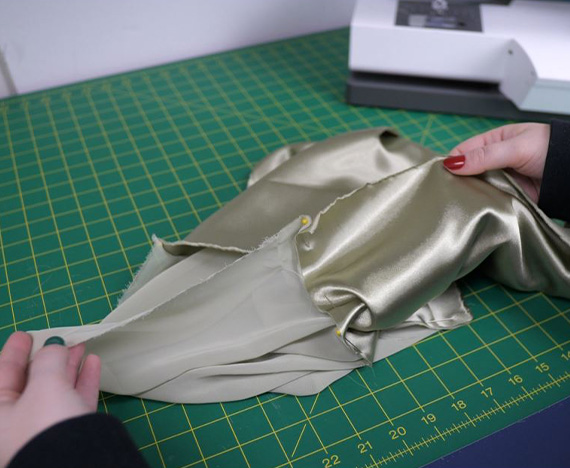
Step 2: Decide on Materials
Decide on how you would like to decorate the lampshade. There are two options: it could be all one fabric or have vertical panels of diffrent fabric. Make sure that all fabric used is synthetic.
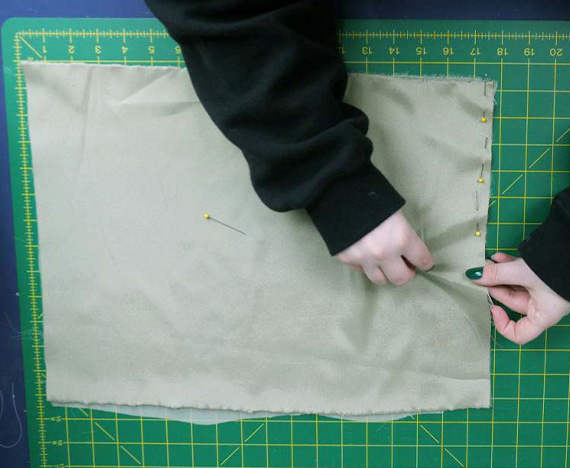
Step 3: Calculate the Fabric Quantity
Measure around the circumference of the upper metal ring and double that measurement to determine the gathered width. Measure the height of the lampshade. Add 1.5" (4cm) to that measurement to get the length.
Cut fabric to the dimensions of the width and length, If all one piece. If panels, refer to step 4.
The more fabric added to the width the more gathers it will create.
Attach both length ends with a small french seam to close the width.
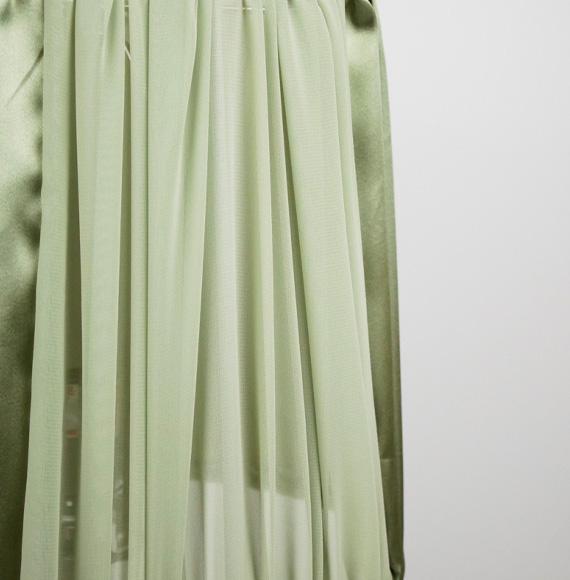
Step 4: Make Panels (Paneled Gathers)
Decide how many panels you would like. For this example we are going to make 4 panels evenly reoccurring (two chiffon and two satin).
Use the measurement procedure in step 3 and divide the width measurement into 4 then add 1" (2.5cm) for every panel added. The length measurement is the same.
Attach all panels with a small french seam.
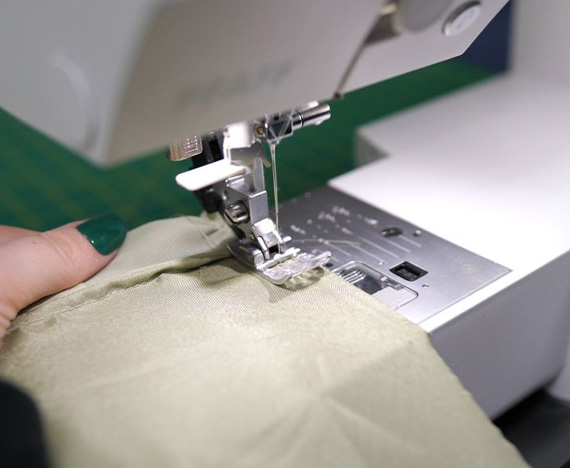
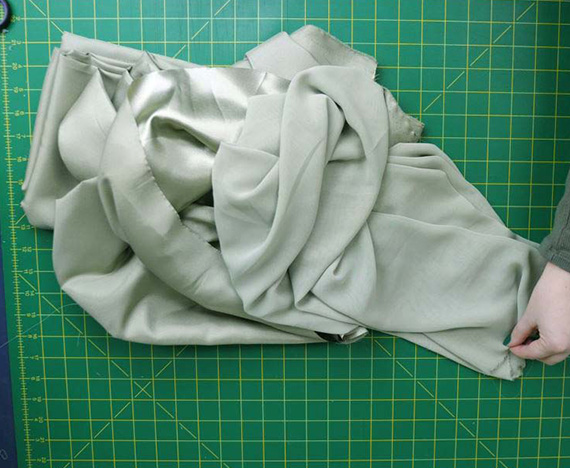
Step 5: Gather the Fabric
Baste stitch with a wide stitch length on both sides of the width.
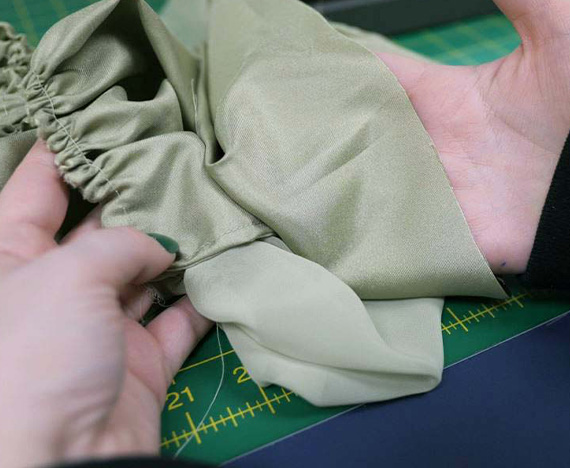
Pull the threads on each side until the width of the fabric matches the circumference of the upper metal ring and the bottom width matches the other metal ring.
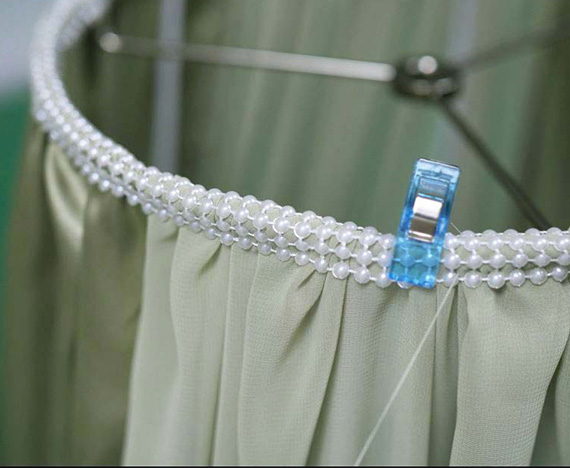

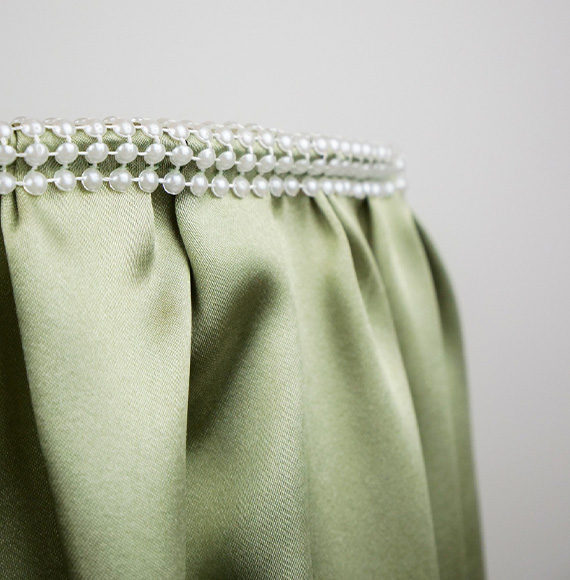
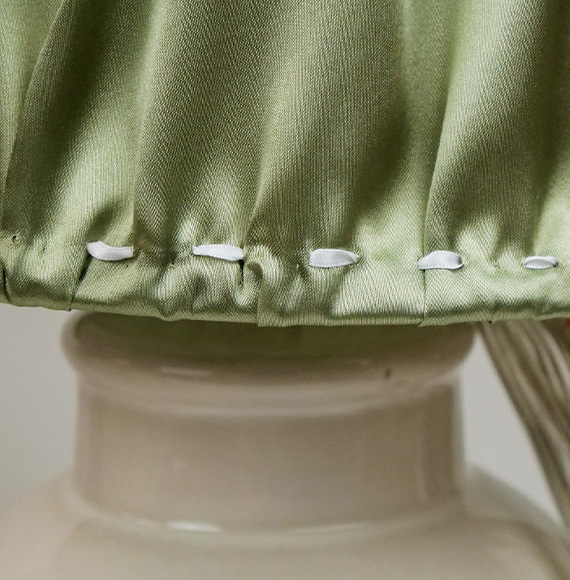
Step 6: Fold and Clip Fabric in Place
Clip the fabric onto the ring.
Fold the fabric around the ring 1" (2.5cm). Add trim to the top and bottom, and hand stitch through all the layers to secure. Accessories and trims can be added by handsewing or with non-flammable glue on the outside of the lampshade.
Your lampshade is now complete! Feel free to accessorize or personalize it further!