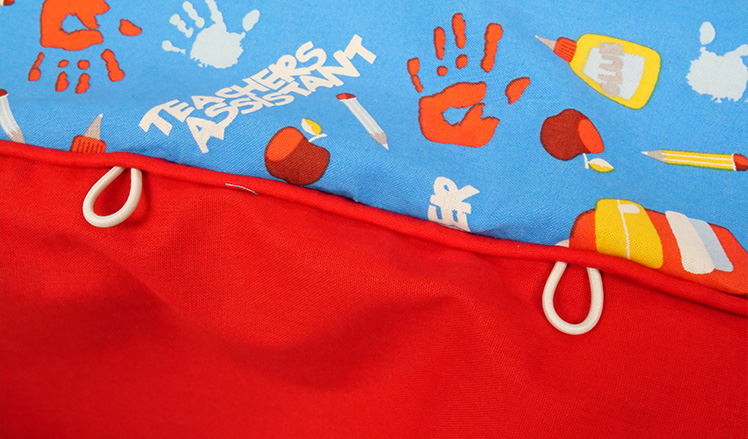
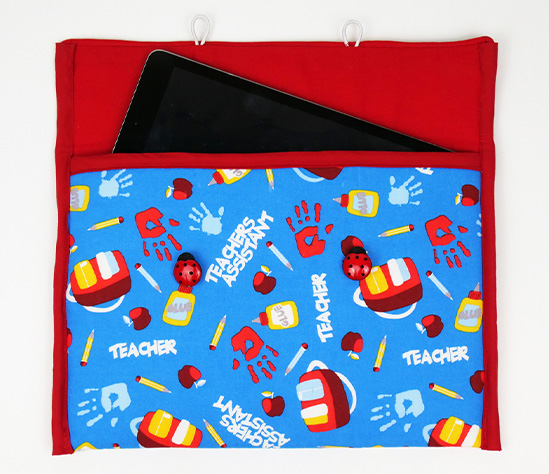
What you need:
Material quantities will be based on the tablet or laptop measurements.
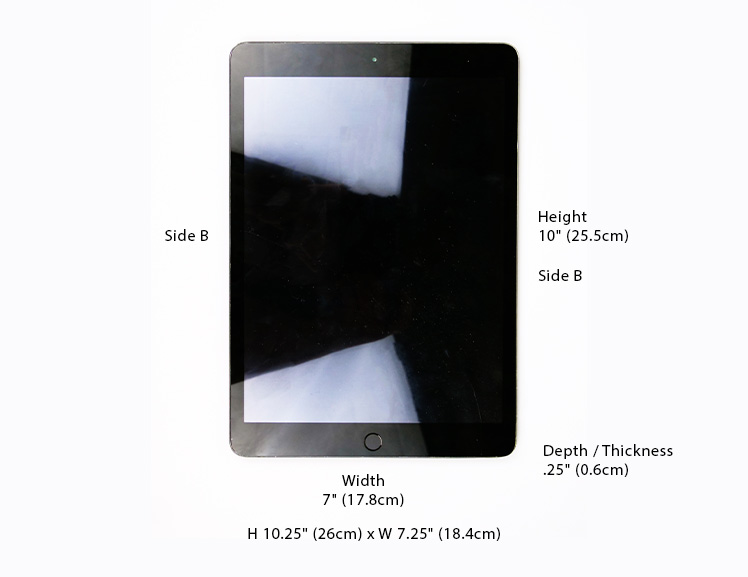
The steps below will instruct you on how to measure the device and material dimensions.
The materials listed here are for a tablet sized H 10" (25.5 cm) x W 7.5" (19 cm).
Note: H = Height, W = Width
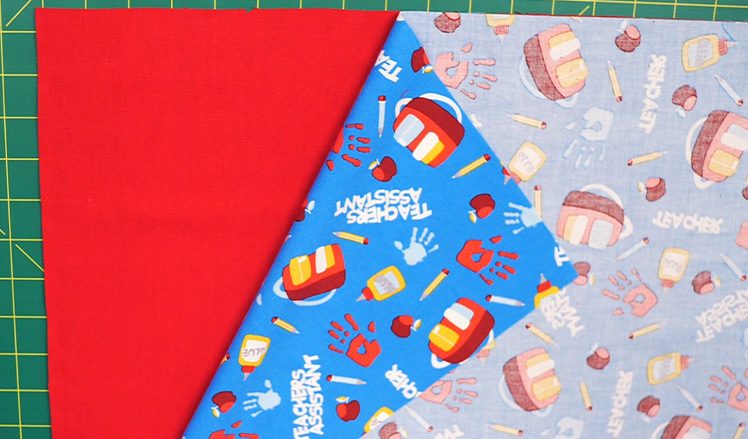
- Fabric 12.5" (32cm) x 20" (51cm)
- Fabric for piping cover 15" (38cm) x 1.5" (4cm)
- Lining 12.5" (32cm) x 20" (51cm)
- Bias Tape (3 pcs)
14.5" (37cm) + 14.5" (37cm) + 14" (35.6cm)
- Fusible Flex-Foam 12.5" (32cm) x 20" (51cm)
- Cord 14" (35.6cm)
- 2 Buttons
- Elastic (2 pcs) 3" (7.6cm) + 3" (7.6cm)
- Thread
- Sewing Machine
- Ruler / Measuring Tape
- Rotary Blade or Scissors
- Straight Pins / Clips
- Universal 100/16 needle
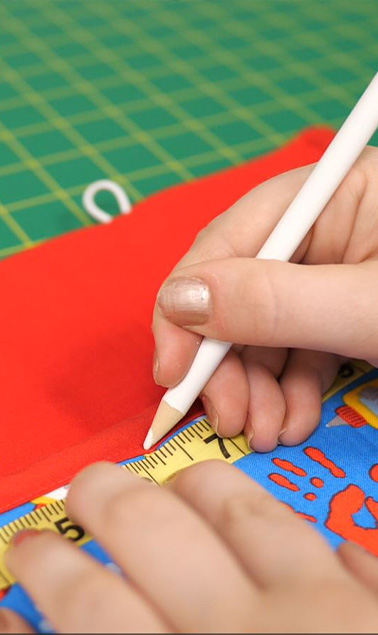
- Tailor's Chalk
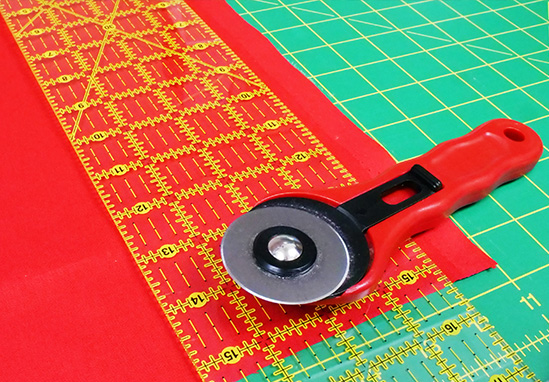
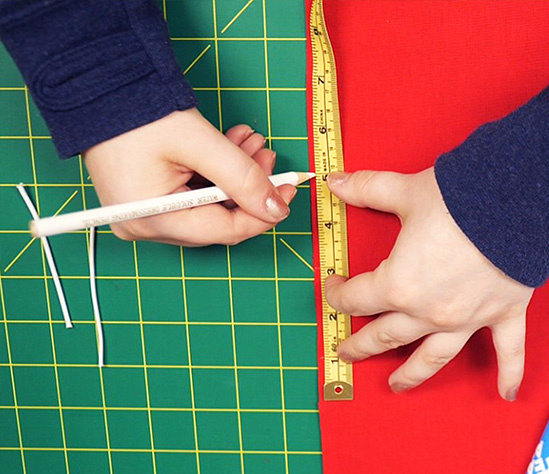
Step 2: Cut main fabric and lining
dimensions
Measure and cut H 12.5" (32cm) x W 20" (51cm).
Note: If you are using your own dimensions:
Add 2.25" (5.7cm) to your height measurement.
Also, for the case width, multiply the measured width (7.25"
18.4cm) by 2.5 then add 1.75" (4.5cm). Round up.
(This is for the width to fold around the device.)

Step 3: Cut Fusible Flex-Foam
Measure and cut H 12.5" (32cm) x W 19" (48.5cm).
Note: If you are using your own dimensions:
Add 2.25" (5.7cm) to your height measurement.
Also, for the case width, multiply the measured width (7.25"
18.4cm) by 2.5. Round up.
(This is for the width to fold around the device.)
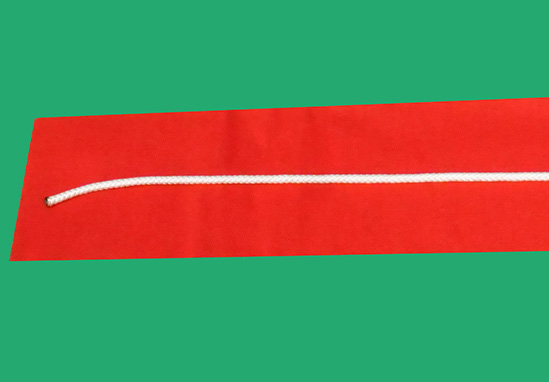
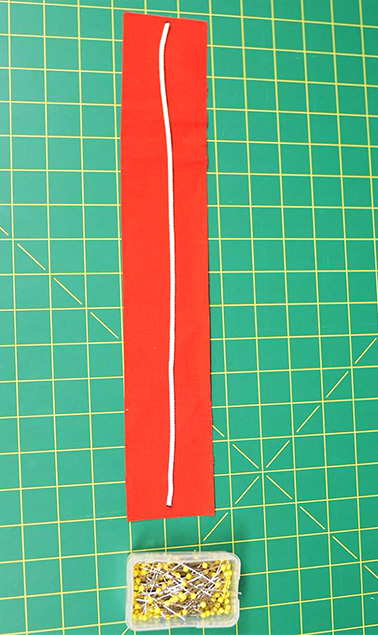
Step 4: Prepare Piping
Select contrast or coordinating fabric for piping
15" (38cm) x 1.5" (4cm).
Cut cord 14" (35.6cm).
Note: If you are using your own laptop or tablet dimensions:
The fabric should be the height measurement + 2.5" (6.4cm).
The cord is 1" (2.5cm) smaller than the fabric covering for the
piping. This is to help with tucking in the edges.
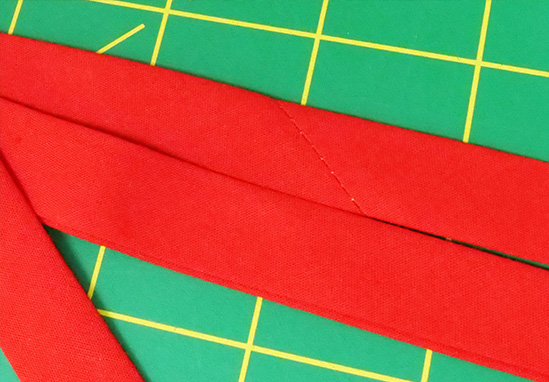
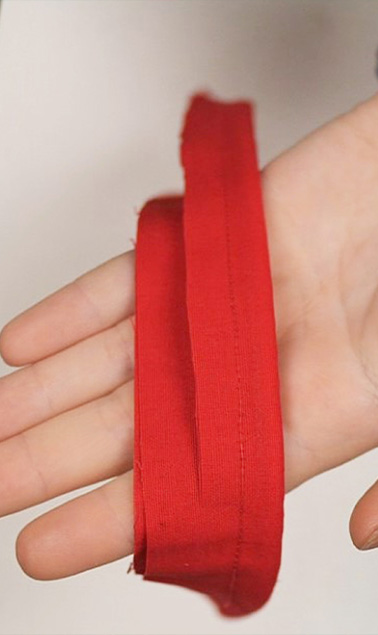
Step 5: Prepare Bias Tape
Bias tape(3pcs). Width: 0.6” (1.5cm).
Length: 14.5" (37cm) + 14.5" (37cm) + 14" (35.6cm).
Notes: Bias Tape width is a personal design preference. You
can choose a larger or smaller thickness.
The Bias Tape width should be the same for all 3 pieces.
If you are using your own laptop or tablet dimensions:
Fabric Height +2" (5cm)= Bias Tape Length.
Height +2" (5cm), Height +2" (5cm), Height +1.5" (2.5cm).
For Bias Tape, check out the instructional video available on
our website: fabricland.ca/howto
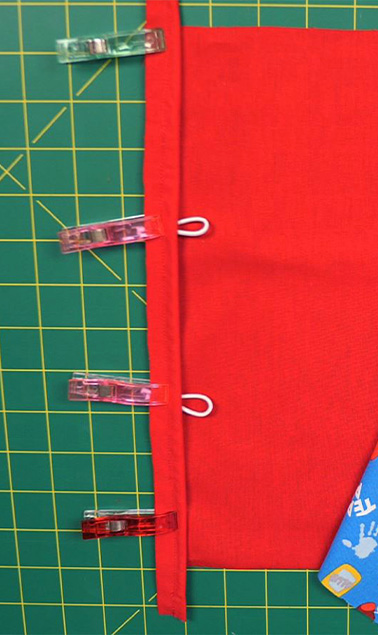
Step 7: Optional closure: Elastic and buttons
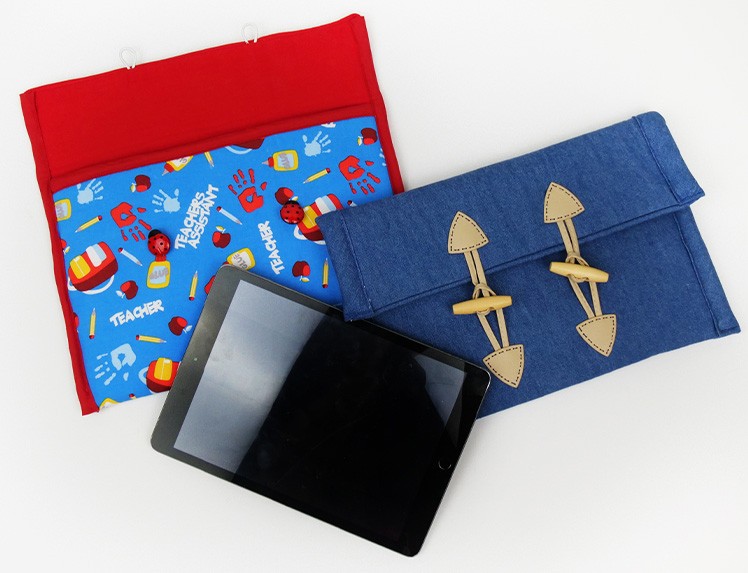
For this project we used buttons.
You can use many different types of closures including: hook and loop, buttons,
toggles etc.
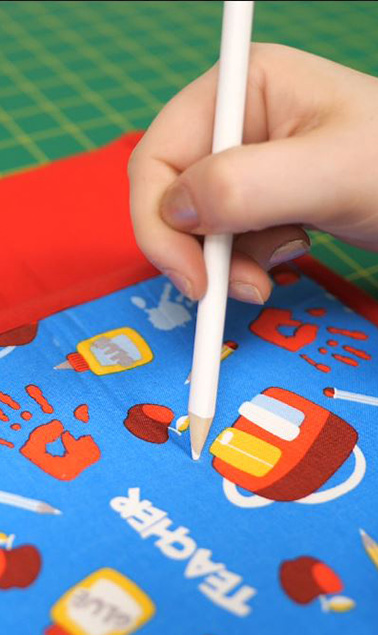
Cut 2 pieces of elastic cord 3" (7.6cm).
Mark with chalk the centre height (side A) of the fabric. Then mark 2” on each sides of the centre
chalk line
to create the left and right chalk line.
Place looped elastic on the left chalk line, between the lining and fabric.
The raw ends of the elastic should be together towards the edge of the material. Pin or clip in
place.
Repeat this step with the other piece of elastic on the right chalk line.
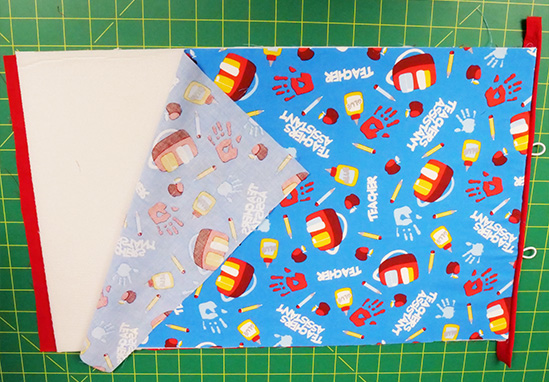
Step 6: Start project
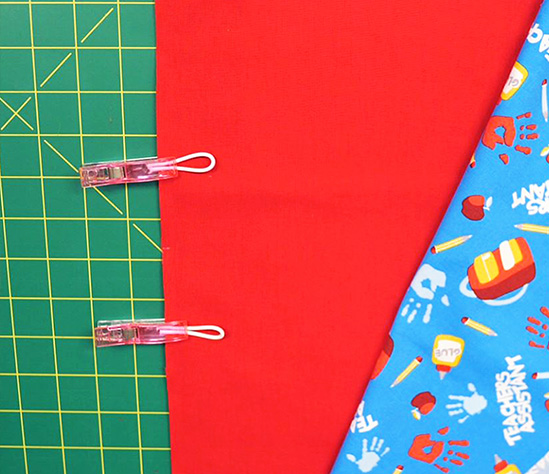
Place the fabric and lining with
the right sides together.
Centre chalk line
Left chalk line
Right chalk line
chalk line Centre
Step 8: Make the Piping
a. Make 15" (38cm) piping with the cord and the contrasting fabric.
Note: For piping making tips, check out our instructional video available on our website:
fabricland.ca/howto
b. Cut off half of the seam allowance.
Note: Extra seam allowance was added to make piping easier for beginner sewers.
c. Place, centre and pin piping along the edge of the (side A) height between the
fabric and elastic.
The raw sides of the piping should be together and against the raw side of the fabric.
Note: The edges of piping should be hanging off the sides.
Step 10: Place and fuse Fusible Flex-
Foam
Place Fusible Flex-Foam between the wrong sides
of the two pieces of fabric.
Press the Fusible Flex-Foam up against the height
(side A) edge which has elastic and binding
wrong sides. Keep the foam centered between the
width edges.
Fuse the Fusible Flex-Foam to the fabric and lining
with an iron.
Cut off extra fabric/lining off of the height (side B).
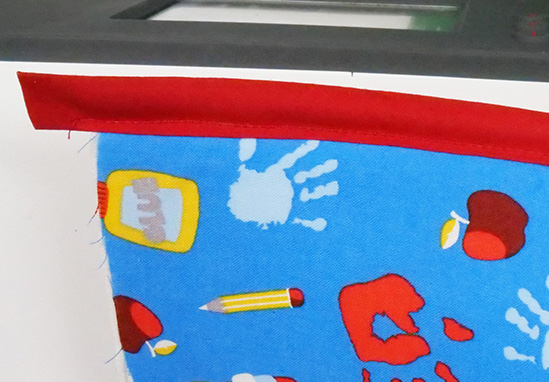
Step 11: Bias Tape on height edge B
Place and clip bias tape over the height (side
B).
Sew and backstitch over bias tape.
Note: Zigzag stitch is optional.
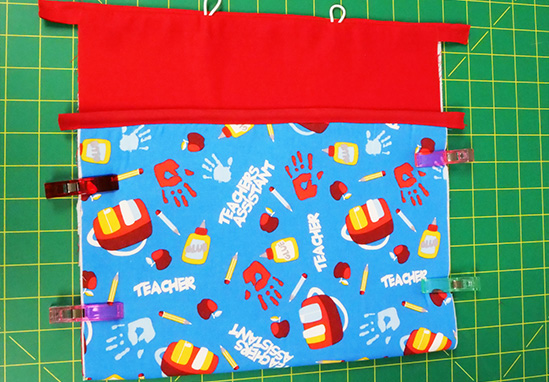
Step 12: Fold Width
Measure down the width 8.5" (21.6cm) starting from
height (side B).
Fold the lining sides together and clip the folded
layers together on each side.
Step 13: Bias Tape on width
Add the 14.5" (37cm) bias tape with clips, covering
each side edge of the width.
Sew and backstitch to complete.
Note: Fold the ends of the bias tape in to ensure no raw edges
are exposed. Tuck the piping edges into the bias tape.
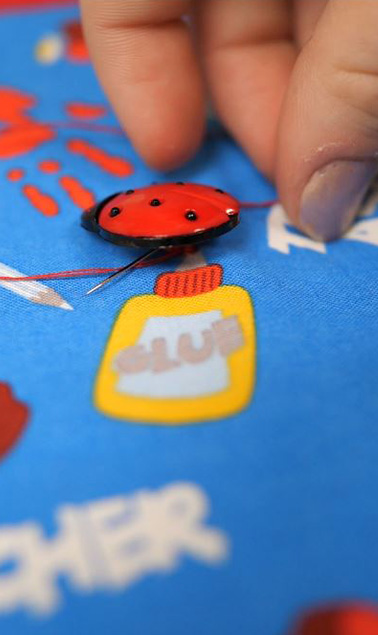
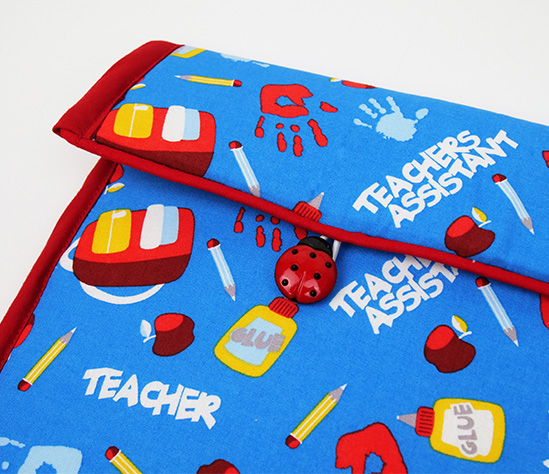
Step 14: Add button
a. Mark with chalk the centre height on the side of the fabric that has binding
height (side B).
b. Measure 2" (5cm) from the centre, on each side of the centre marking, and 3.5"
(9cm) down.
Mark these 2 spots on each side to indicate button placement.
c. Hand sew button onto placement markings.