Step 5 :
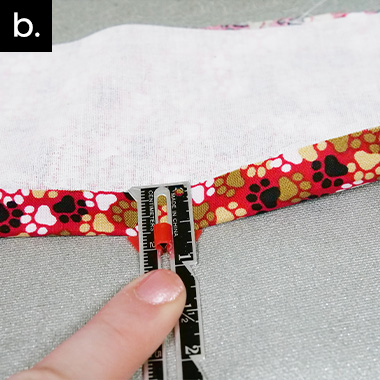
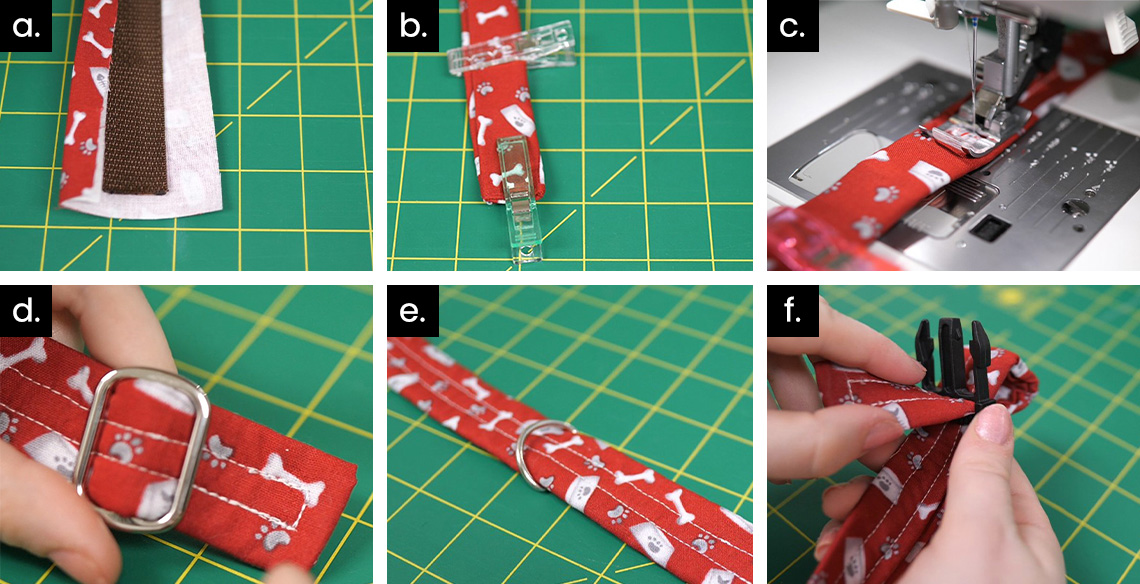
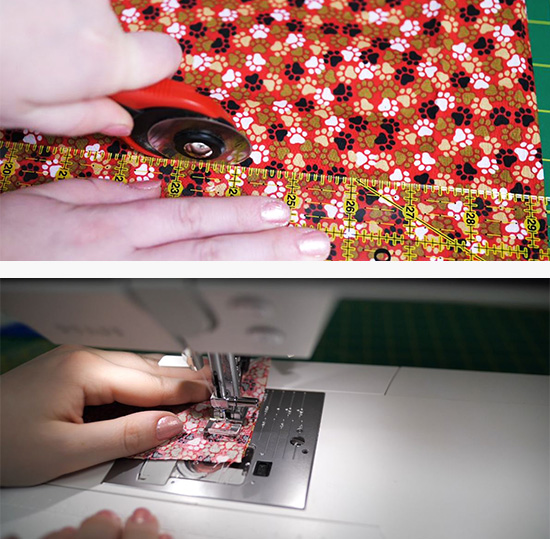
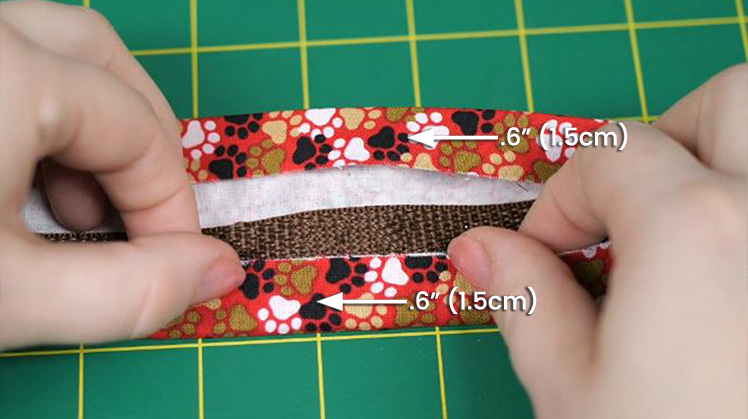
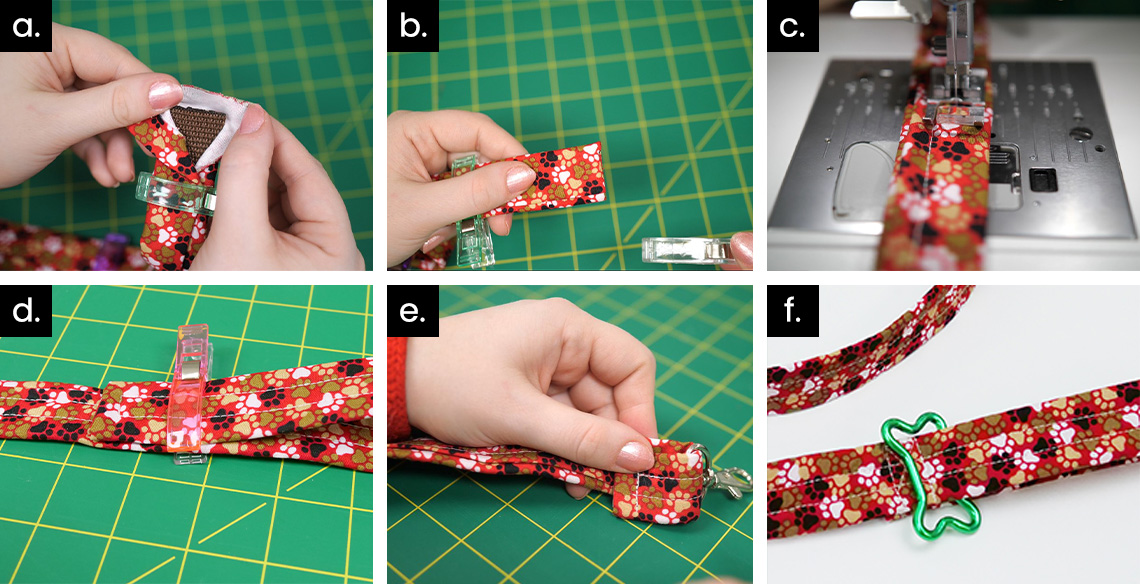
a. There should be .5” (1.3 cm) of fabric sticking out on the end of each length end of the webbing.
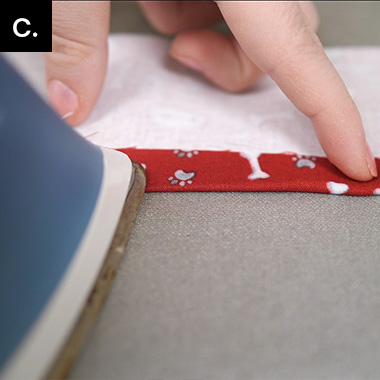
b. Fold the fabric in .5” (1.3 cm) toward the webbing and clip in place.
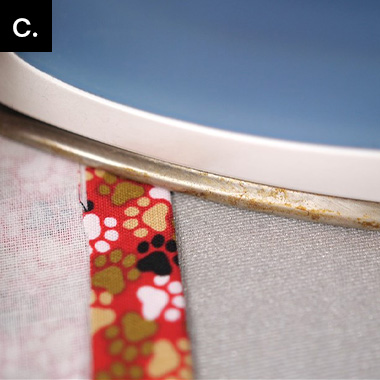
c. Sew .25” (.6 cm) through all layers of the fabric wrapped webbing around the edges. The strap
is now created.
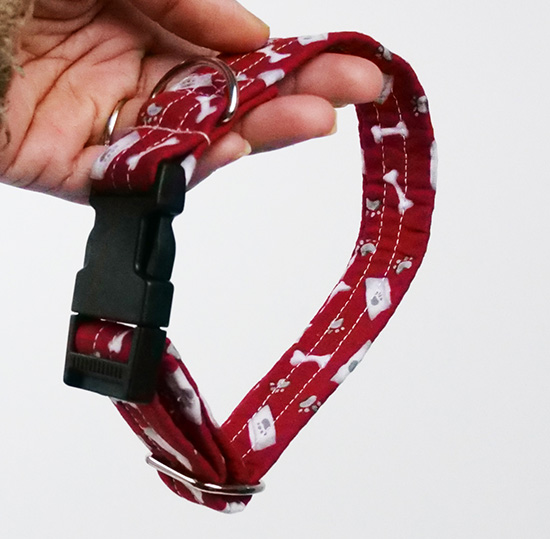
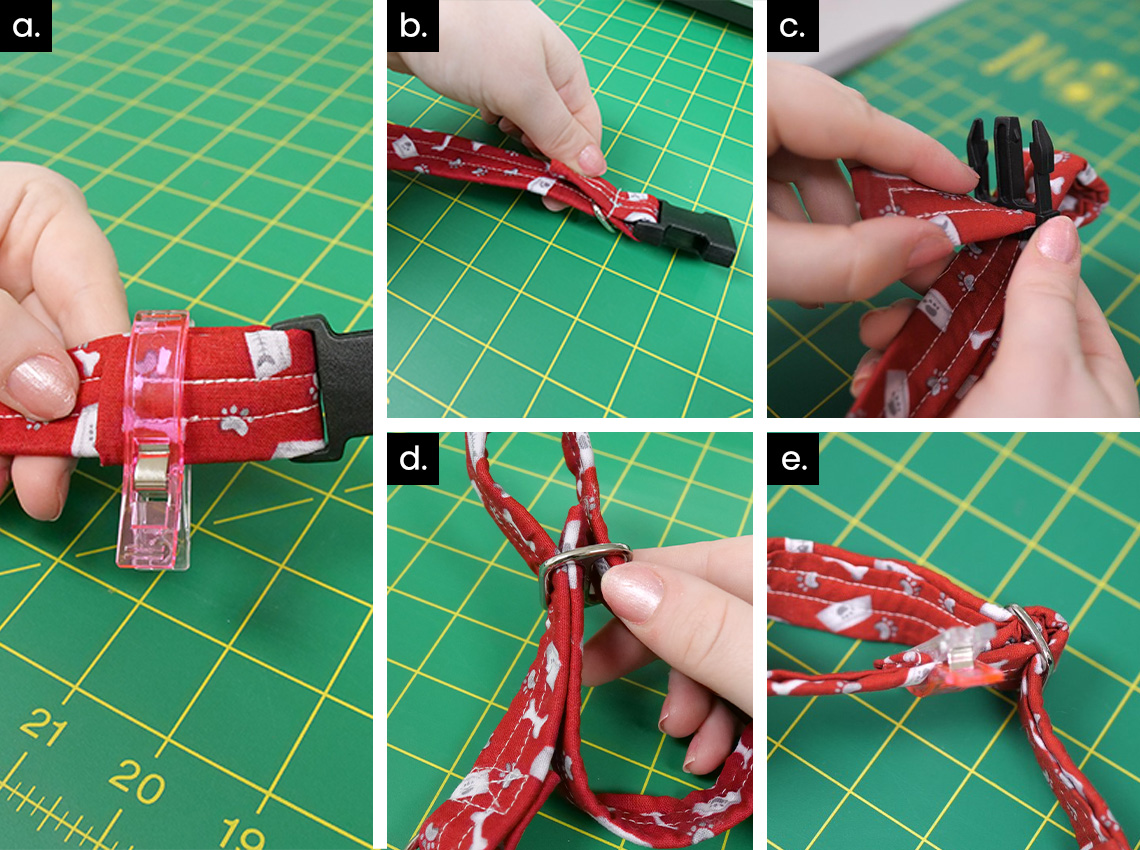
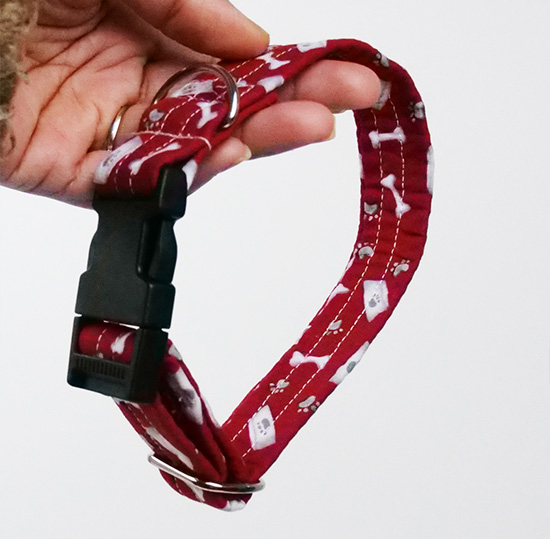
d. To make the handle, mark with a clip 11” (28 cm) from the tip of Side A of the strip and fold
that end
towards the clip. Where the end meets the clip, stitch a rectangle with an X in the middle
(continuous
stitch through all layers) H .5” W 1” (H 1.3 cm W 2.5 cm) to secure the handle.
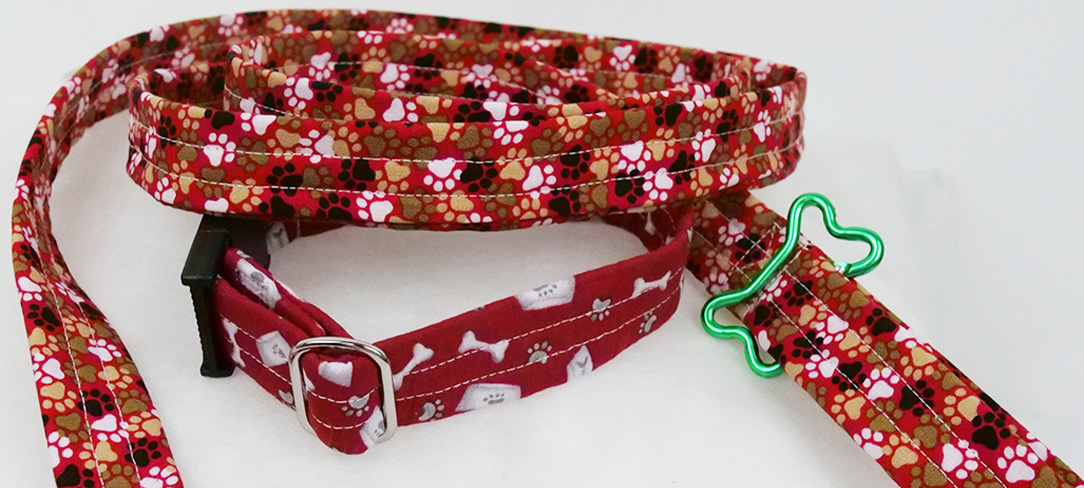
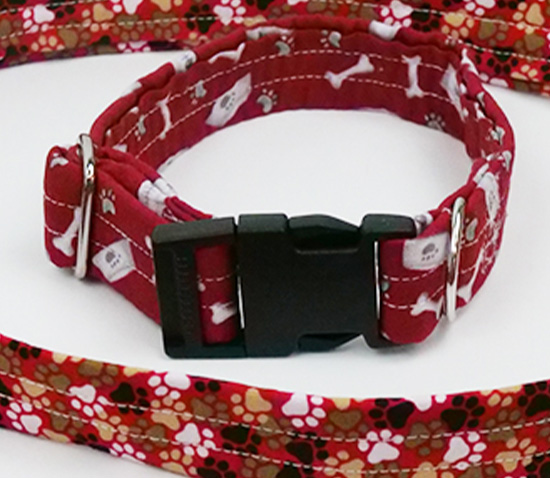
e. On Side B of the strip, pull the strip through a carabiner and fold over 1.5” (4cm). Stitch a
rectangle with an
X in the middle (continuous stitch through all layers) H .5” W 1” (H 1.3 cm W 2.5 cm) to secure.
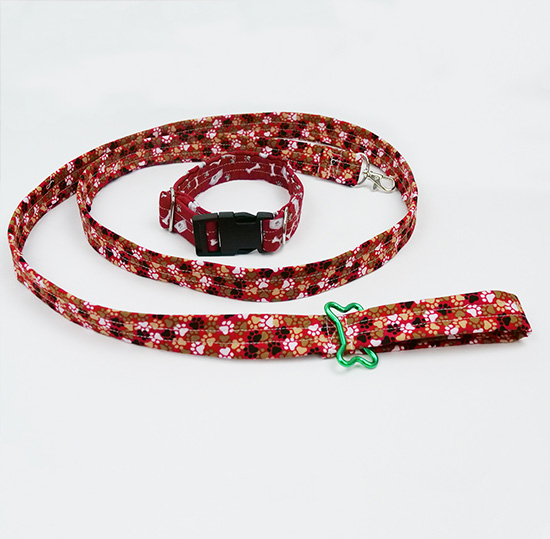
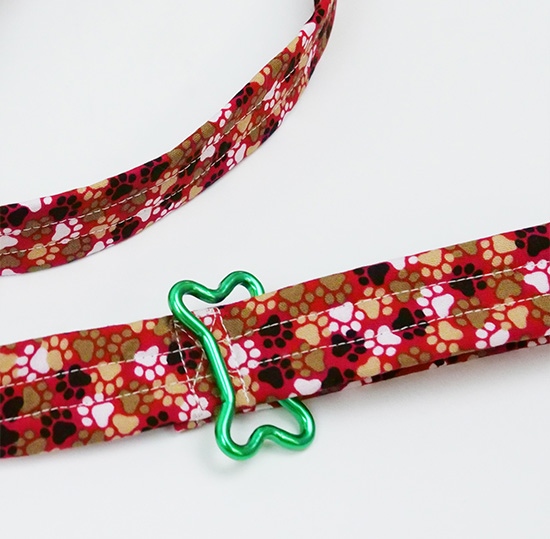
f. A decorative carabiner is optional to hold a litter bag, and can easily be attached to the
handle.